Can you believe it's already the end of August? I'm already getting targeted ads for pumpkin spice everythi[...]

Can you believe it's already the end of August? I'm already getting targeted ads for pumpkin spice everythi[...]
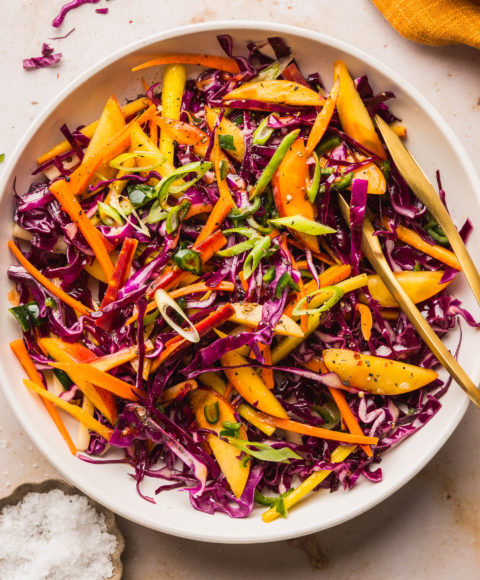
Make this Sweet and Spicy Peach Poblano coleslaw to bring your next taco night, grill out, or sandwich part[...]
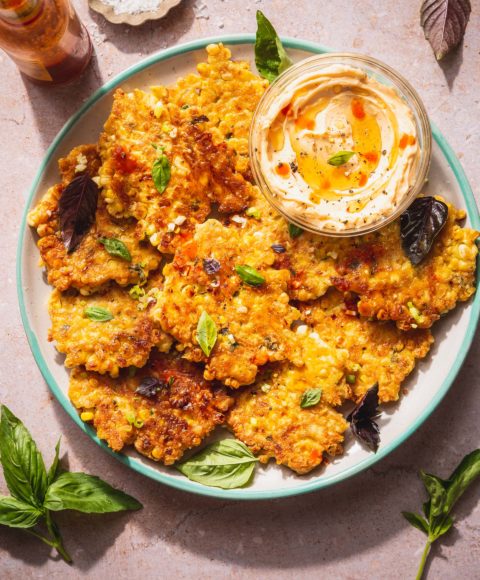
These Corn Fritters with Whipped Hot Honey Butter are my favorite way to enjoy corn when it's in season. Th[...]
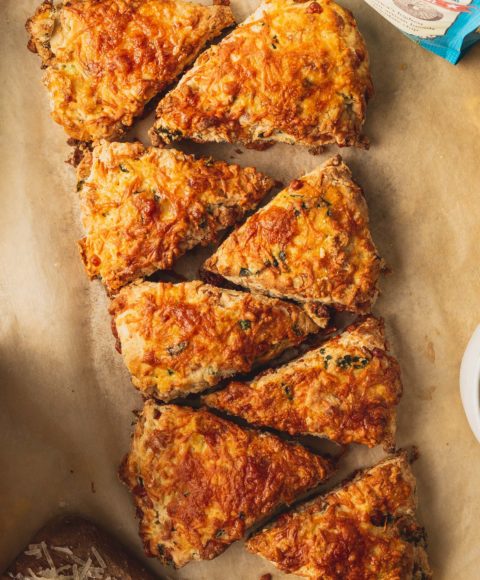
These Cheesy Kale Scones with Manchego are a delightful snack with a spear of butter or enjoyed as a meal t[...]

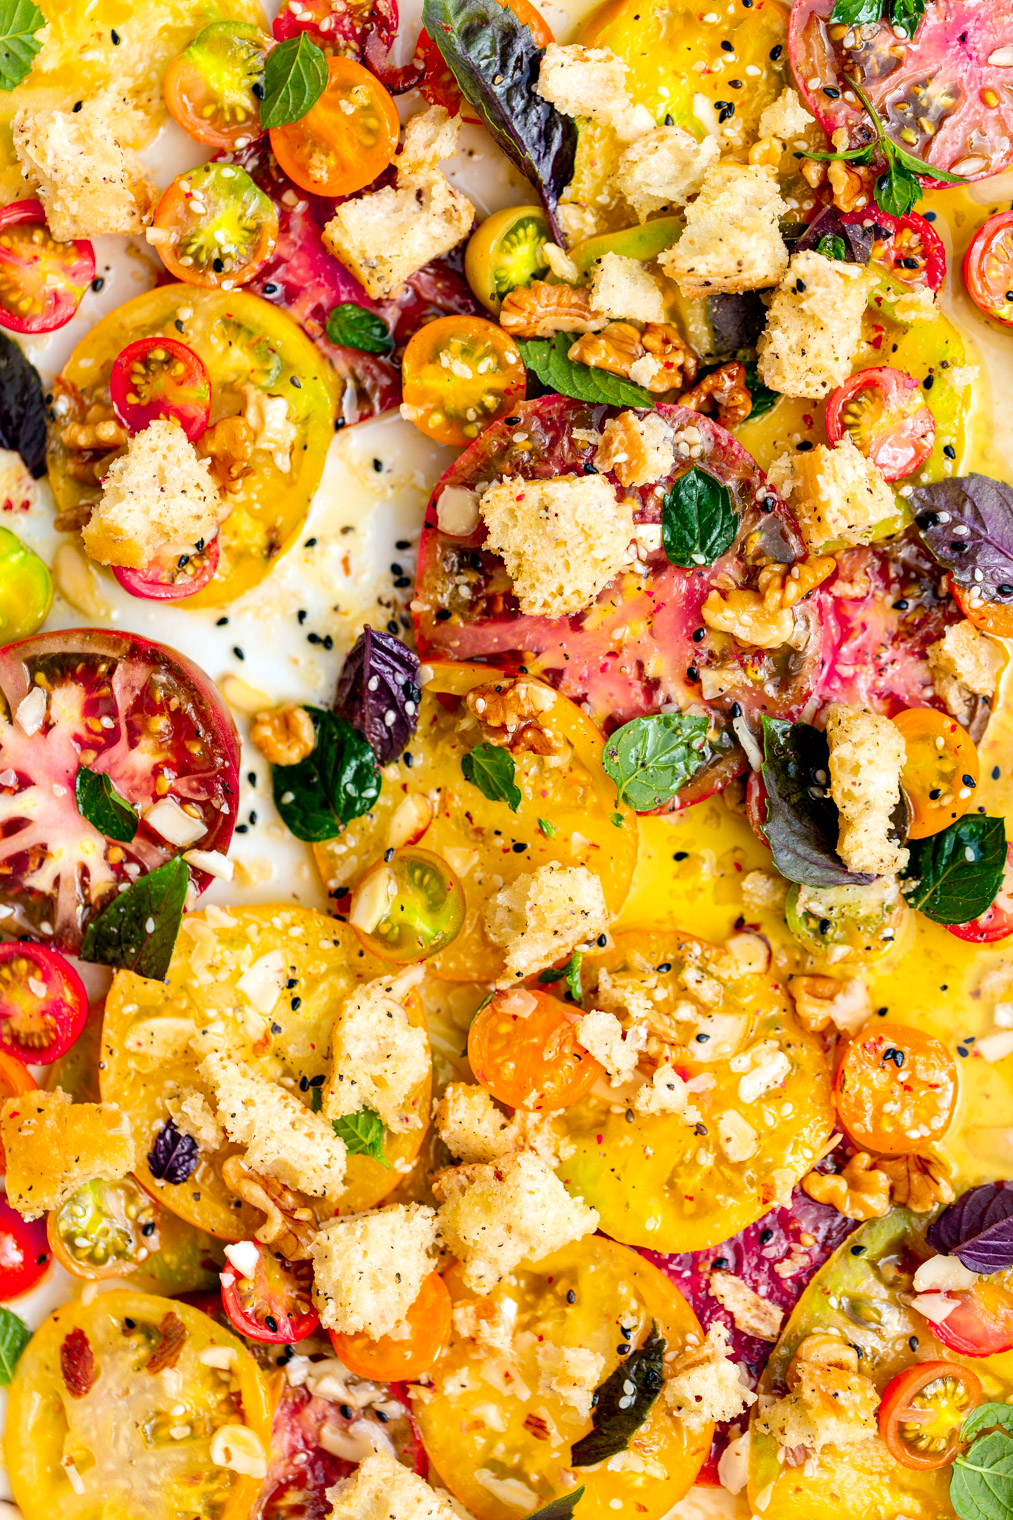
This Sun Dried Tomato Pesto recipe only requires 8 ingredients and comes together in less than 5 minutes. I[...]
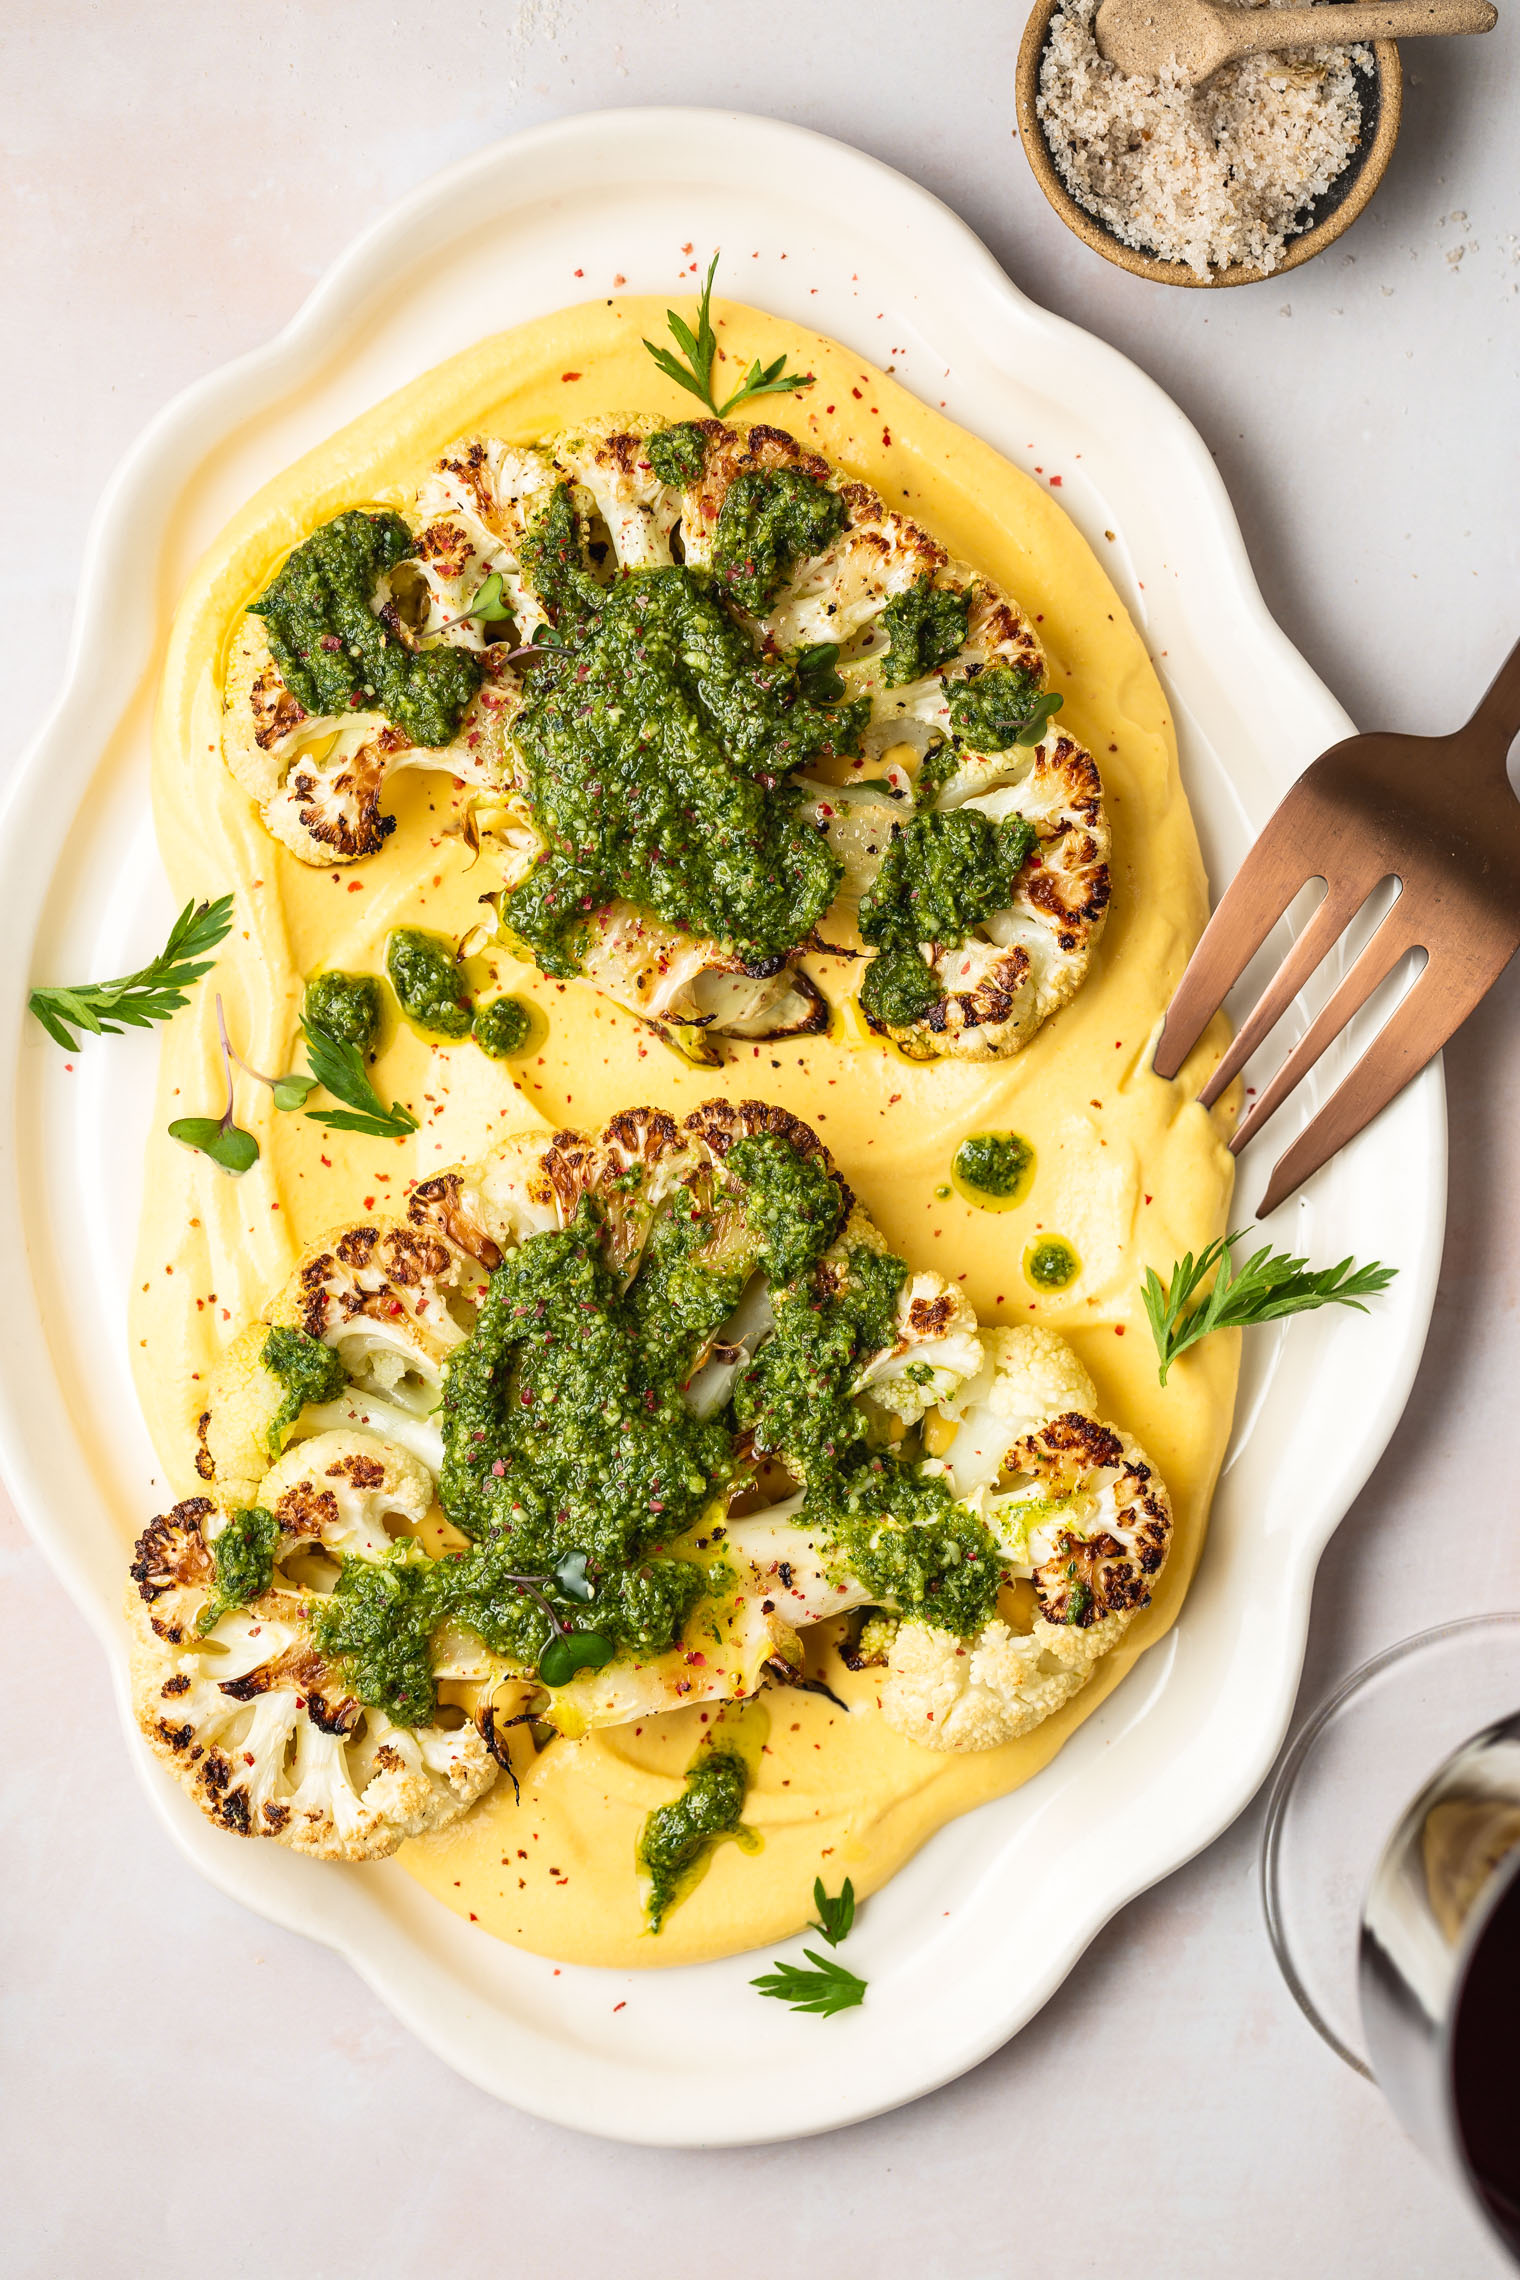
Today I'm sharing 8 of my favorite vegetarian cauliflower recipes in hopes of inspiring you to use more of[...]
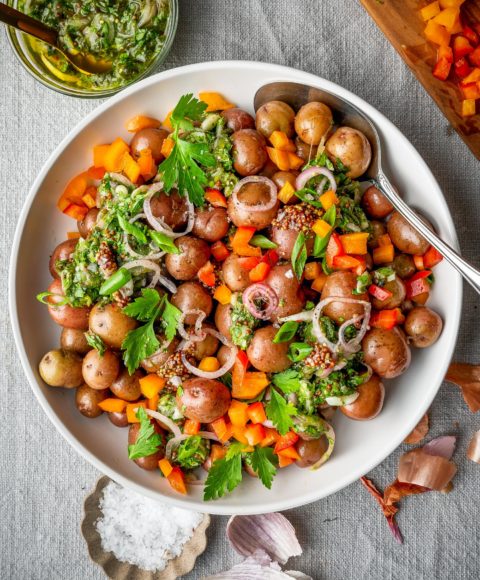
This Vegetarian Potato Salad with Roasted scallion Salsa Verde Sauce is a simple and delicious side dish tha[...]
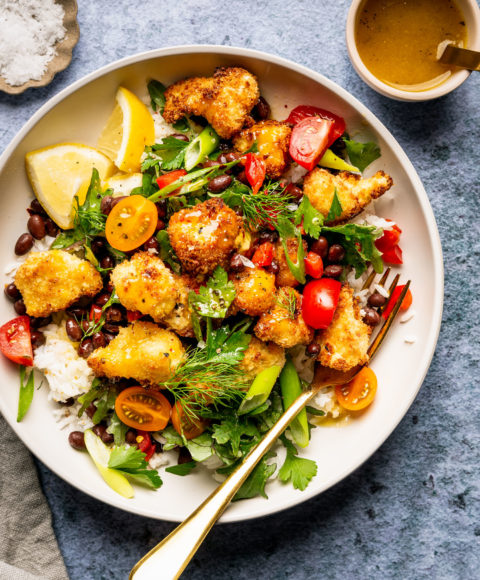
This delicious Coconut Cauliflower Bowl With Spicy Mango Vinaigrette is a filling and veggie-packed option[...]
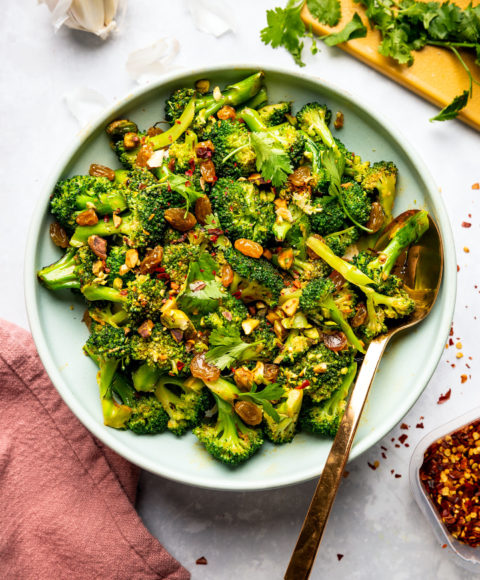
This Easy Broccoli Raisin Salad with pistachios and herbs is my go-to when wanting to add a little extra ve[...]
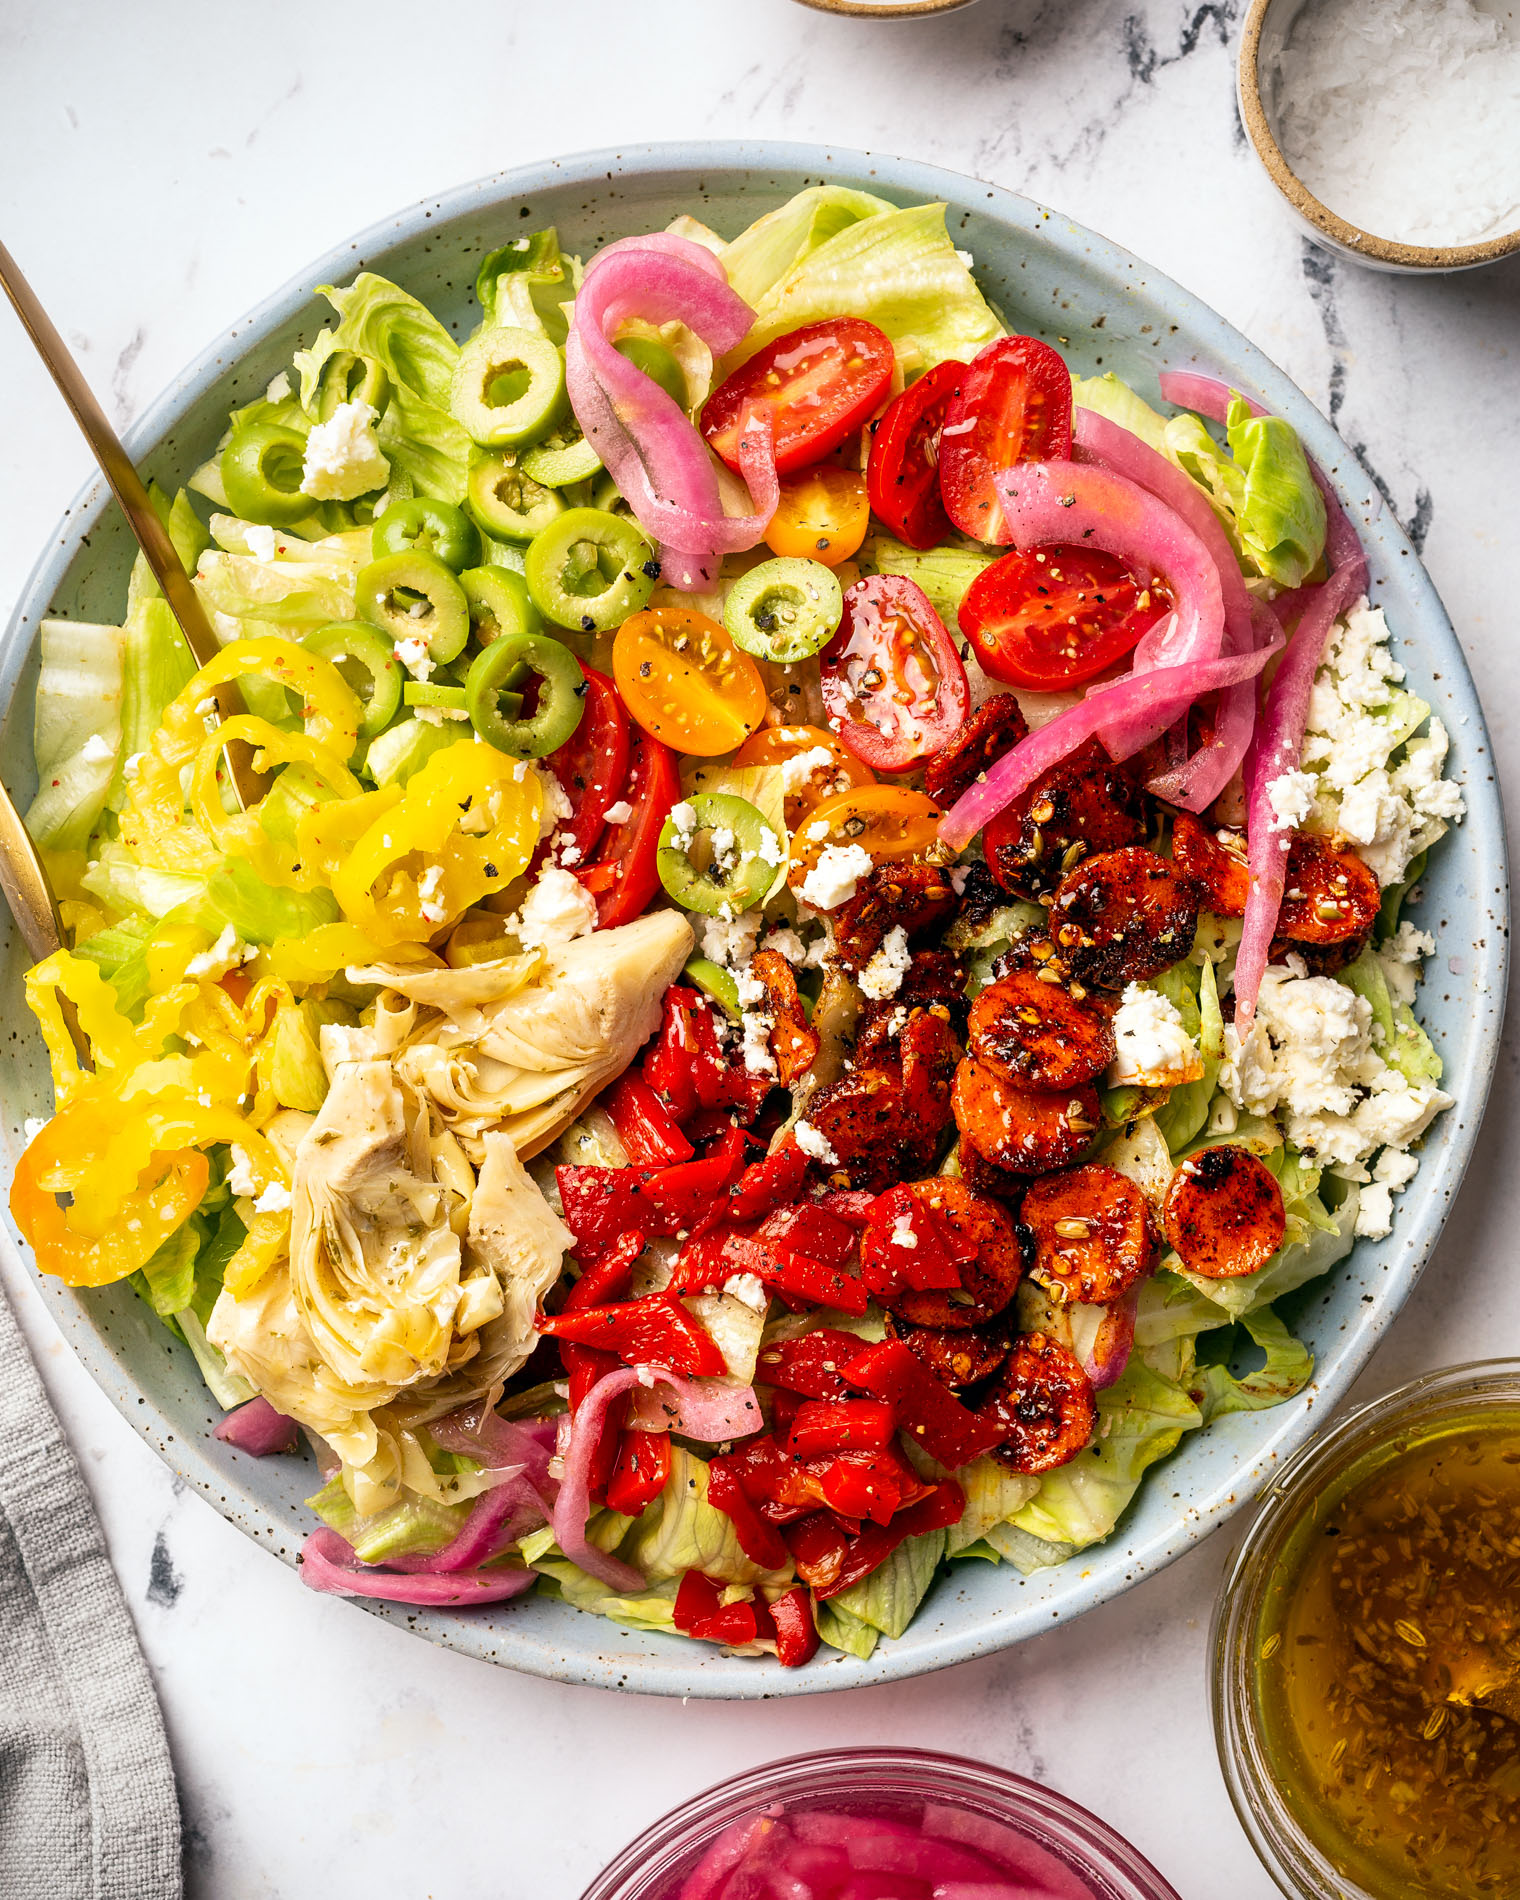
This Vegetarian Antipasto Salad with Pepperoni-Spiced Roasted Carrots salad utilizes a lot of jarred and pa[...]
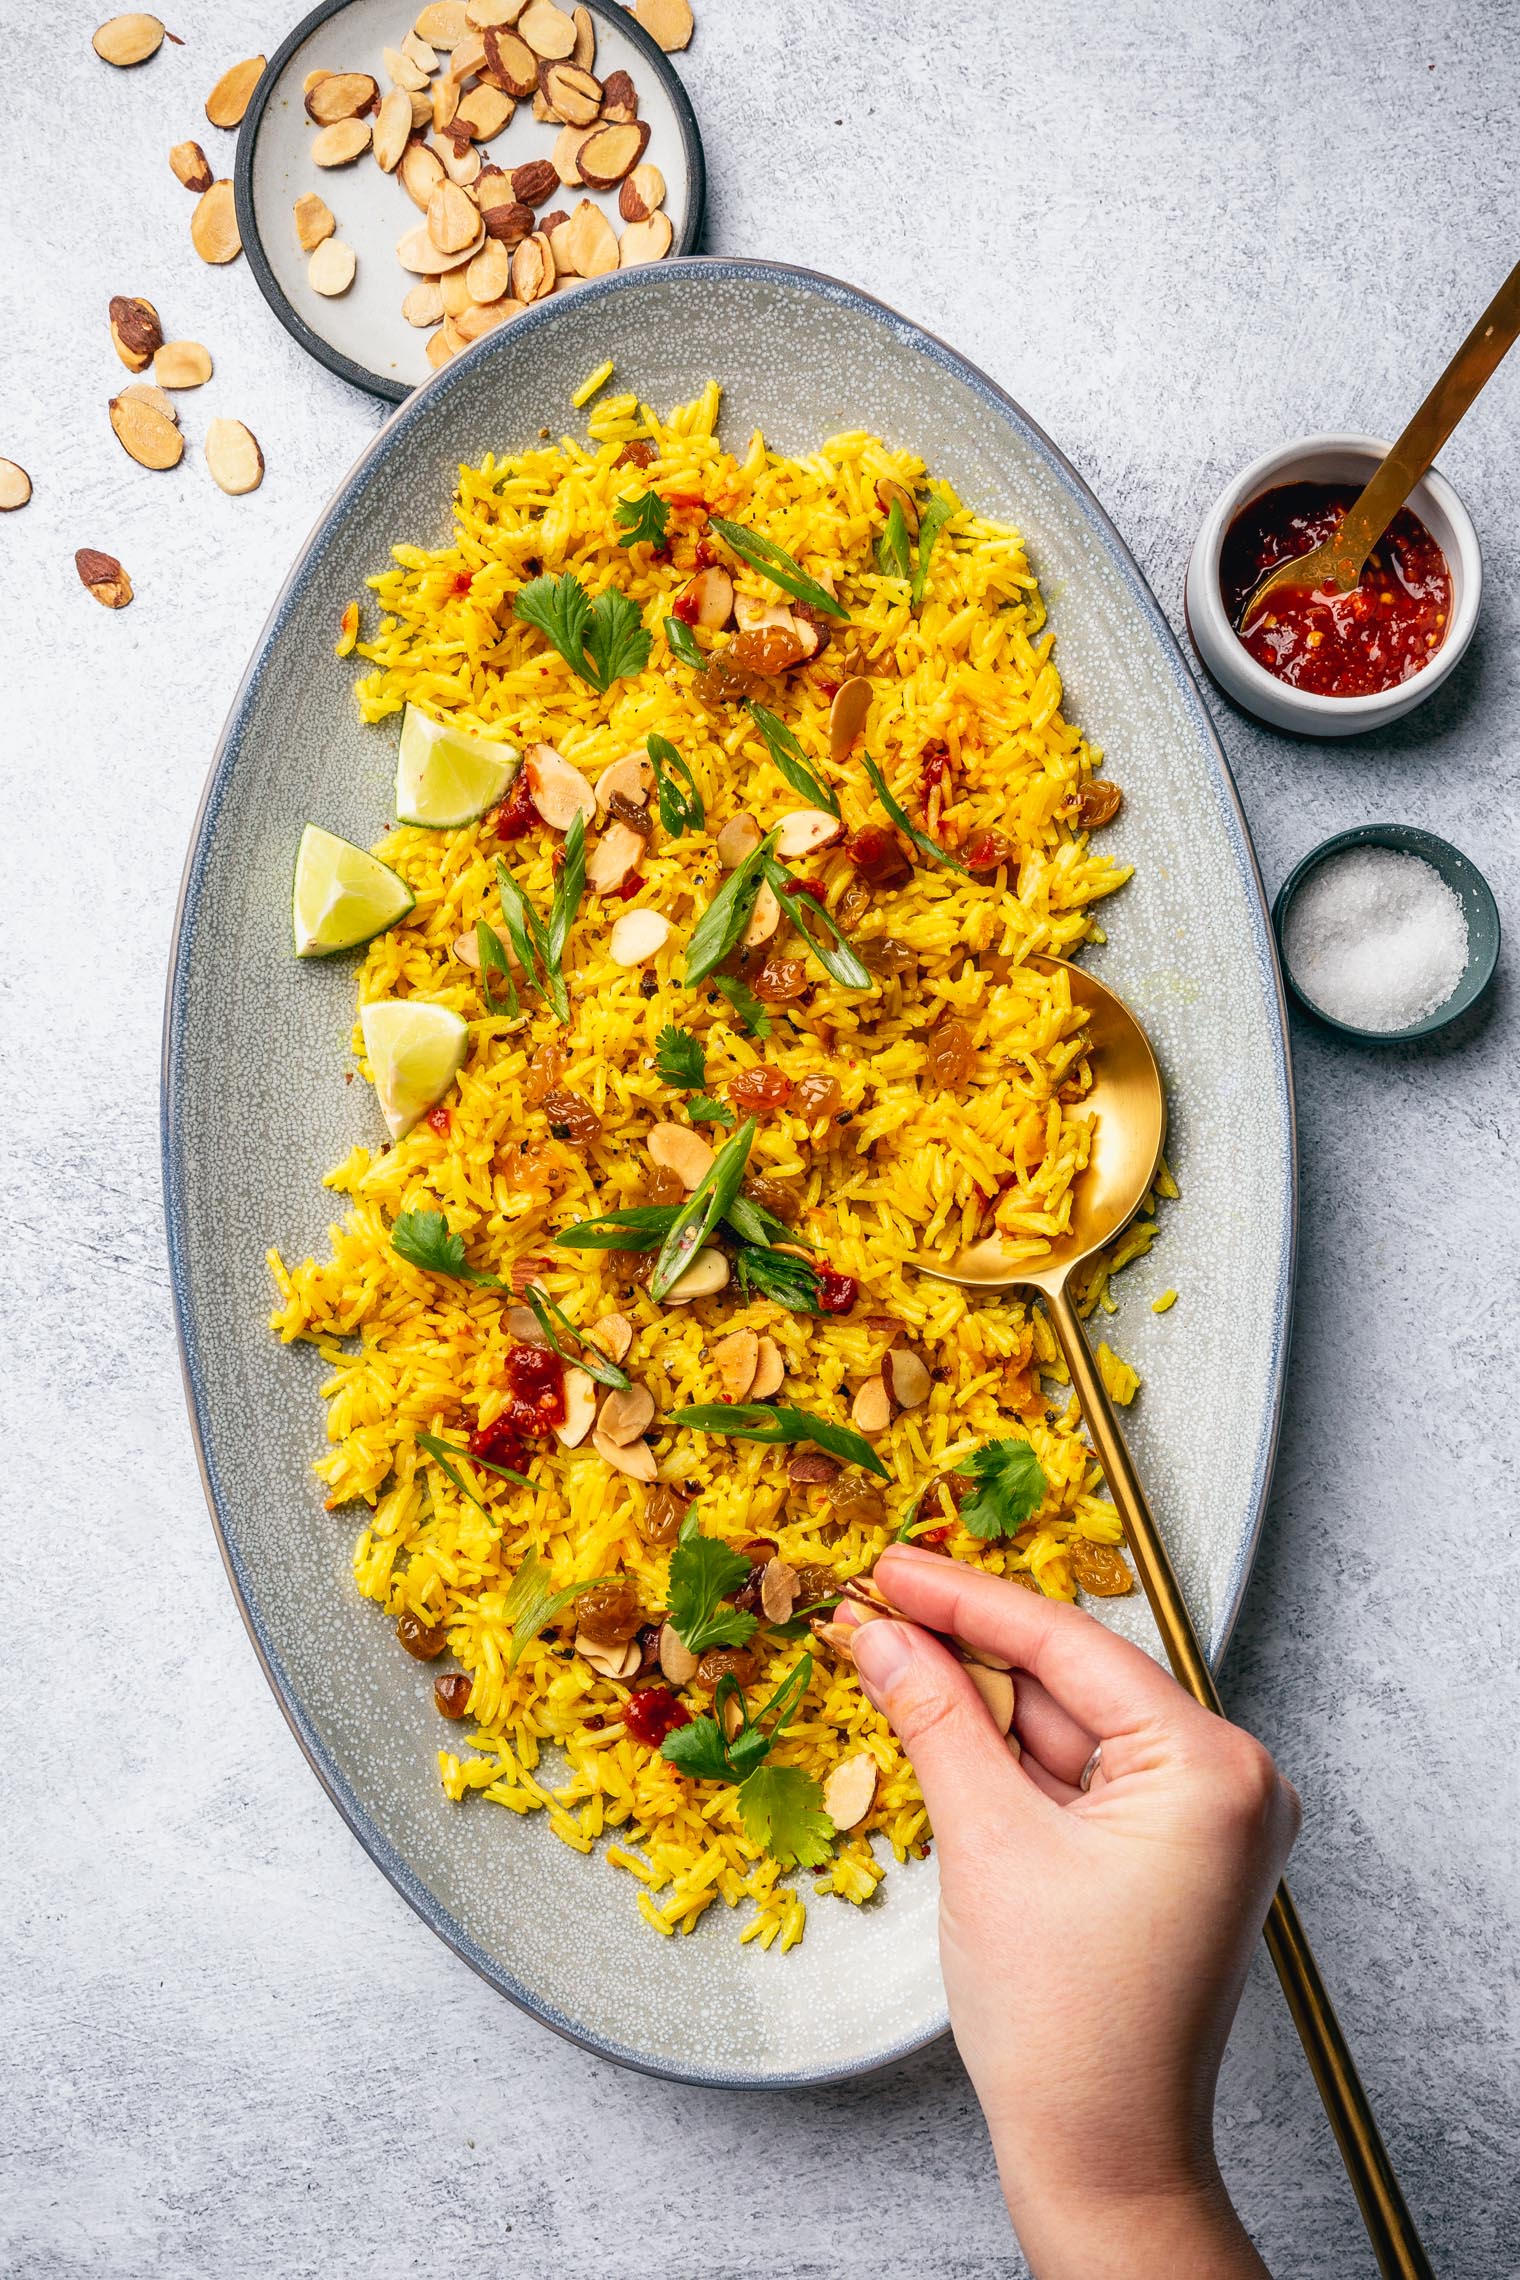
This Turmeric Rice with Quick Pickled Golden Raisins & Toasted Almonds is a simple vegetarian dish that[...]
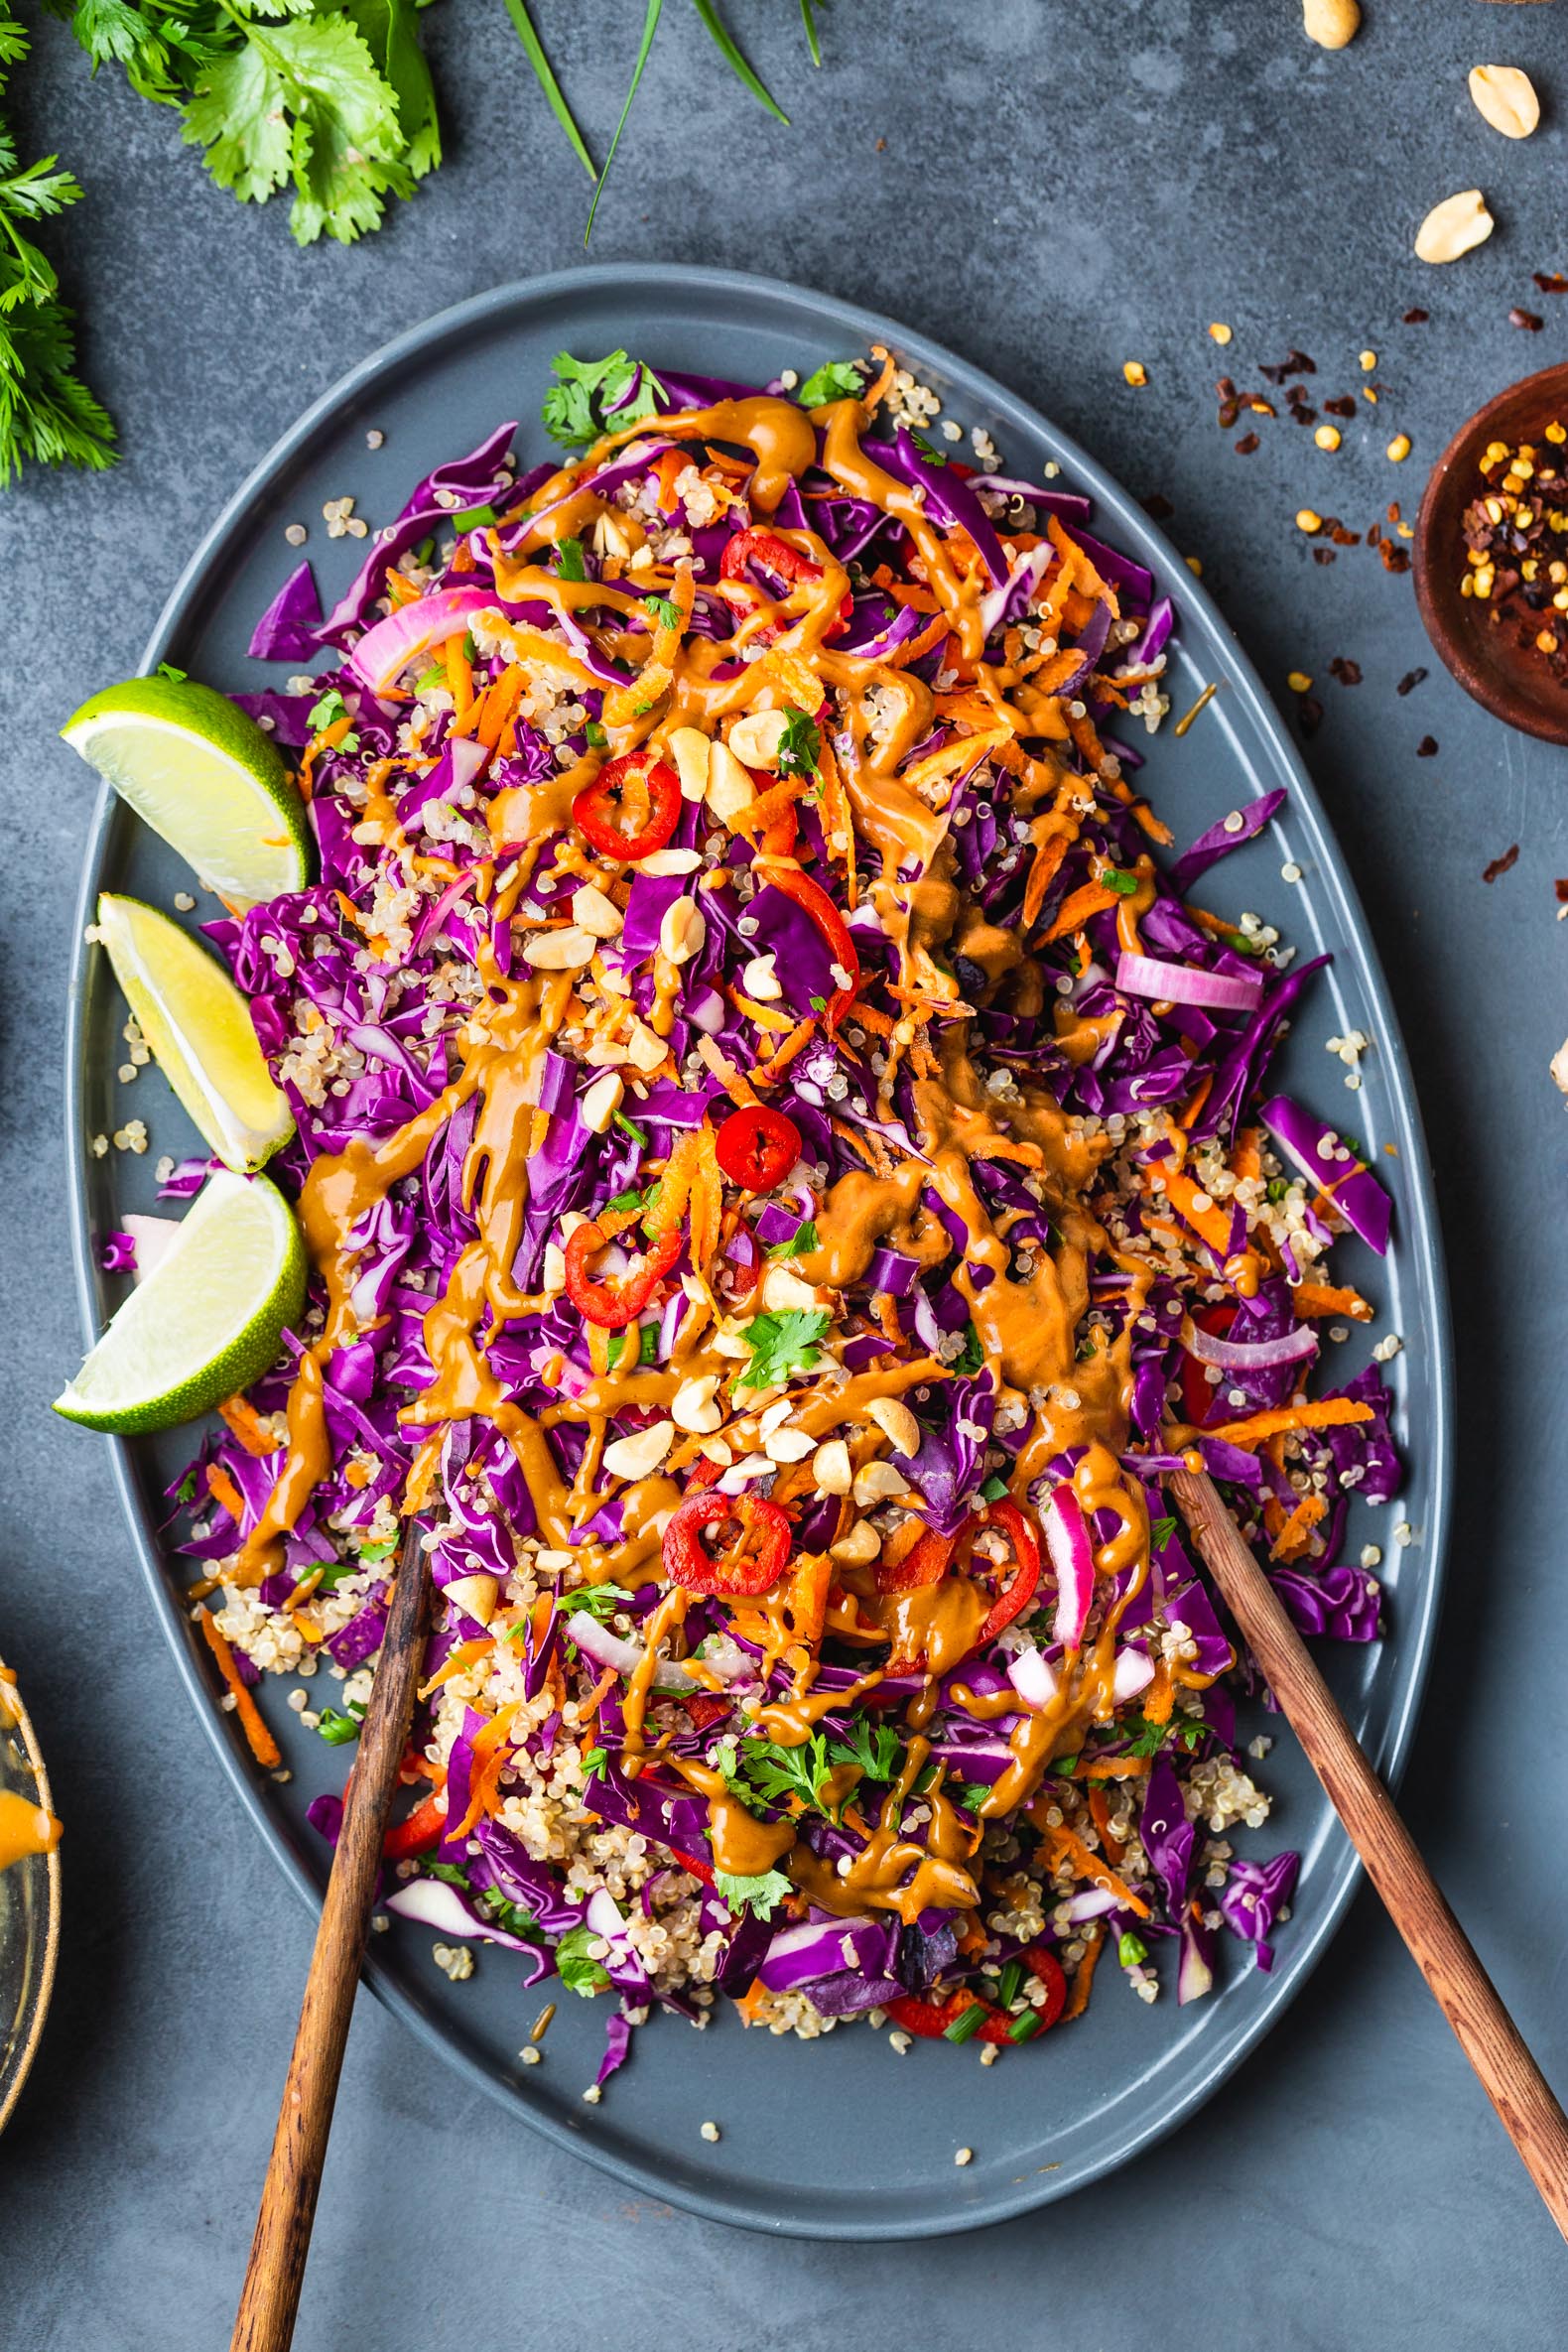
Today I'm sharing 9 Vegetarian Recipes Featuring Quinoa in hopes that it helps you find some weekend cookin[...]
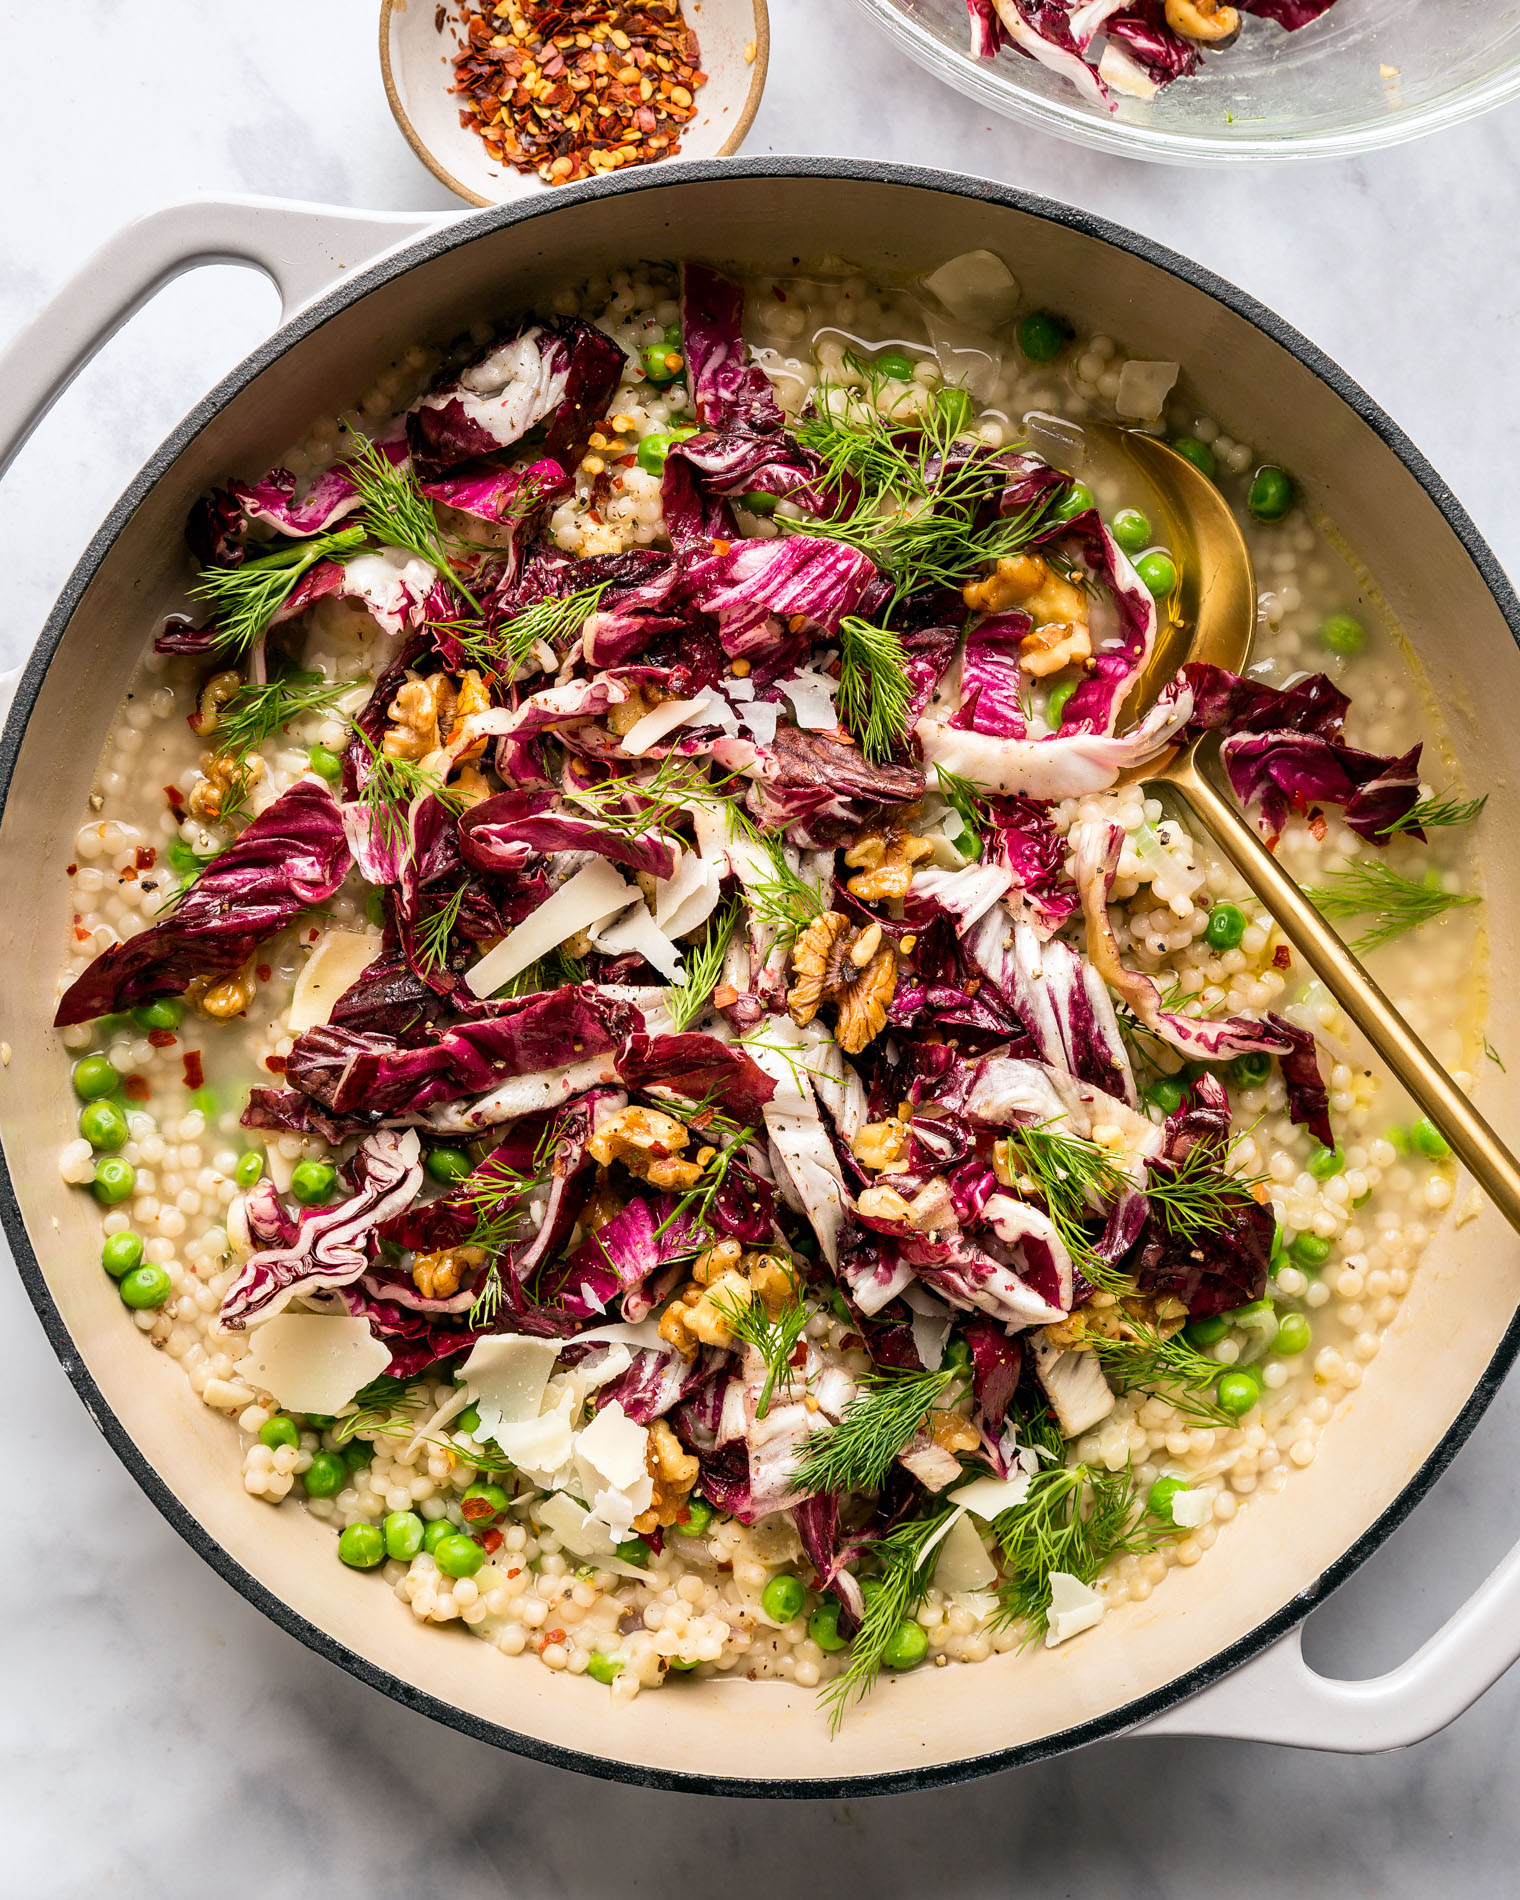
This Risotto-Style Couscous with Peas, Radicchio, & Dill recipe is a quick and simple vegetarian twist[...]
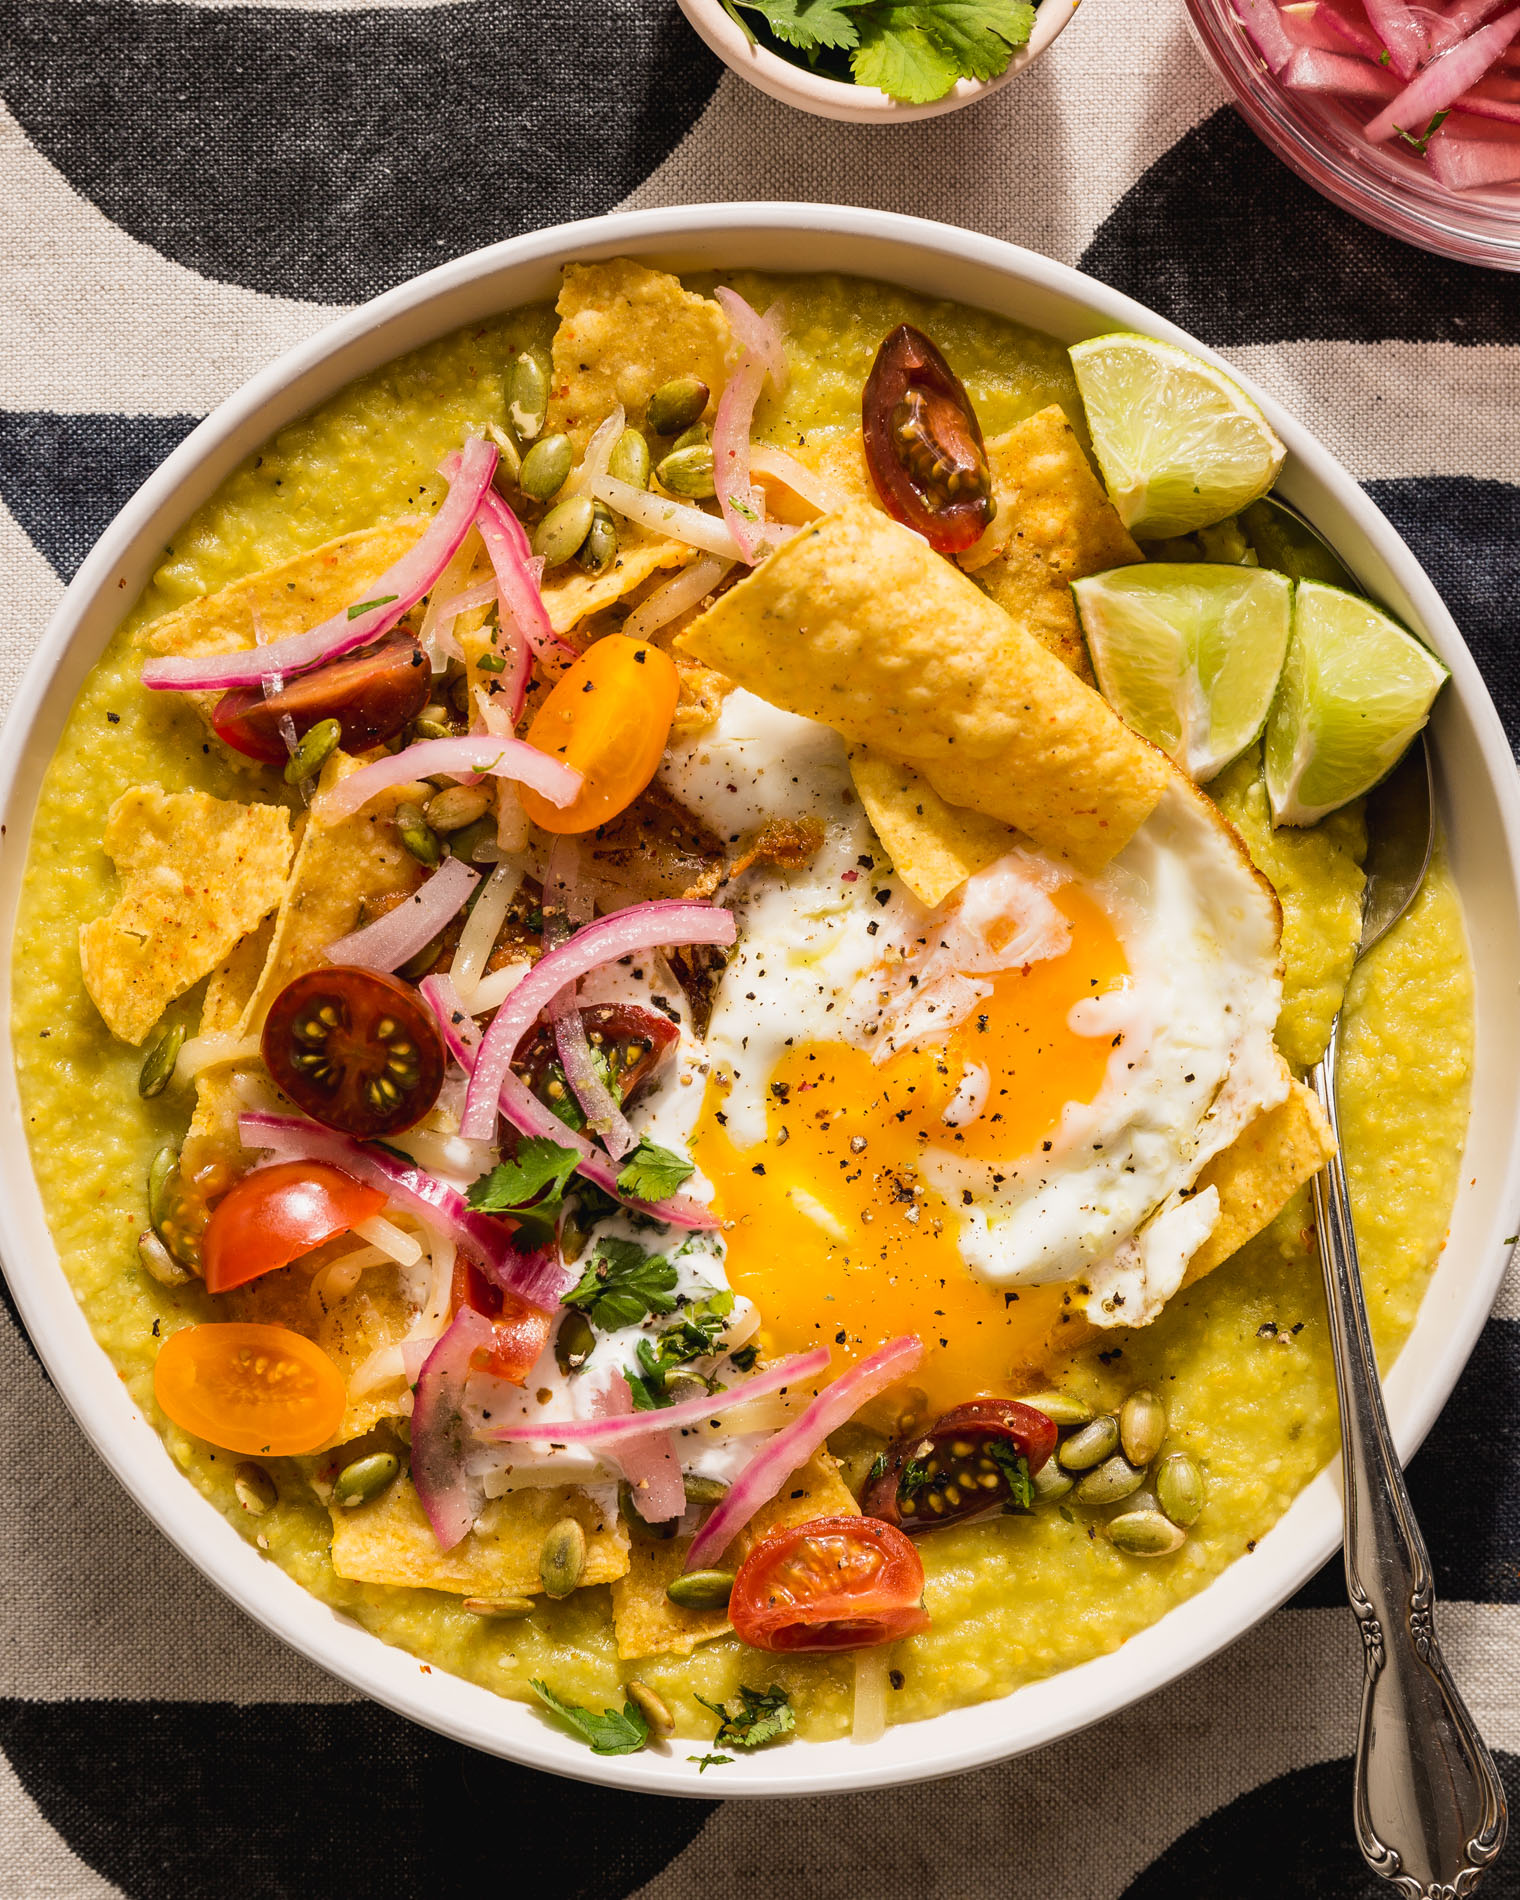
This White Cheddar & Poblano Polenta is a versatile and easy meal that can be topped with anything you'[...]
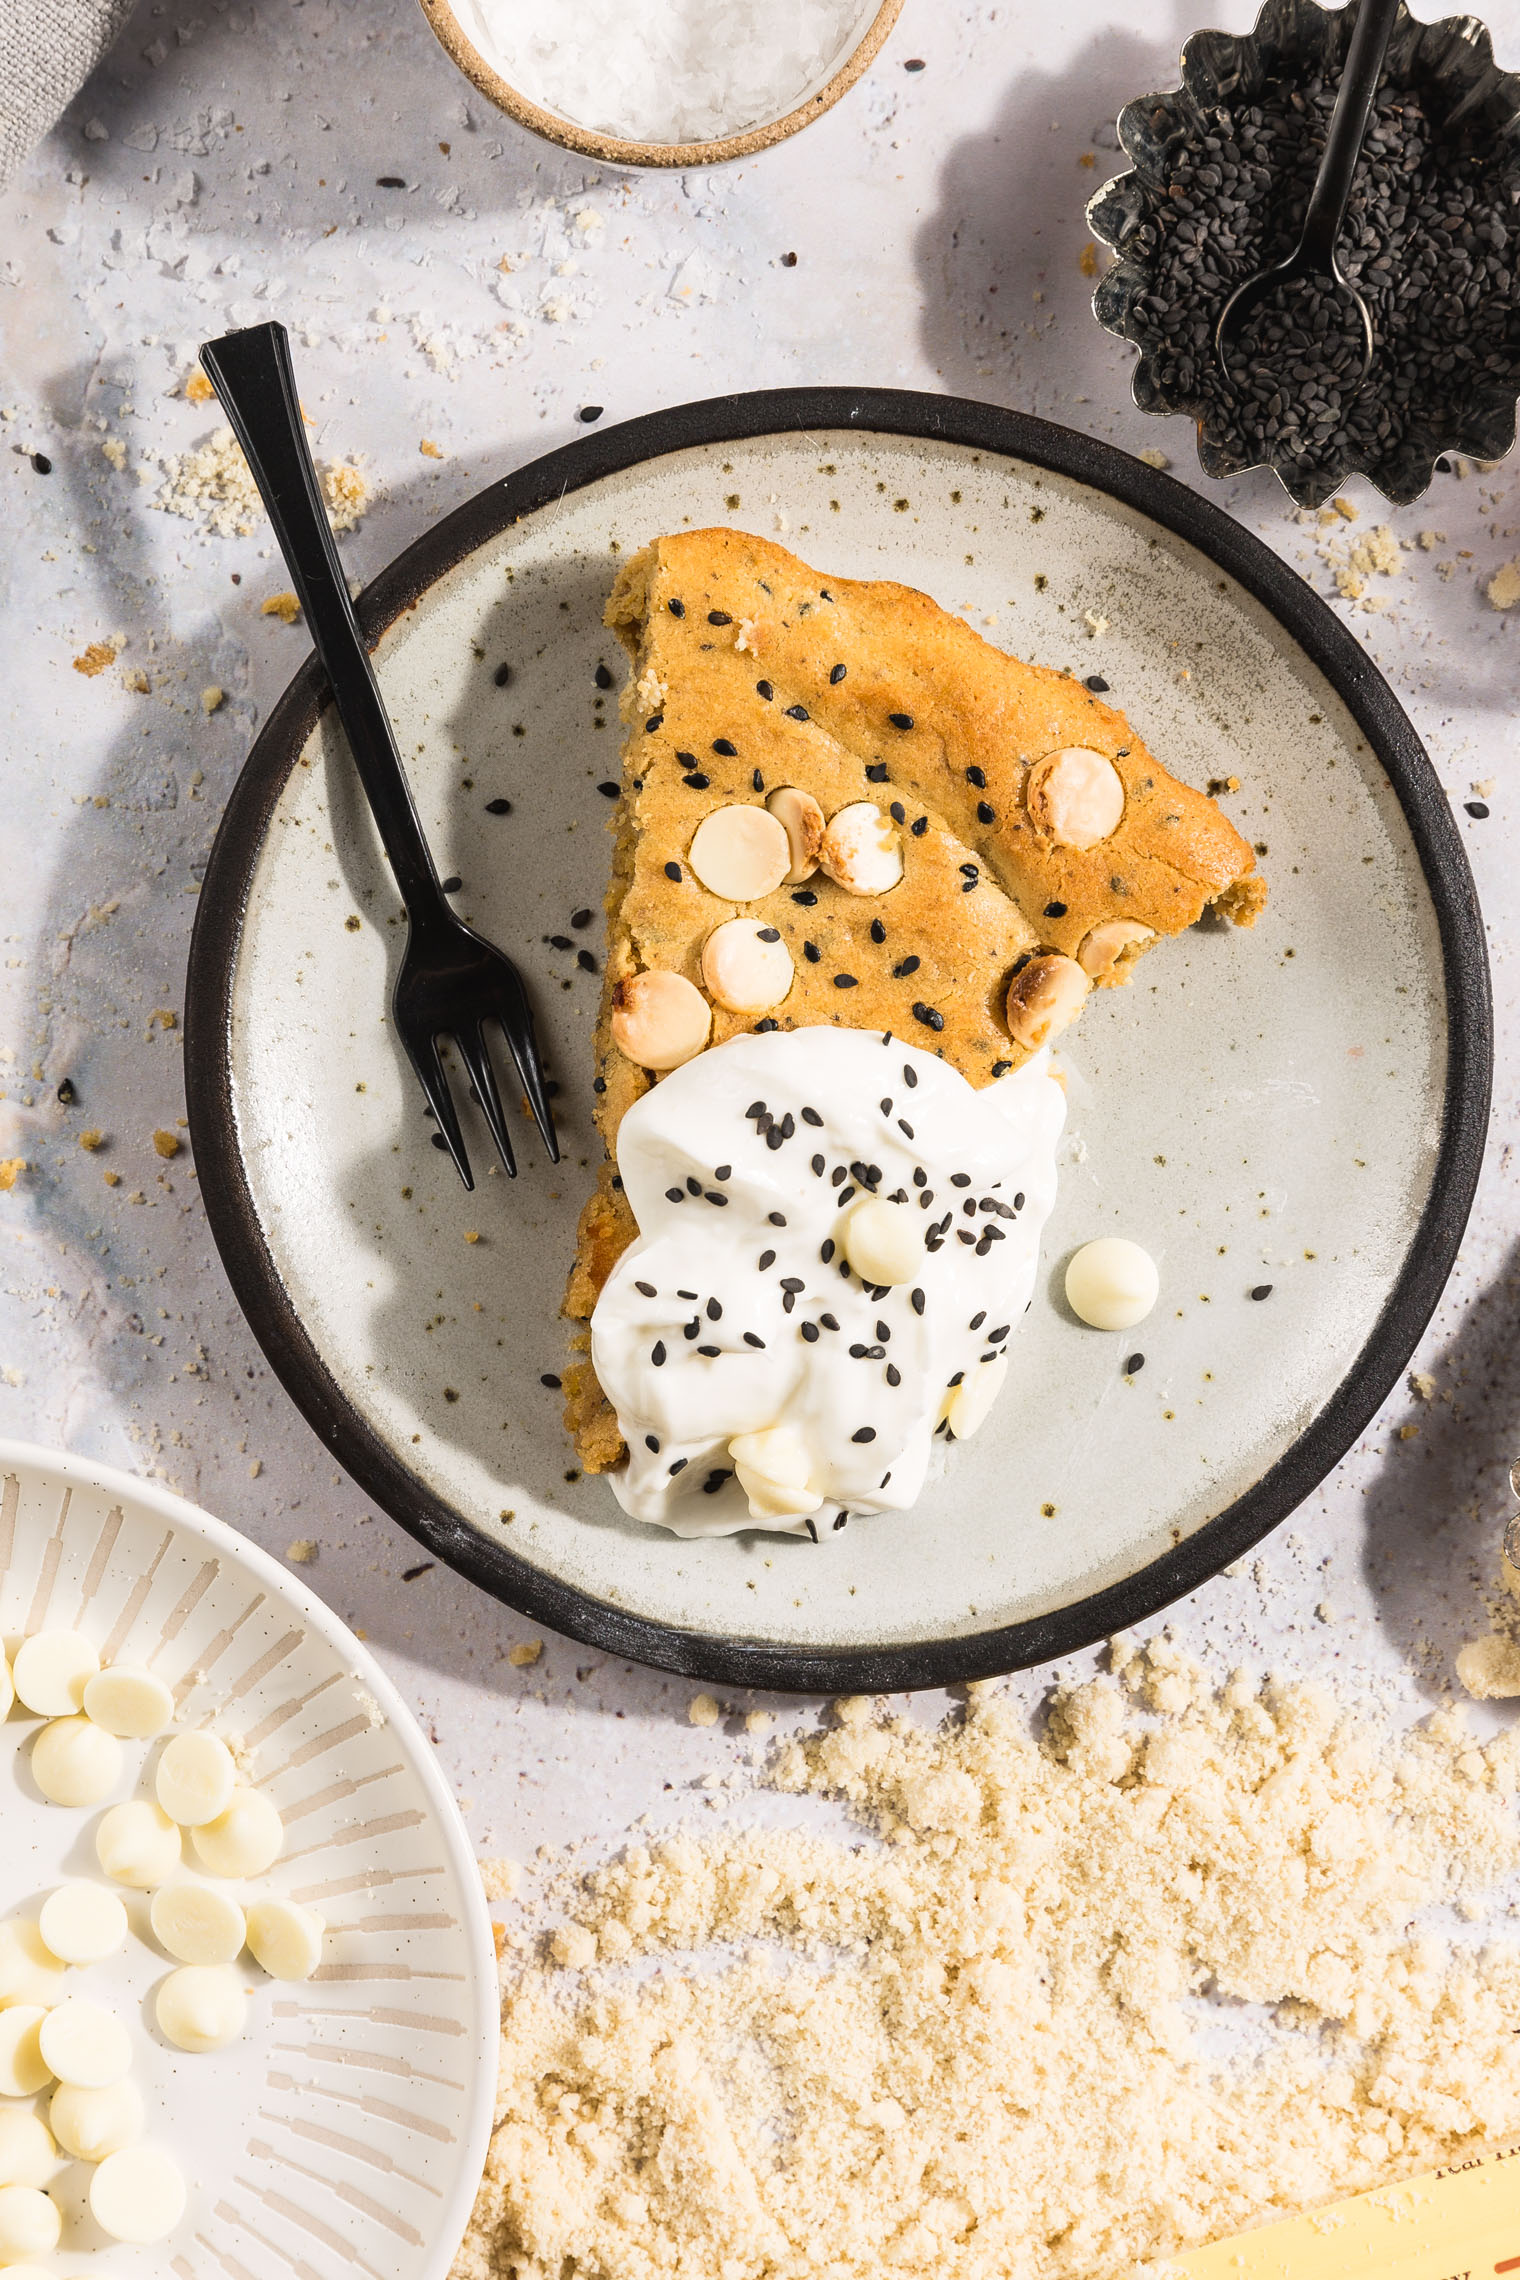
These Black Sesame & White Chocolate Breakfast Blondies are a great breakfast option when you are looki[...]
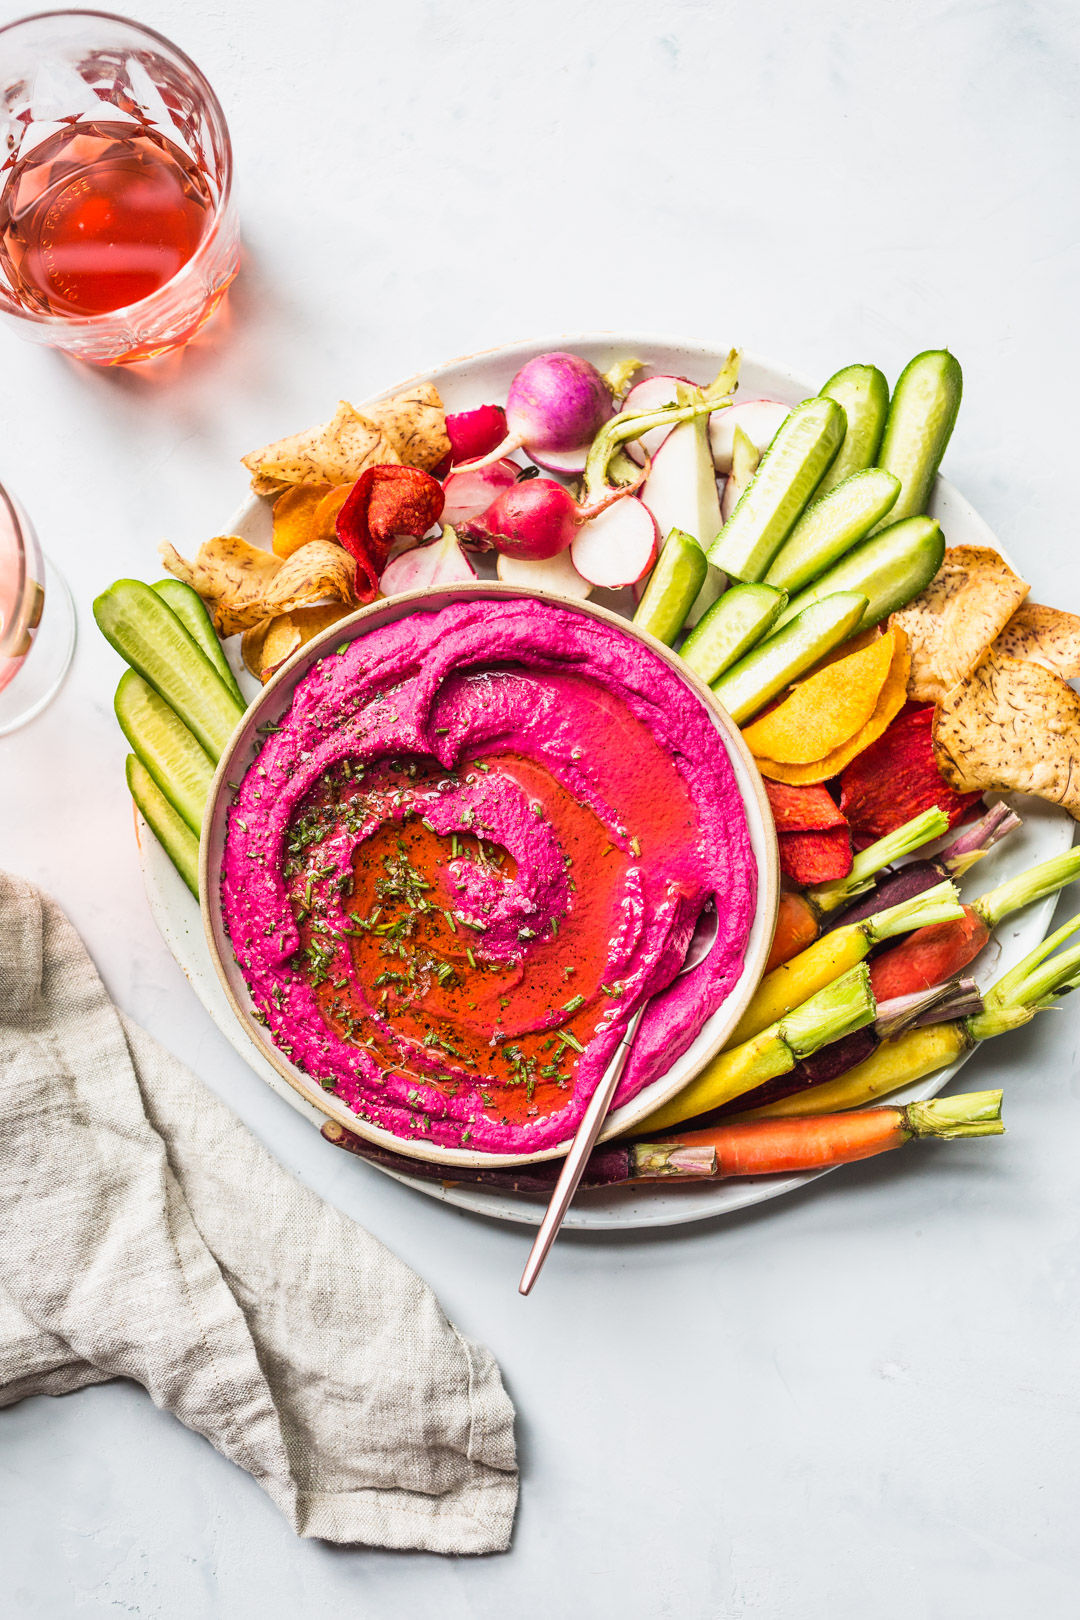
Say goodbye to that boring store-bought hummus you always wish tasted just a little bit better. I've got 7[...]
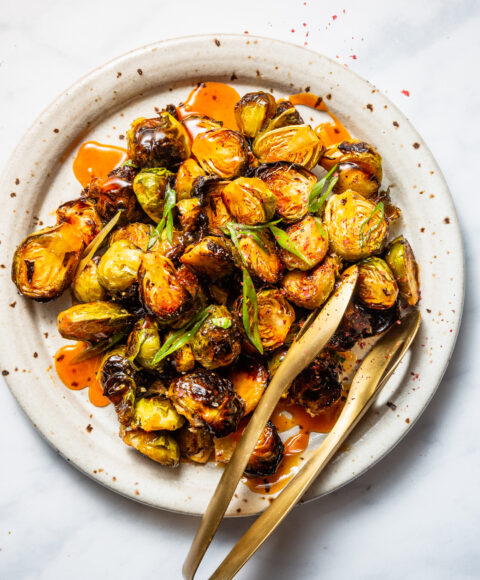
This Roasted Brussels Sprouts with Spicy Sweet Buffalo Glaze is an easy veg-packed Thanksgiving side that i[...]
This is a sponsored conversation written by me on behalf of KitchnAid. The opinions and text are all mine.[...]

This Butternut Squash Hummus with Brown Butter & Fried Sage is an fall easy appetizer and snack. The nu[...]
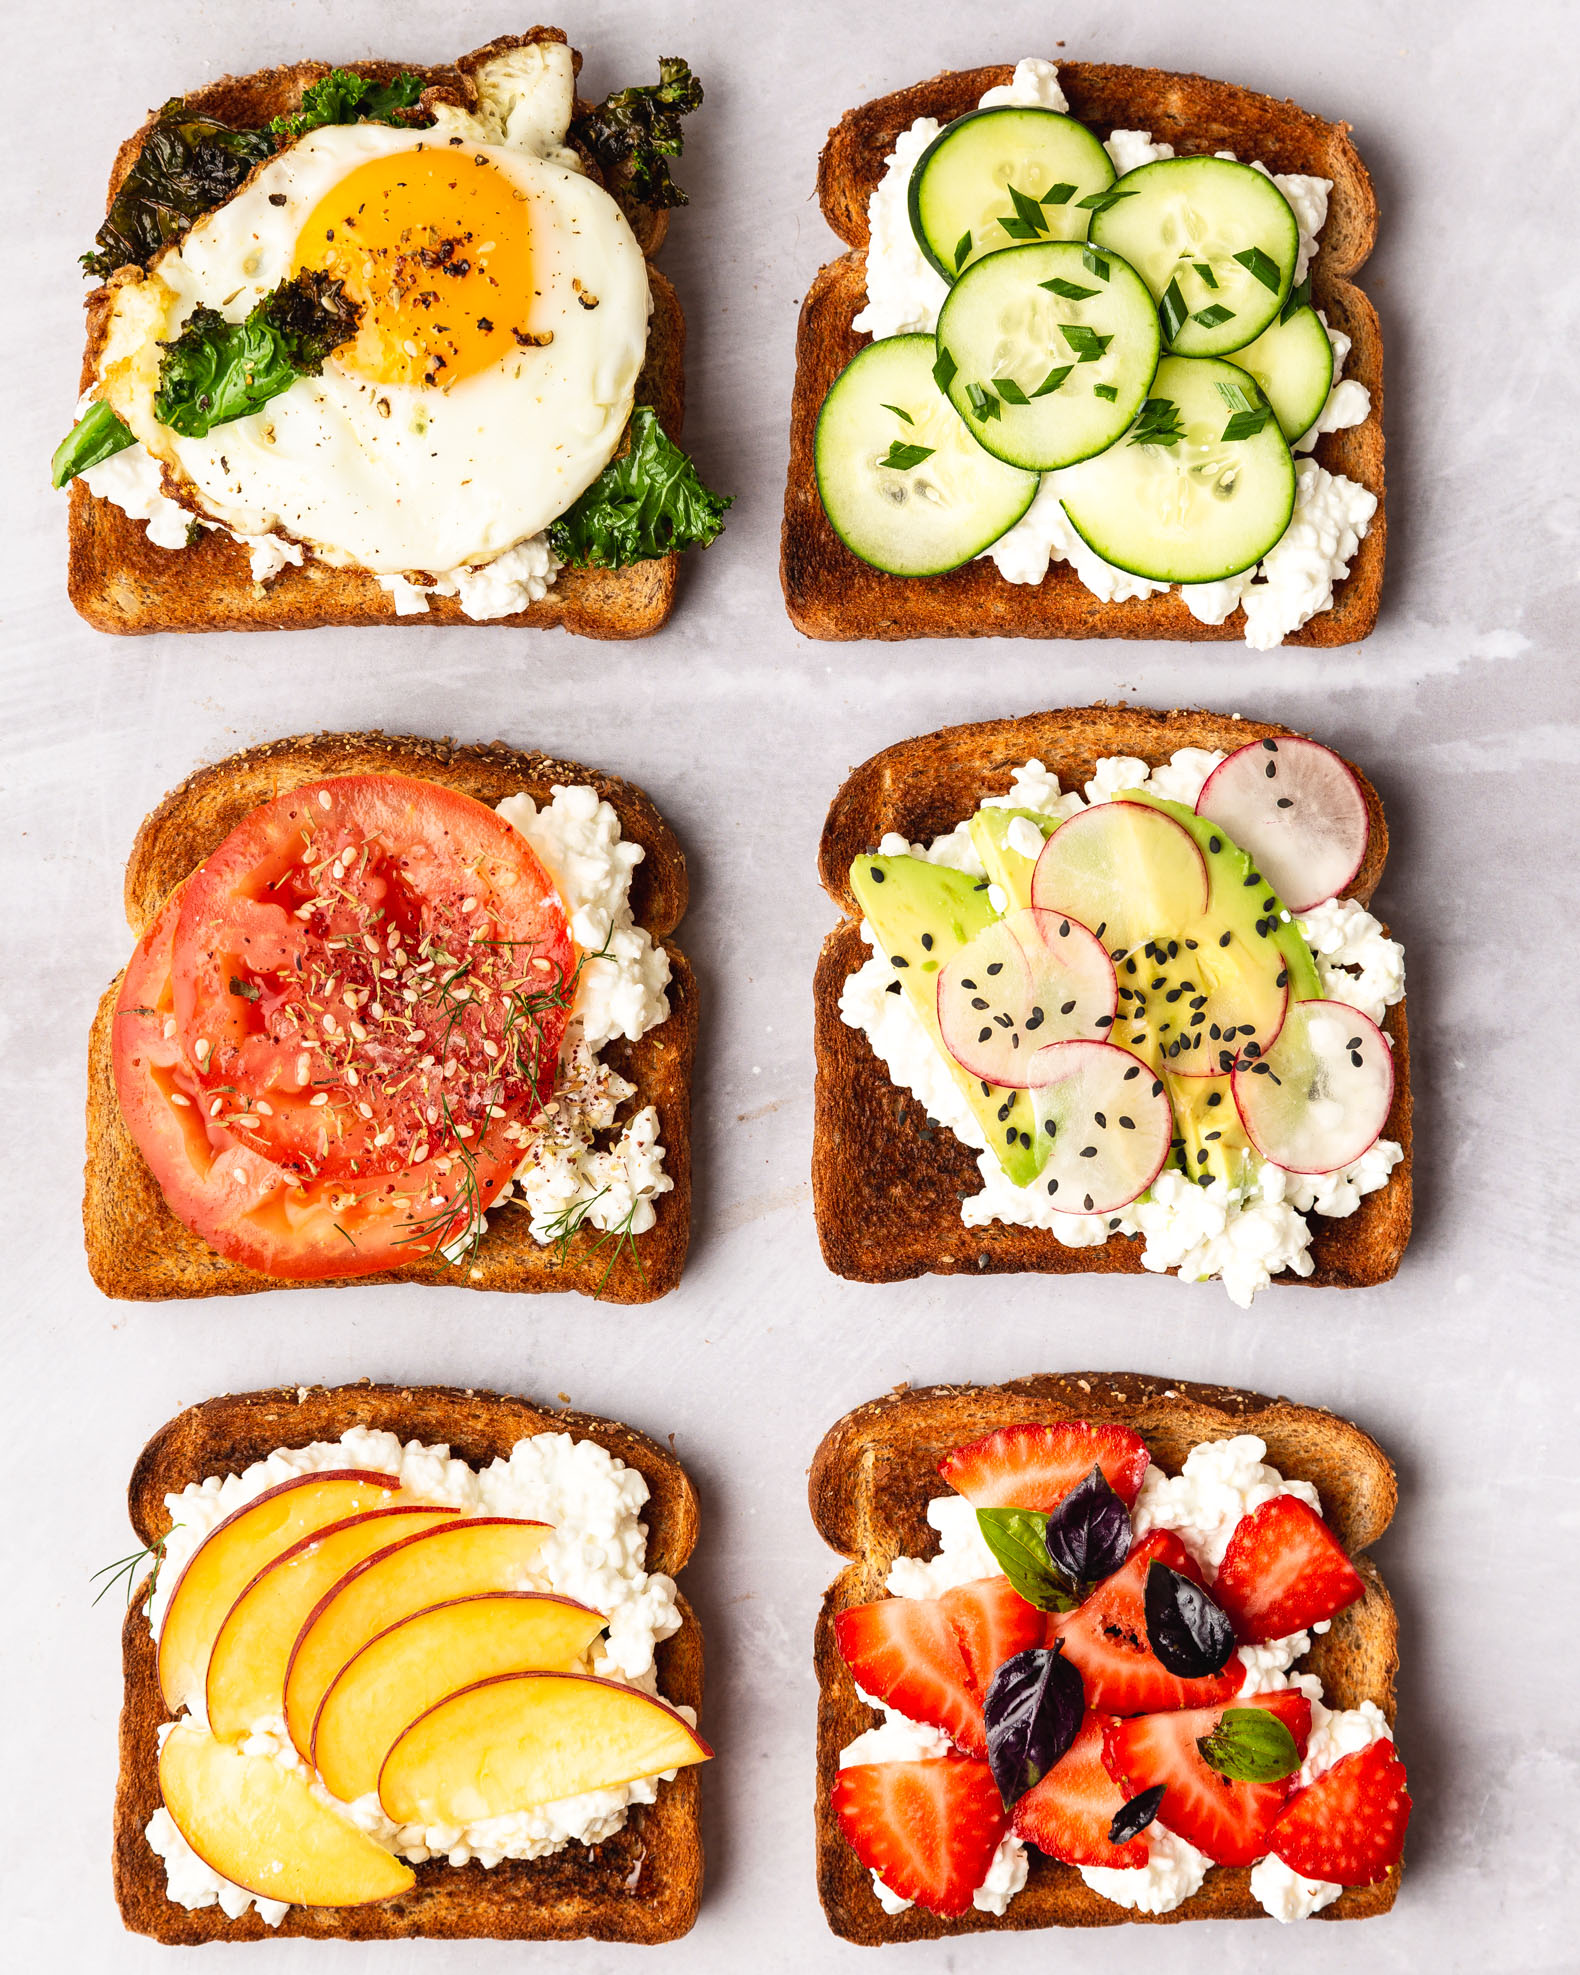
On today’s Simple Sunday feature, we are covering cottage cheese toast ideas! It's time to bring this che[...]
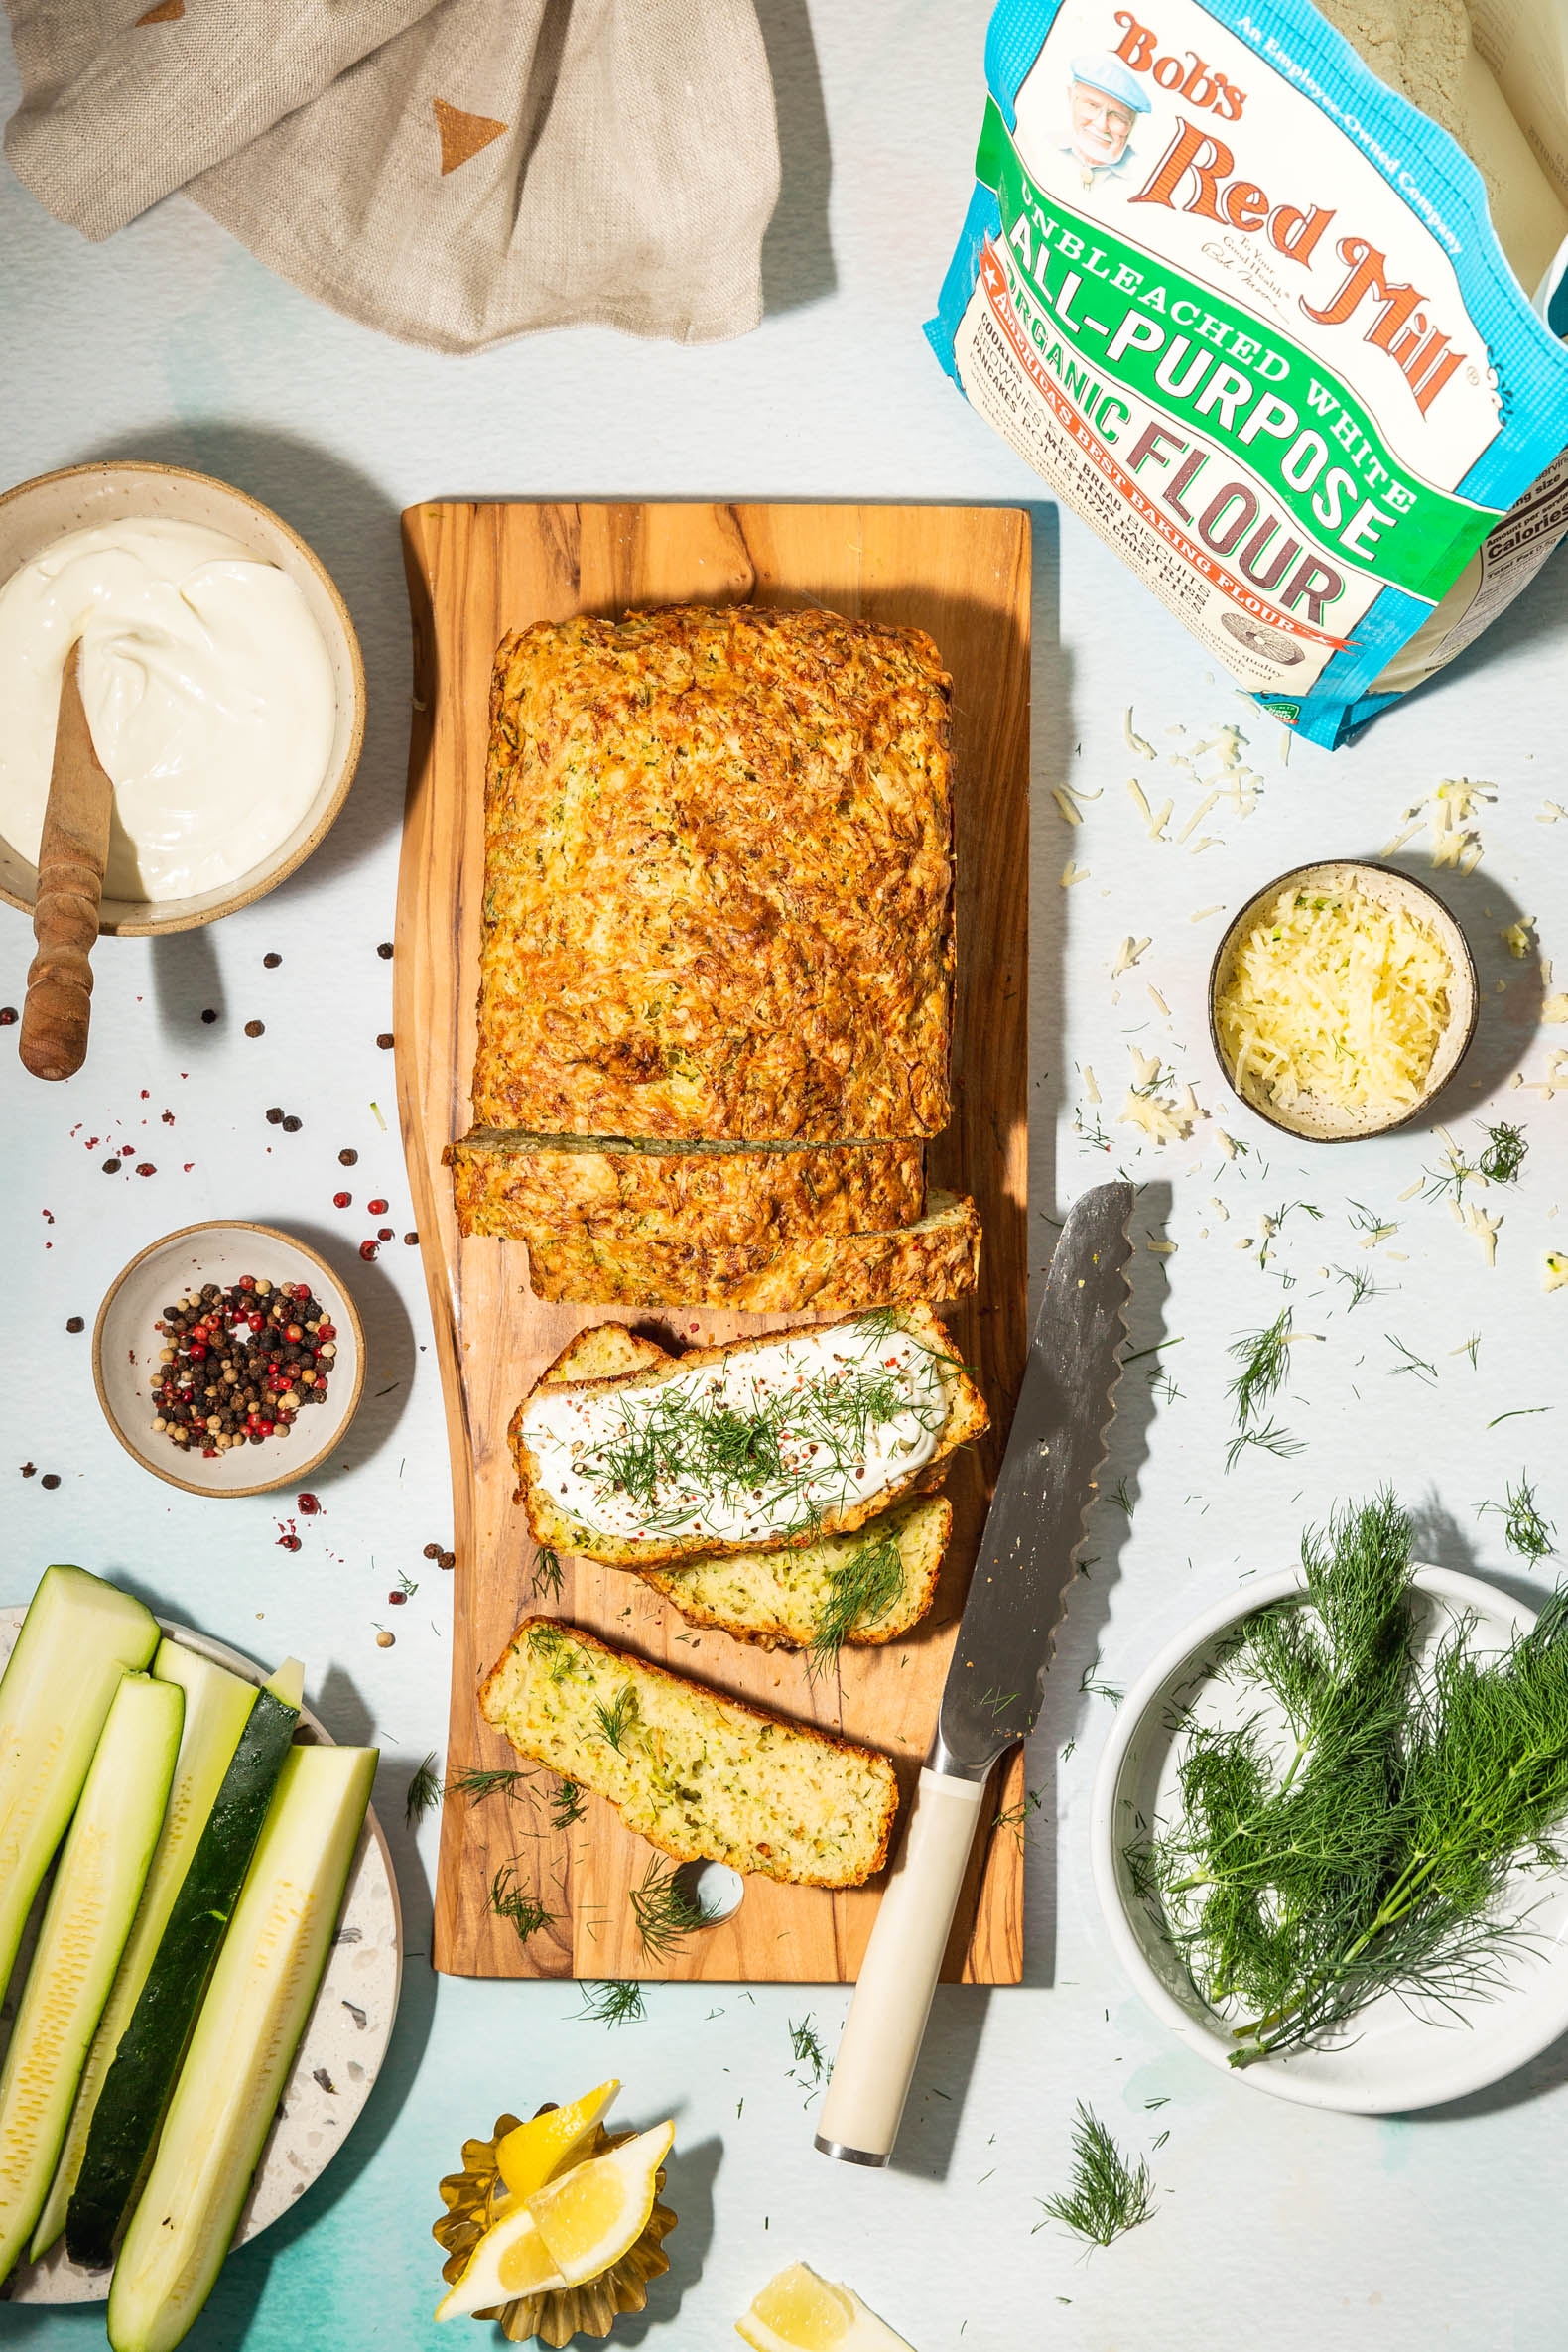
This Savory Zucchini Cheese Bread With Whipped Goat Cheese & Dill is the perfect quick bread for summer[...]
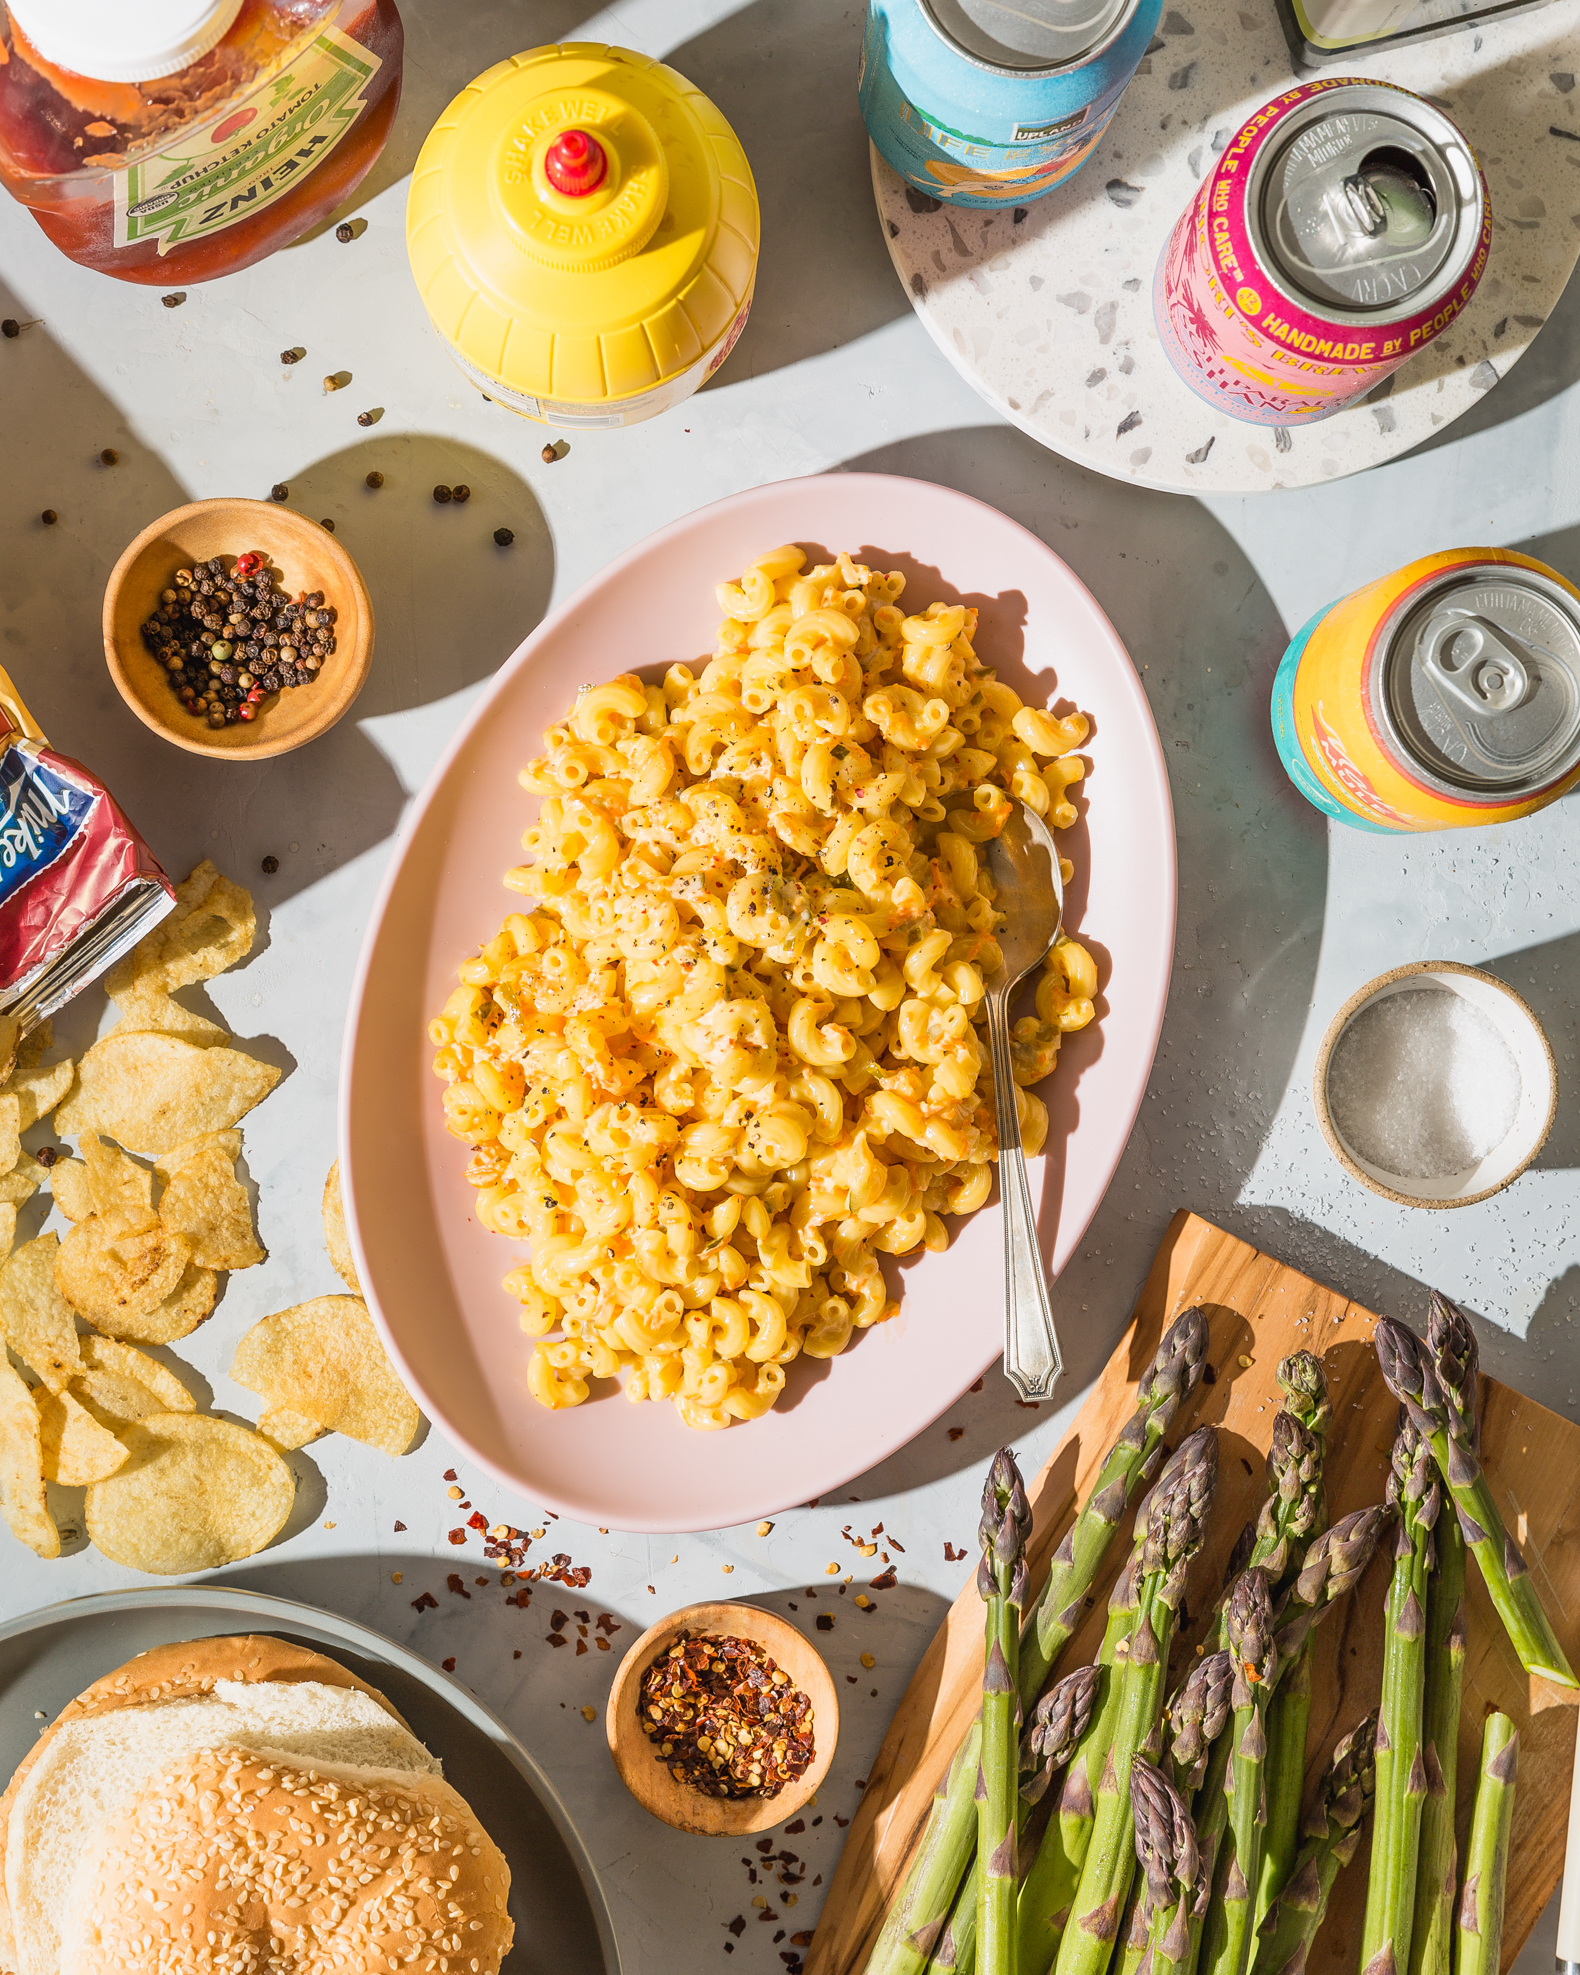
This delicious Mac Salad is from the gorgeous Aloha Kitchen, a cookbook by Alana Kysar with recipes from Ha[...]
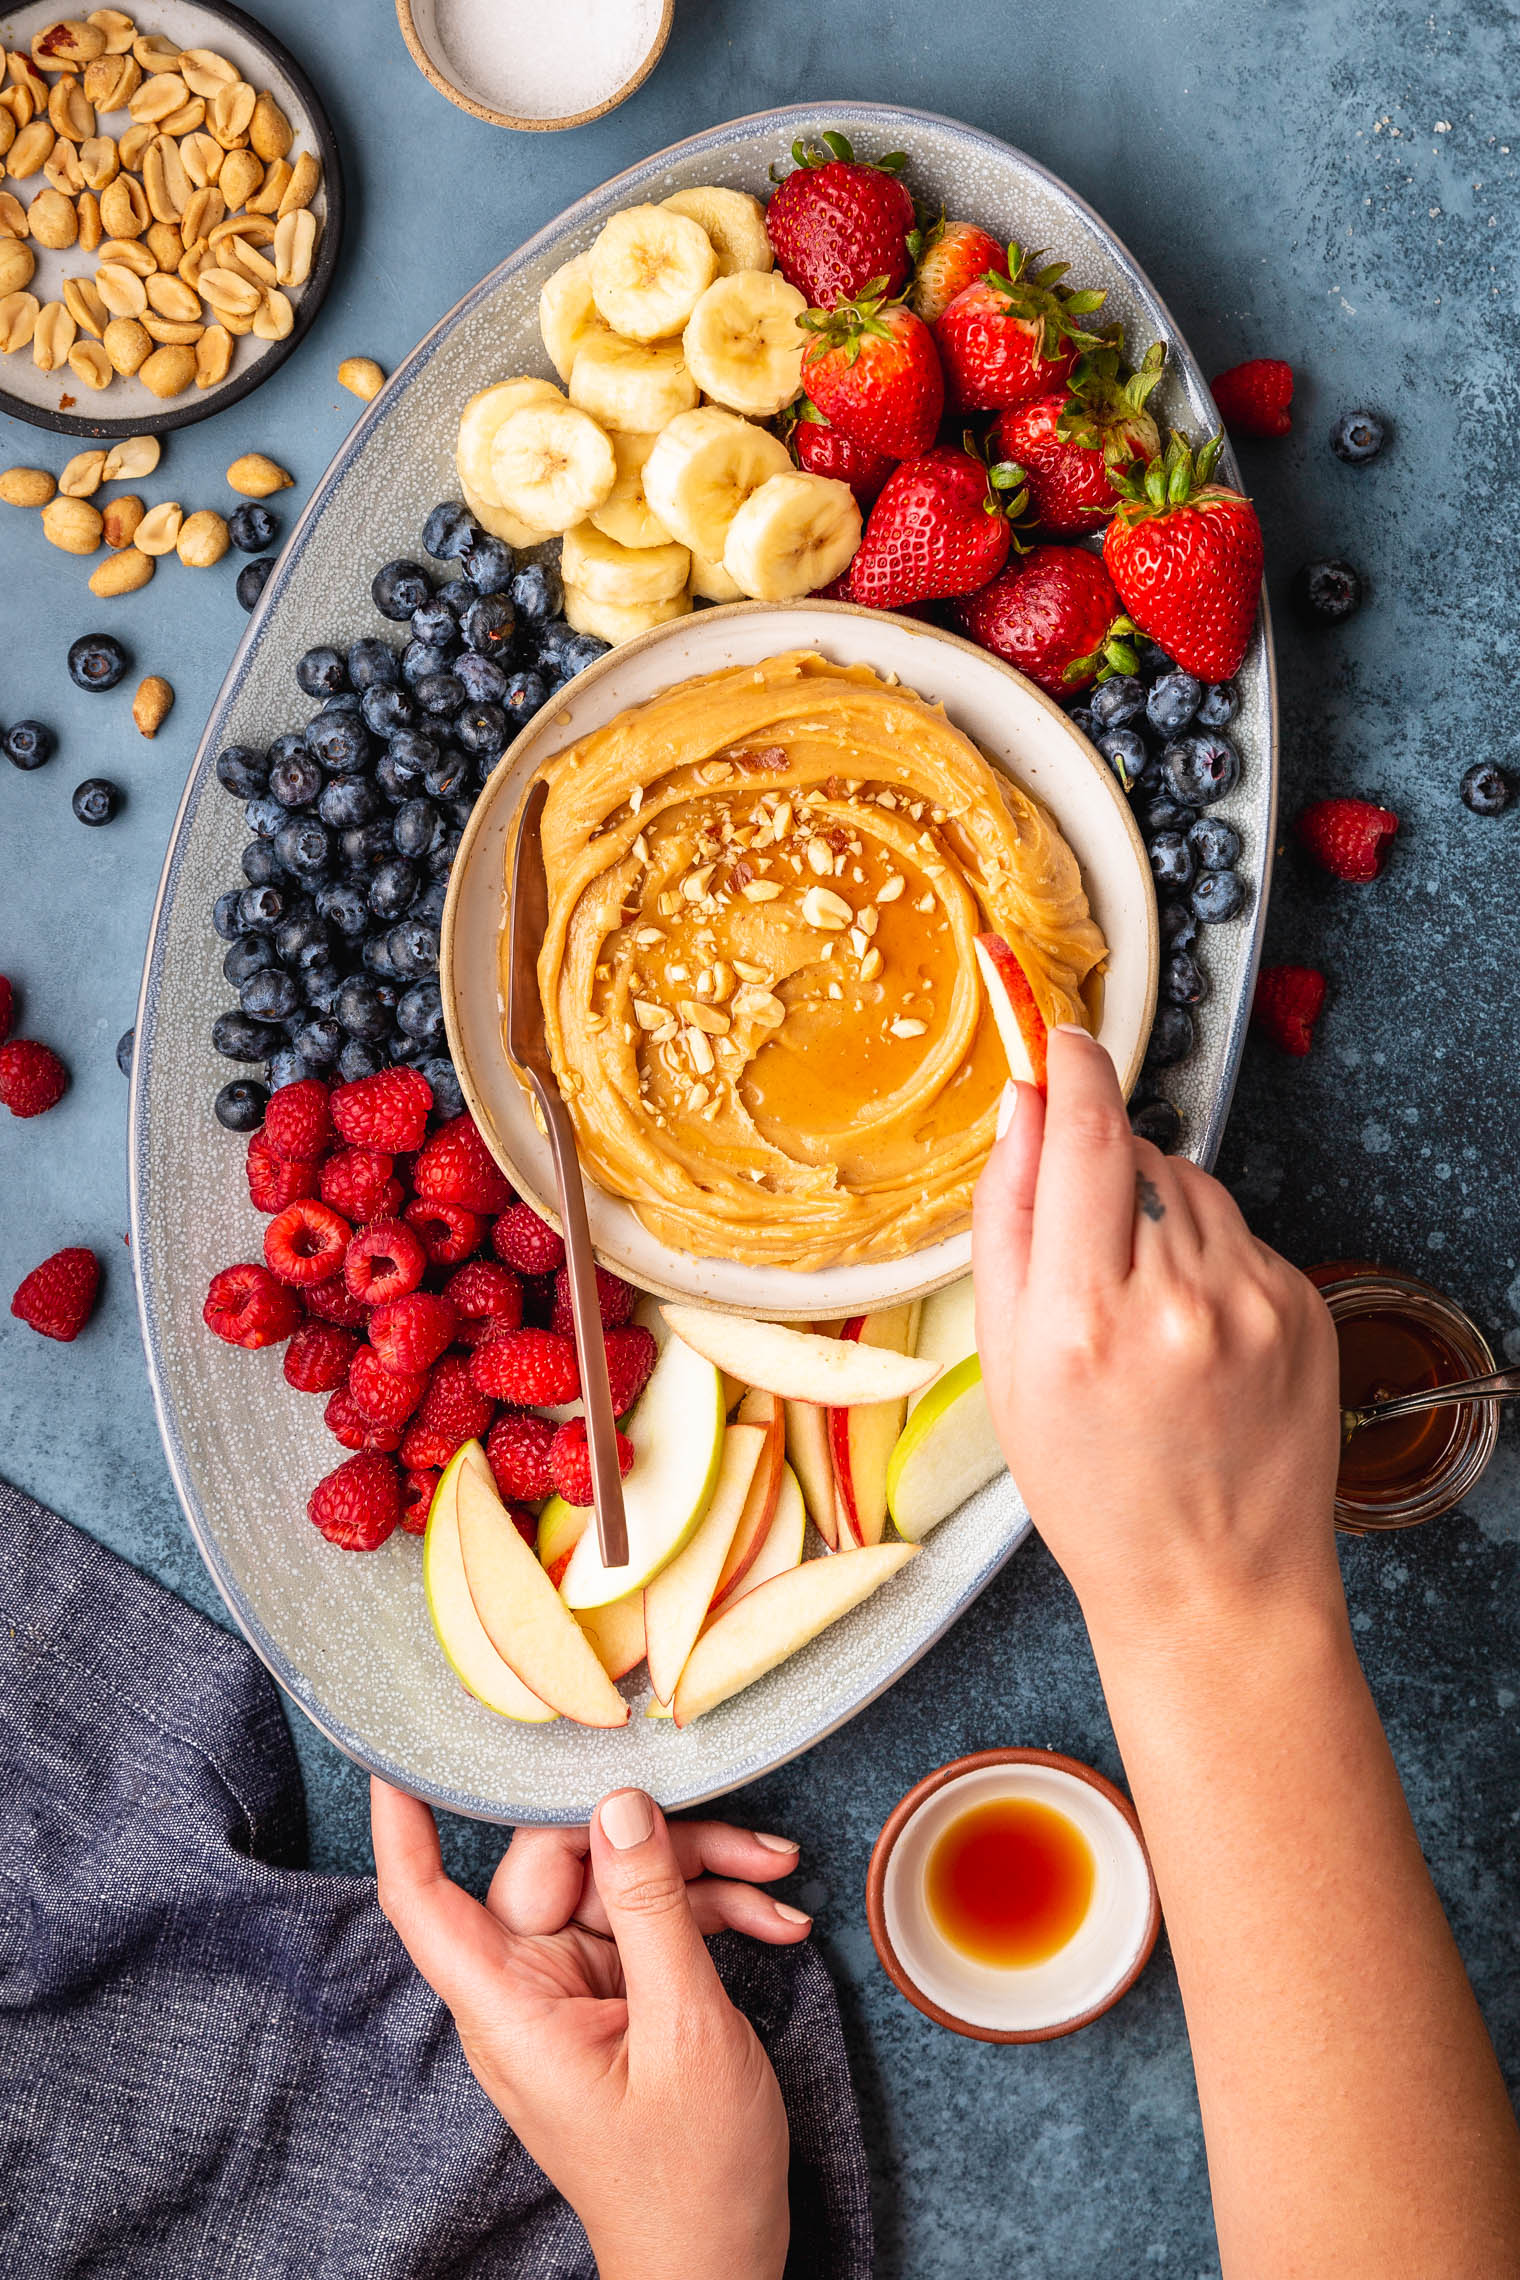
This Sweet Peanut Butter Mascarpone Fruit Dip is just waiting to be whipped up at your next gathering! It c[...]
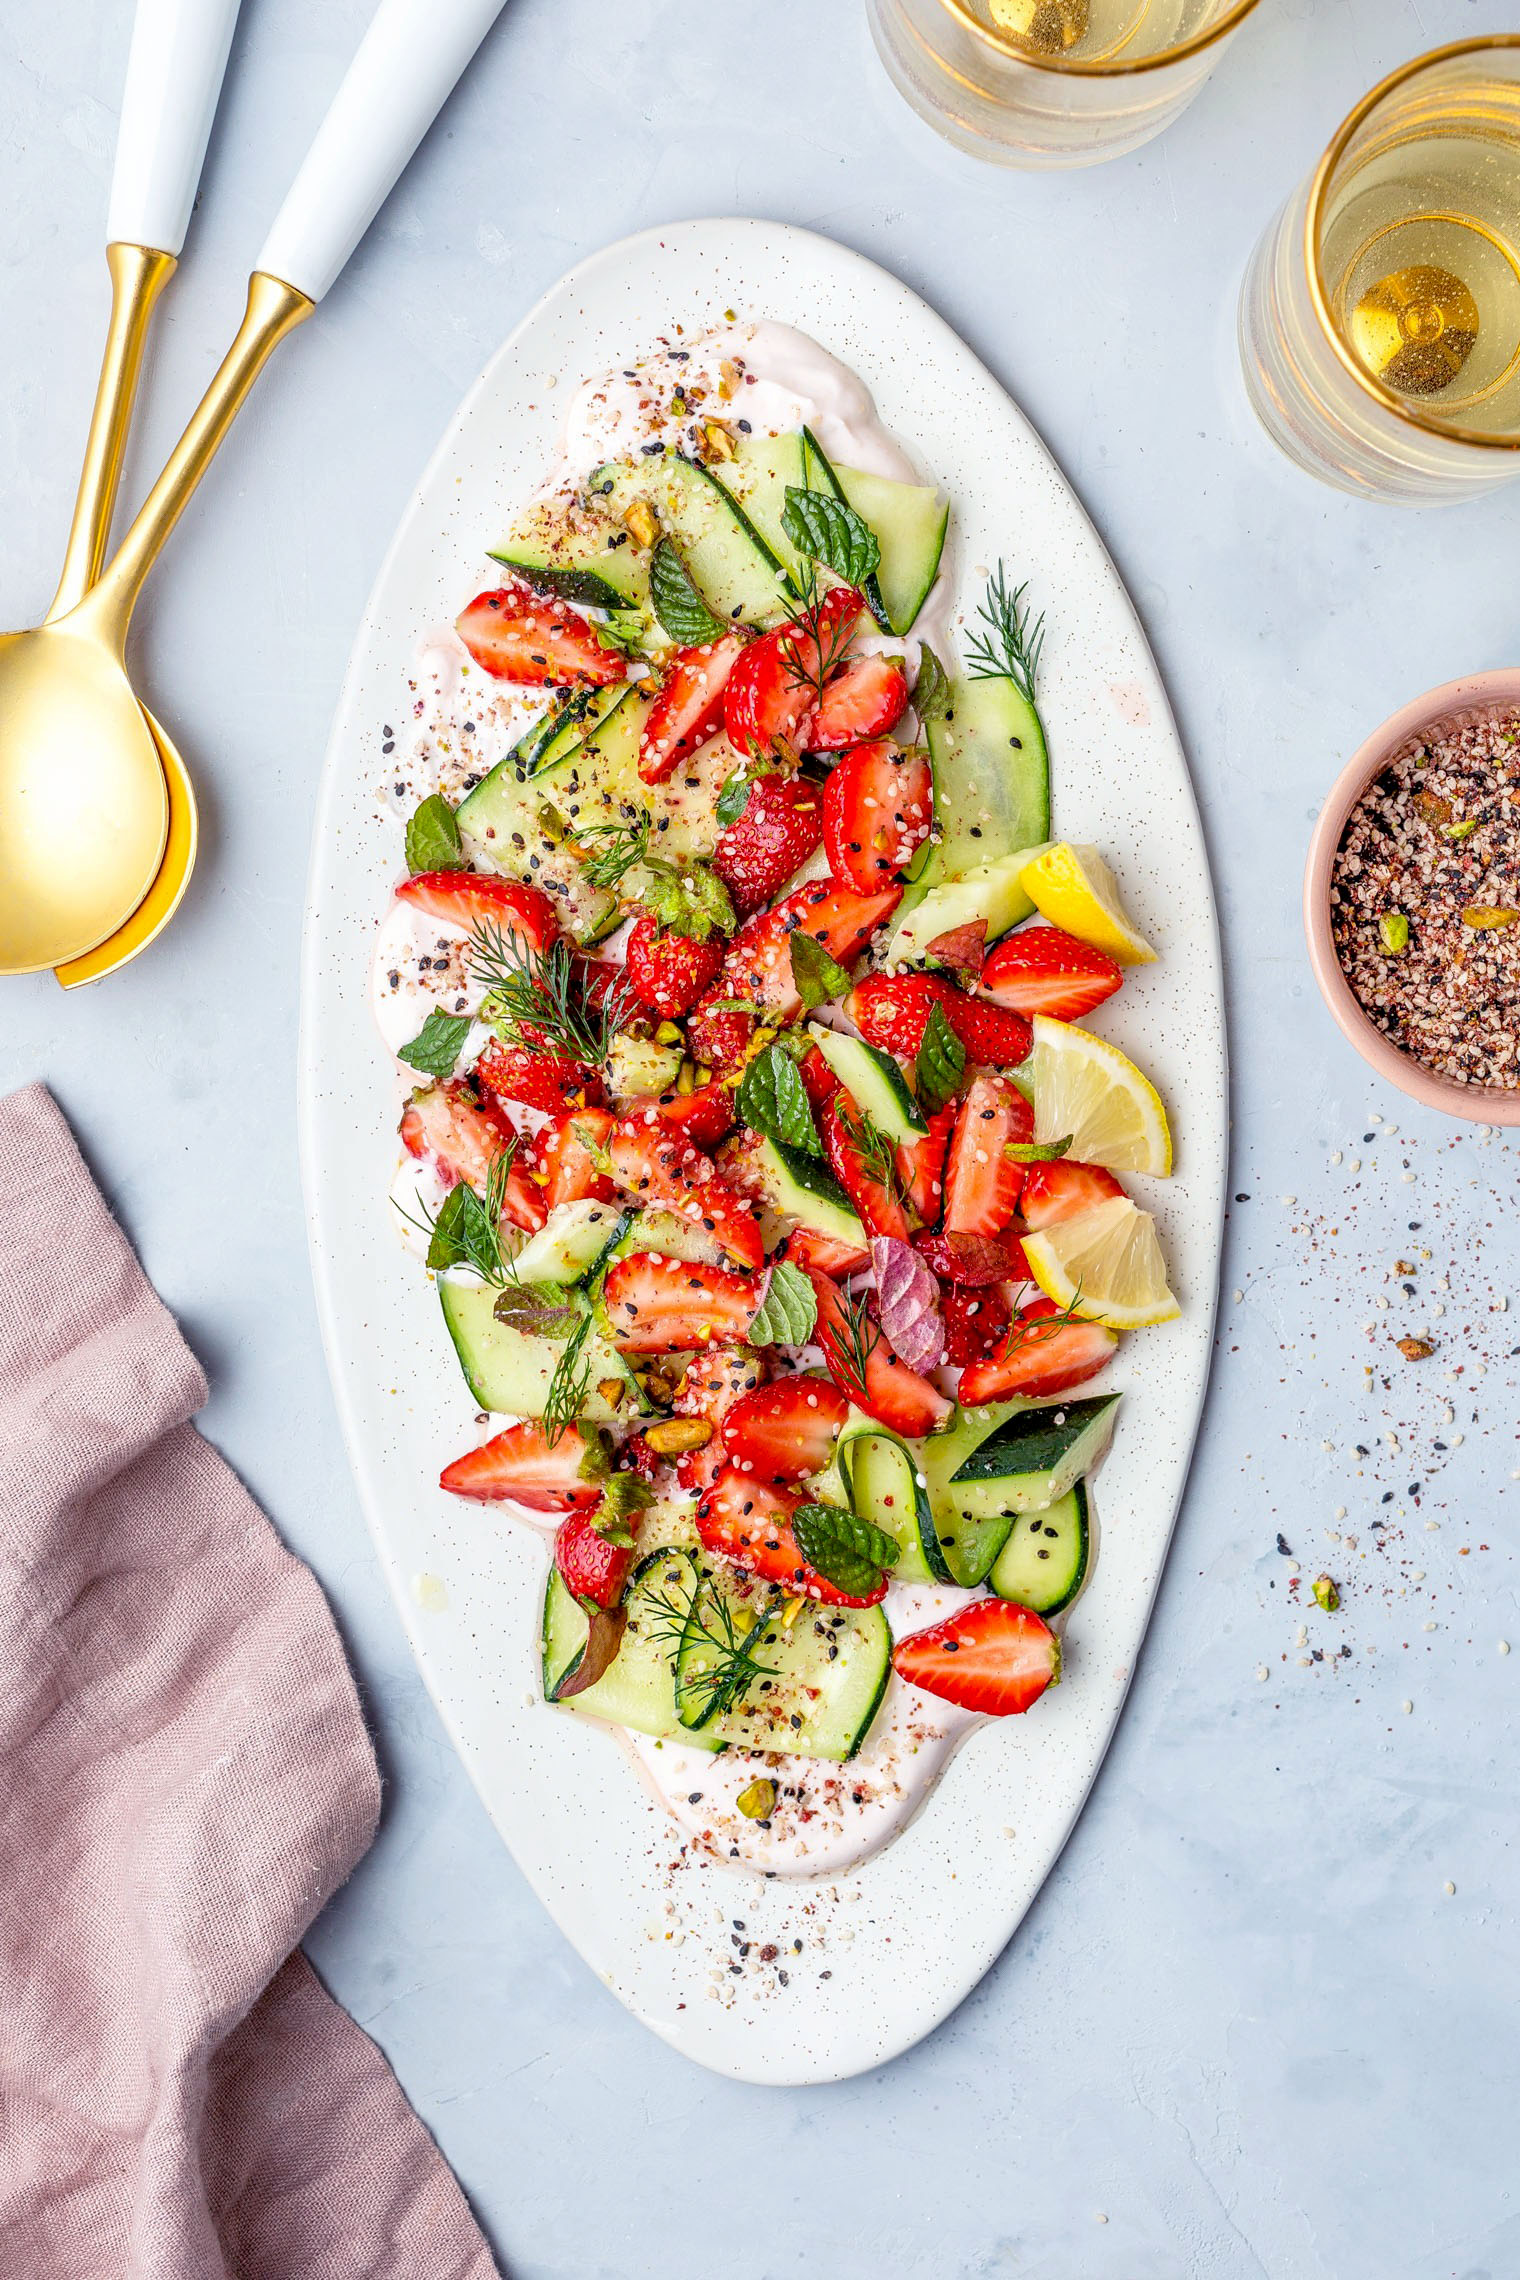
This Cucumber Salad Recipe With Strawberry Yogurt & Pistachio Za'atar is an easy and delicious summer s[...]
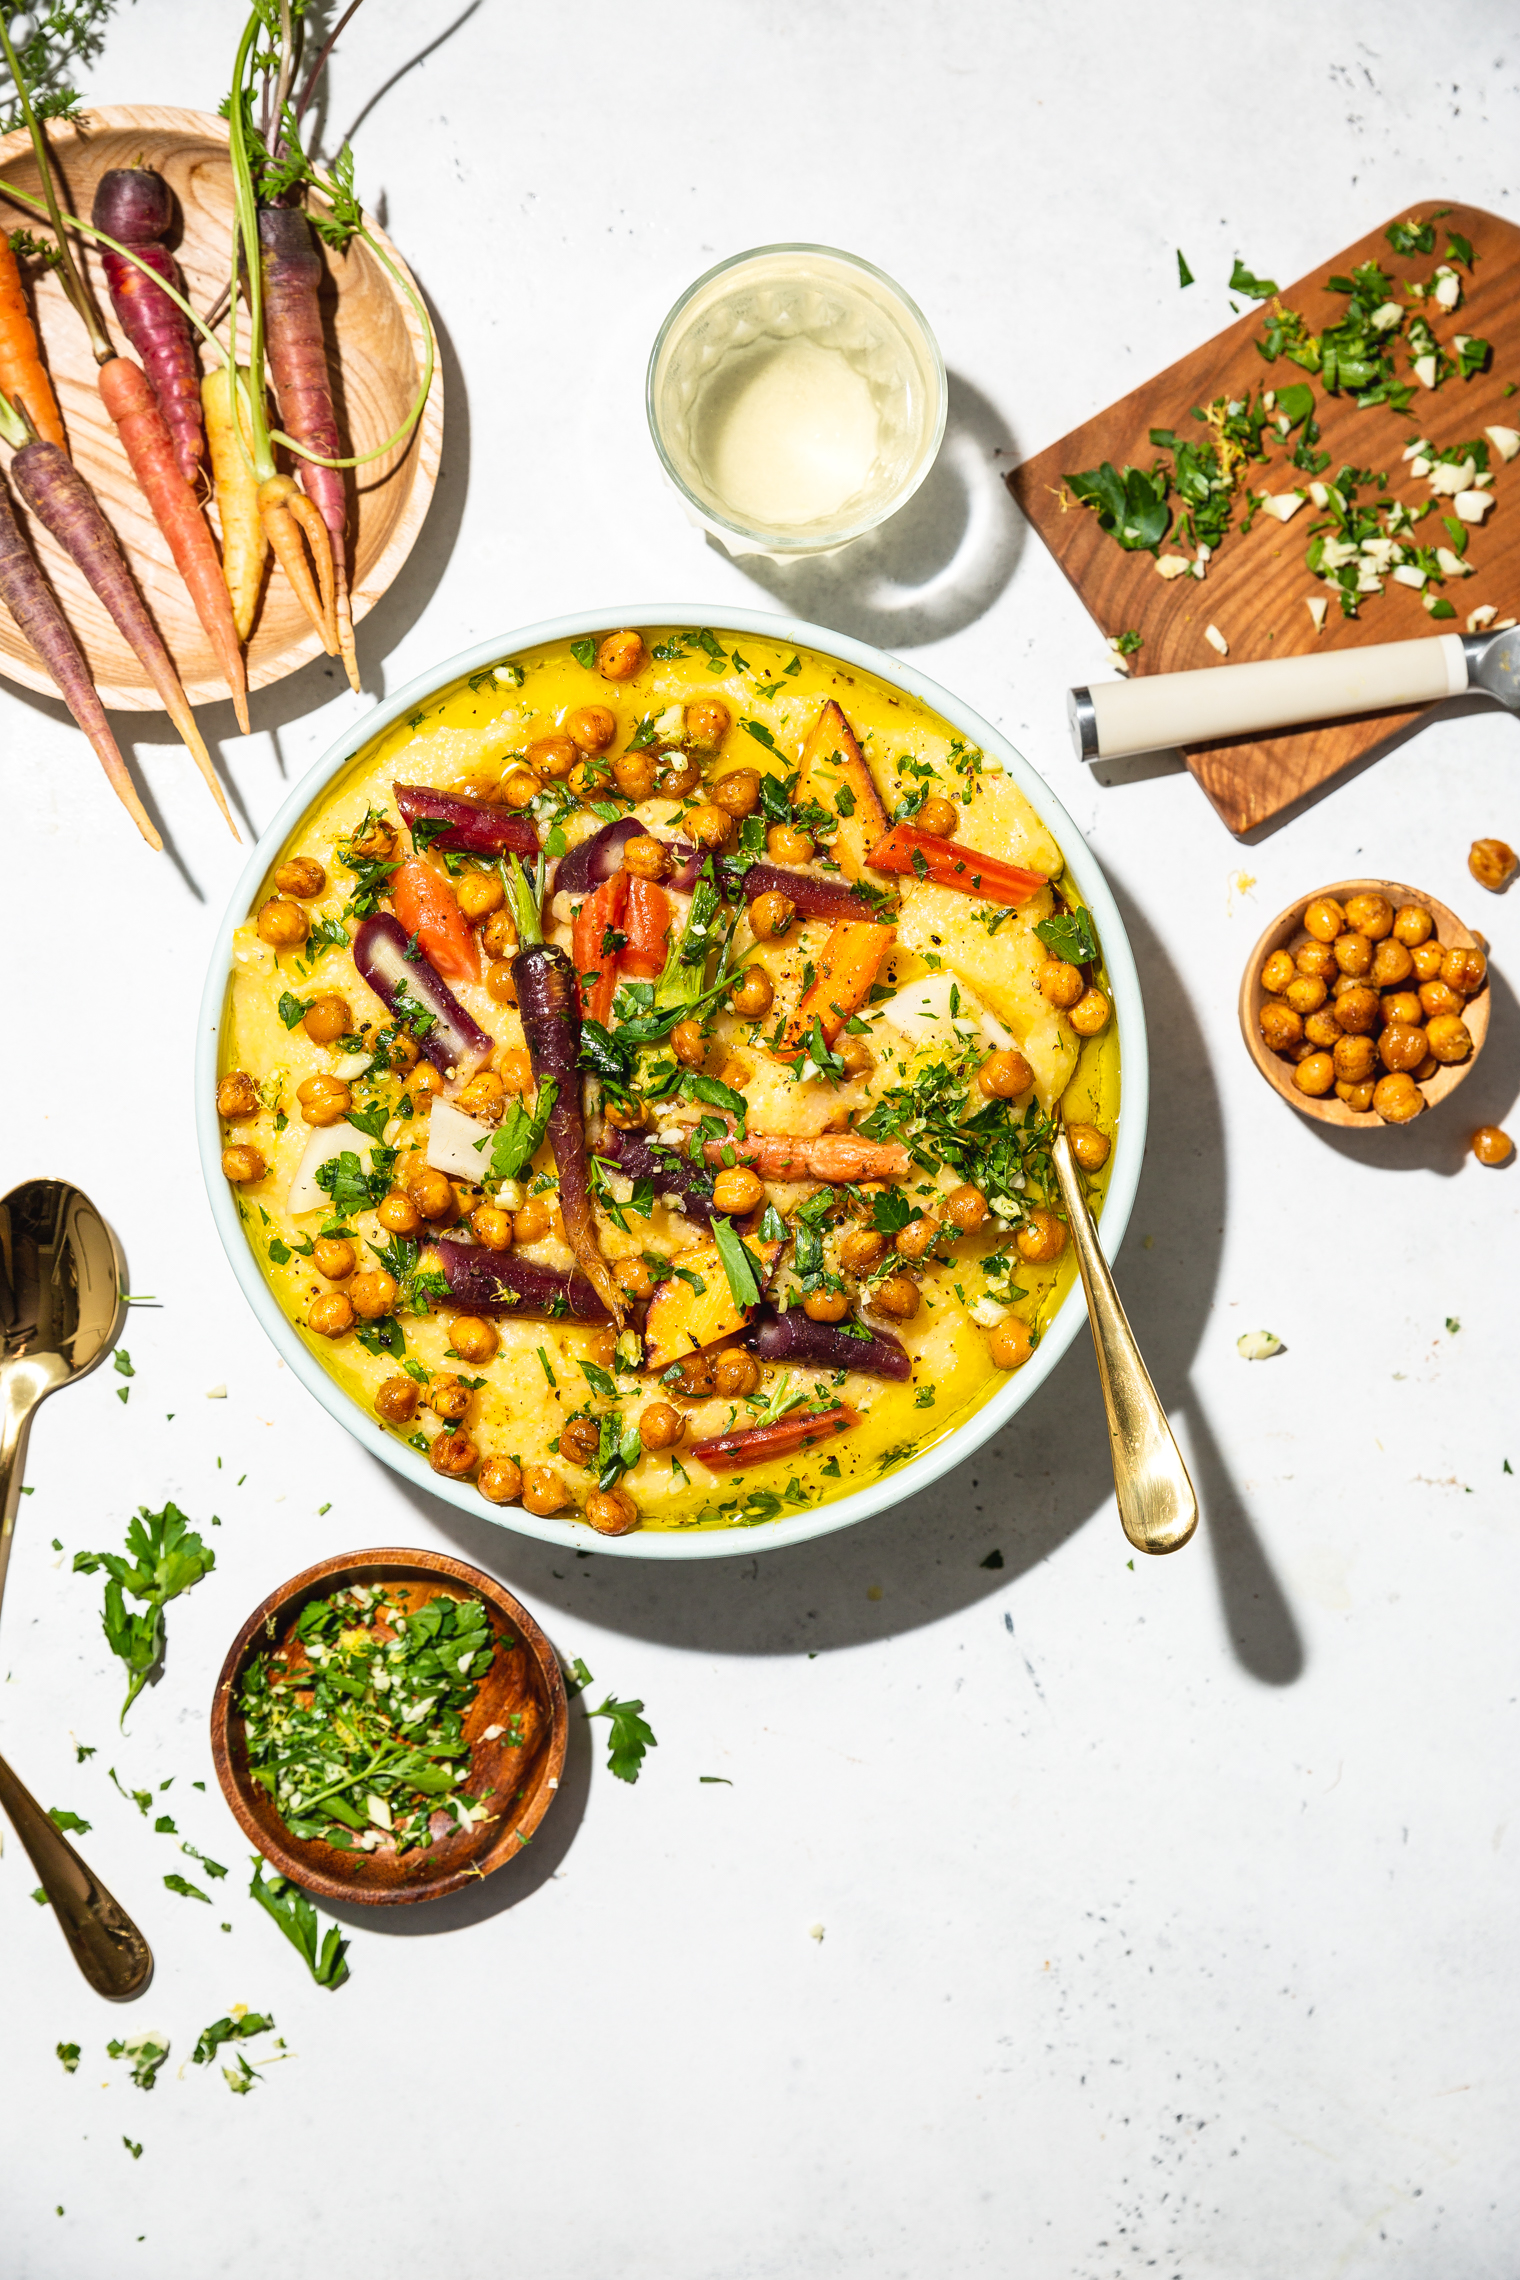
This Roasted Veggies with Citrus Gremolata and Polenta is my go-to for a pantry staple dinner. You can mix[...]