
")
")
")
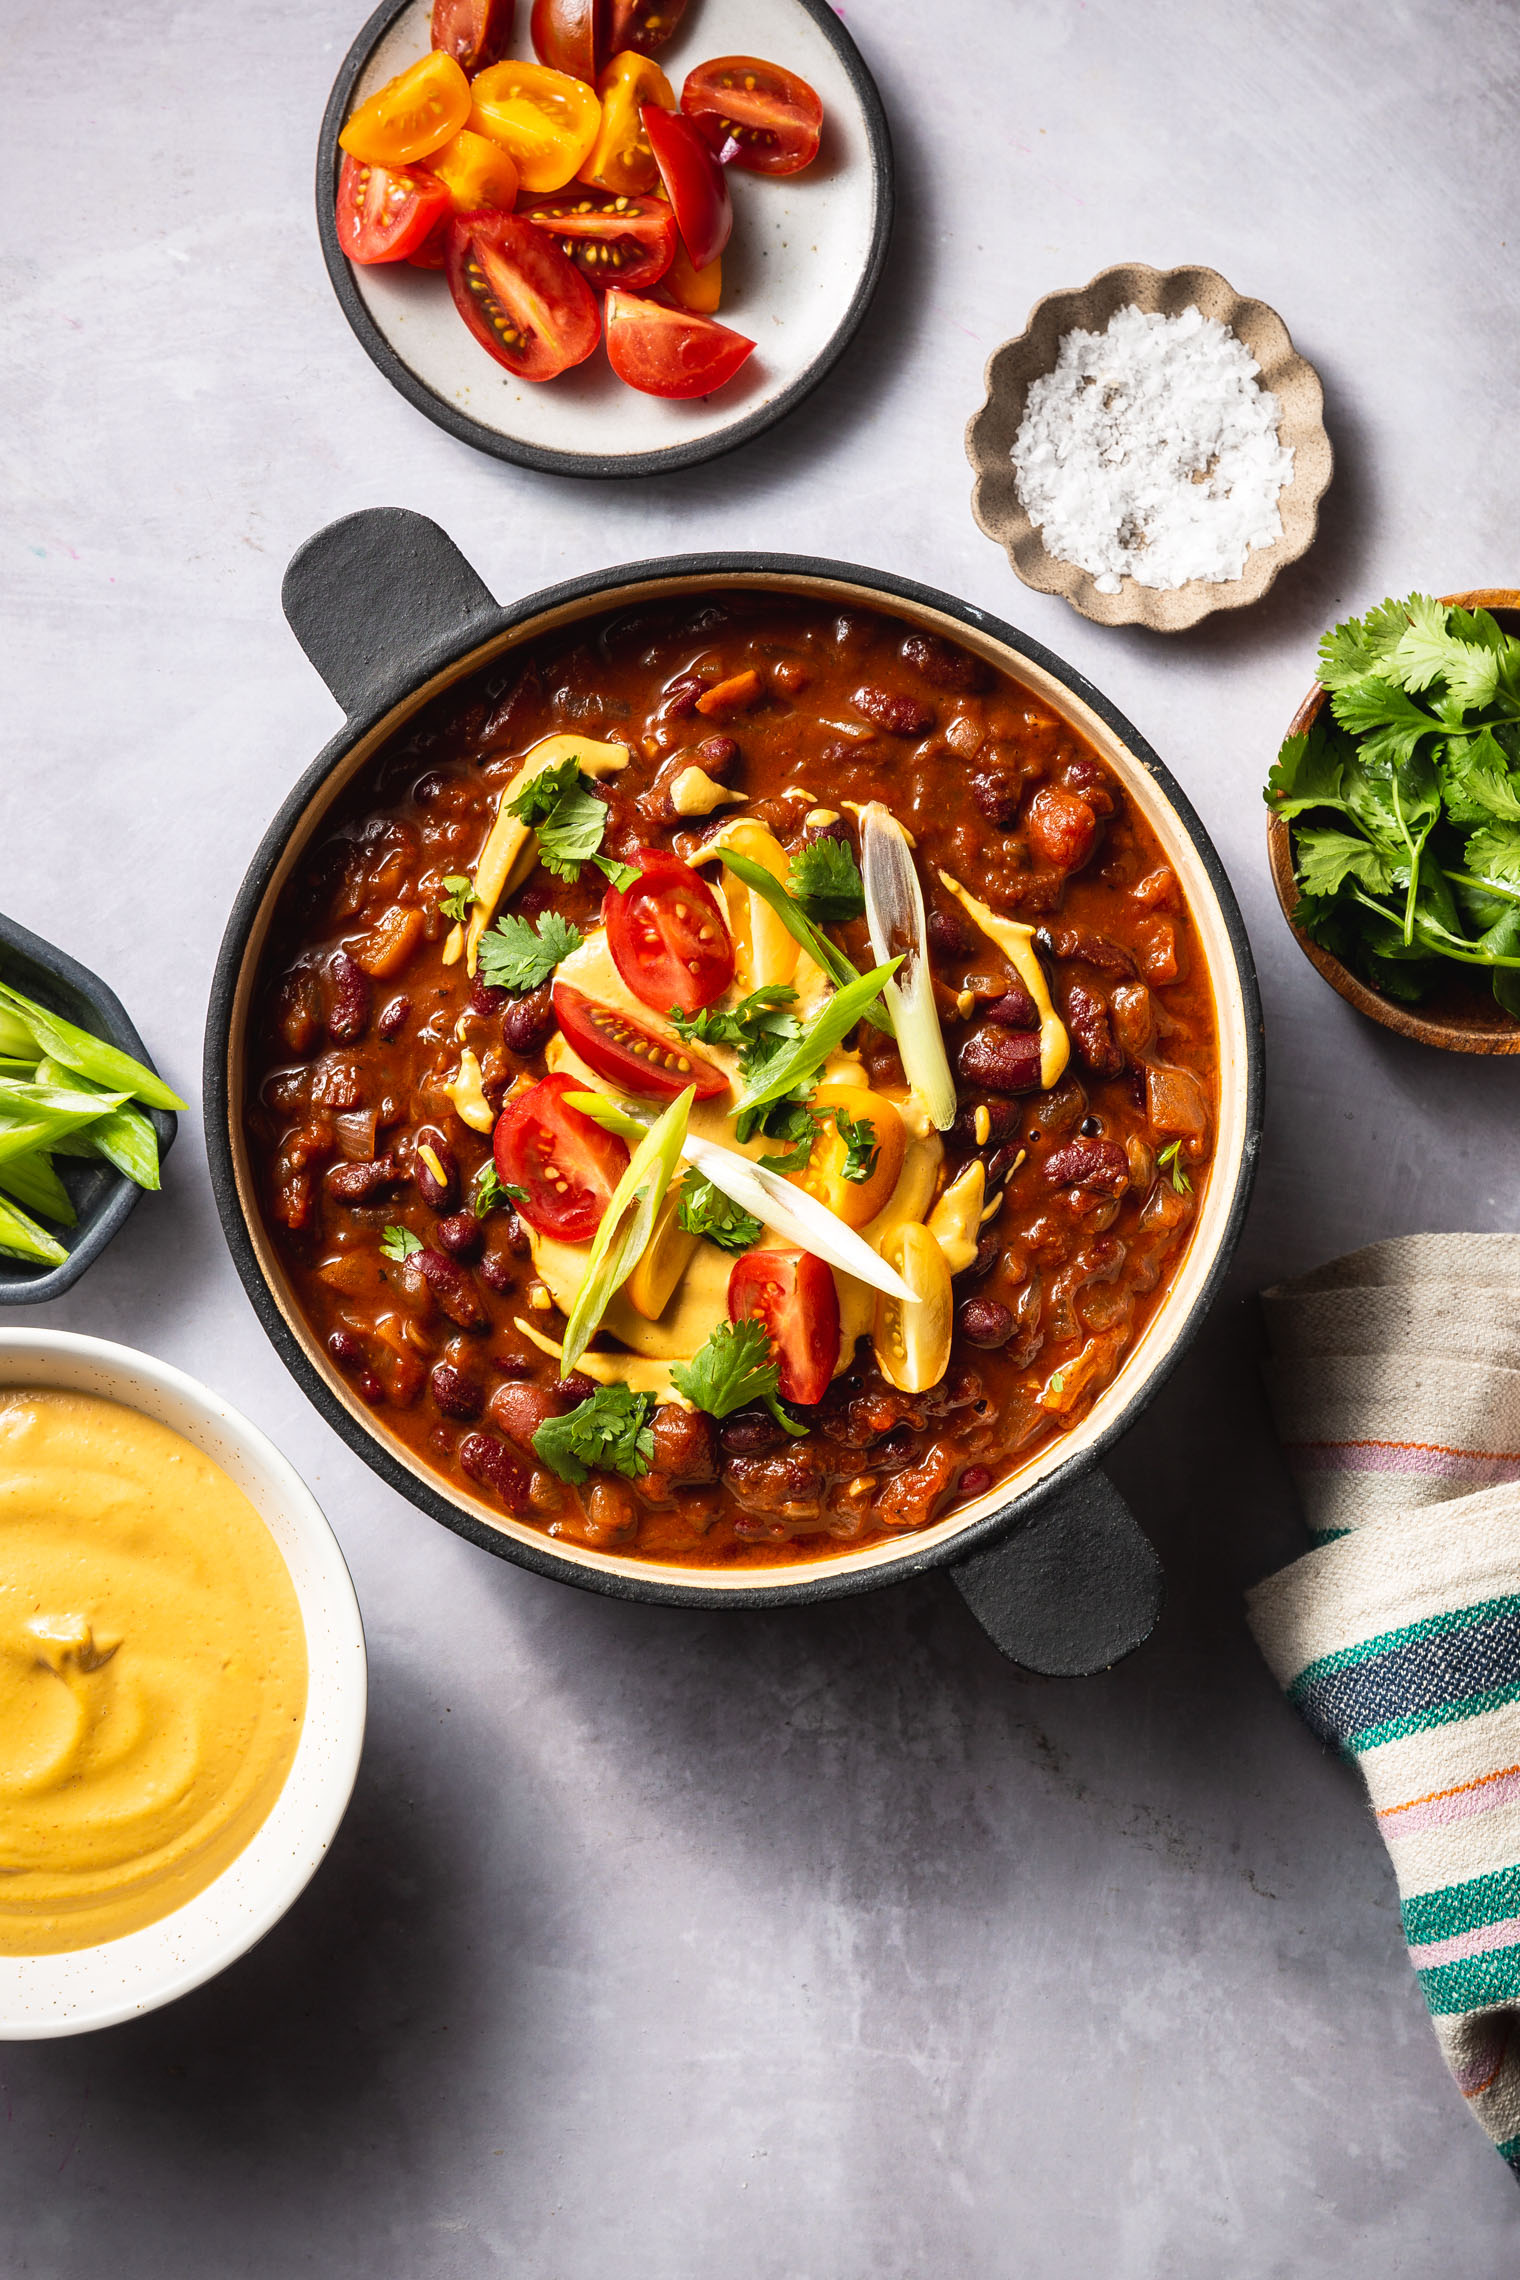
The day has finally come! Every Season is Soup Season is officially out in the wild! The book was a[...]

My newest cookbook, Every Season is Cookbook Season, is finally available for pre-order!
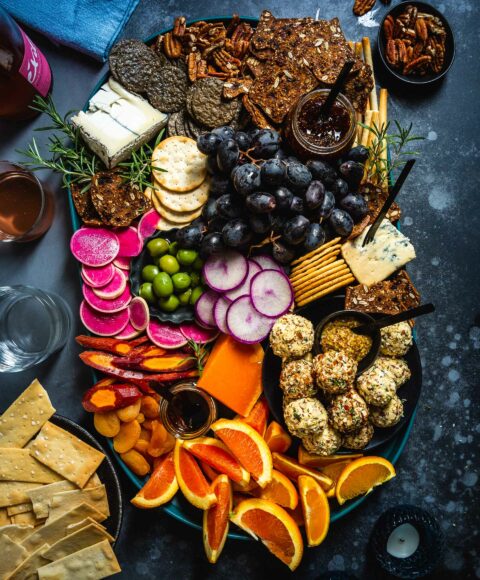
Time to talk about my favorite vegetarian Thanksgiving dishes! This list features everything from e[...]
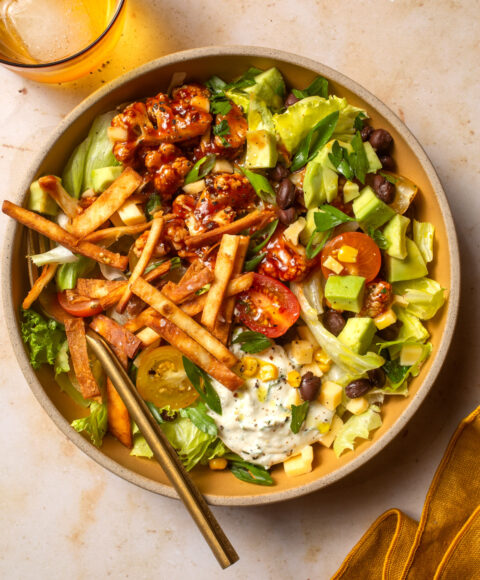
This BBQ Cauliflower Chopped Salad is a deliciously filling vegetarian salad inspired by a similar[...]
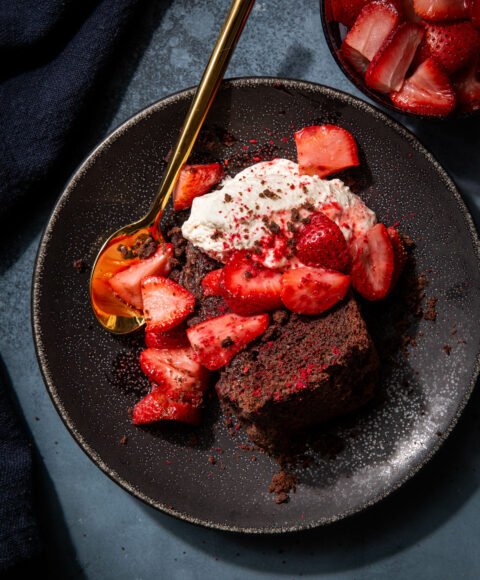
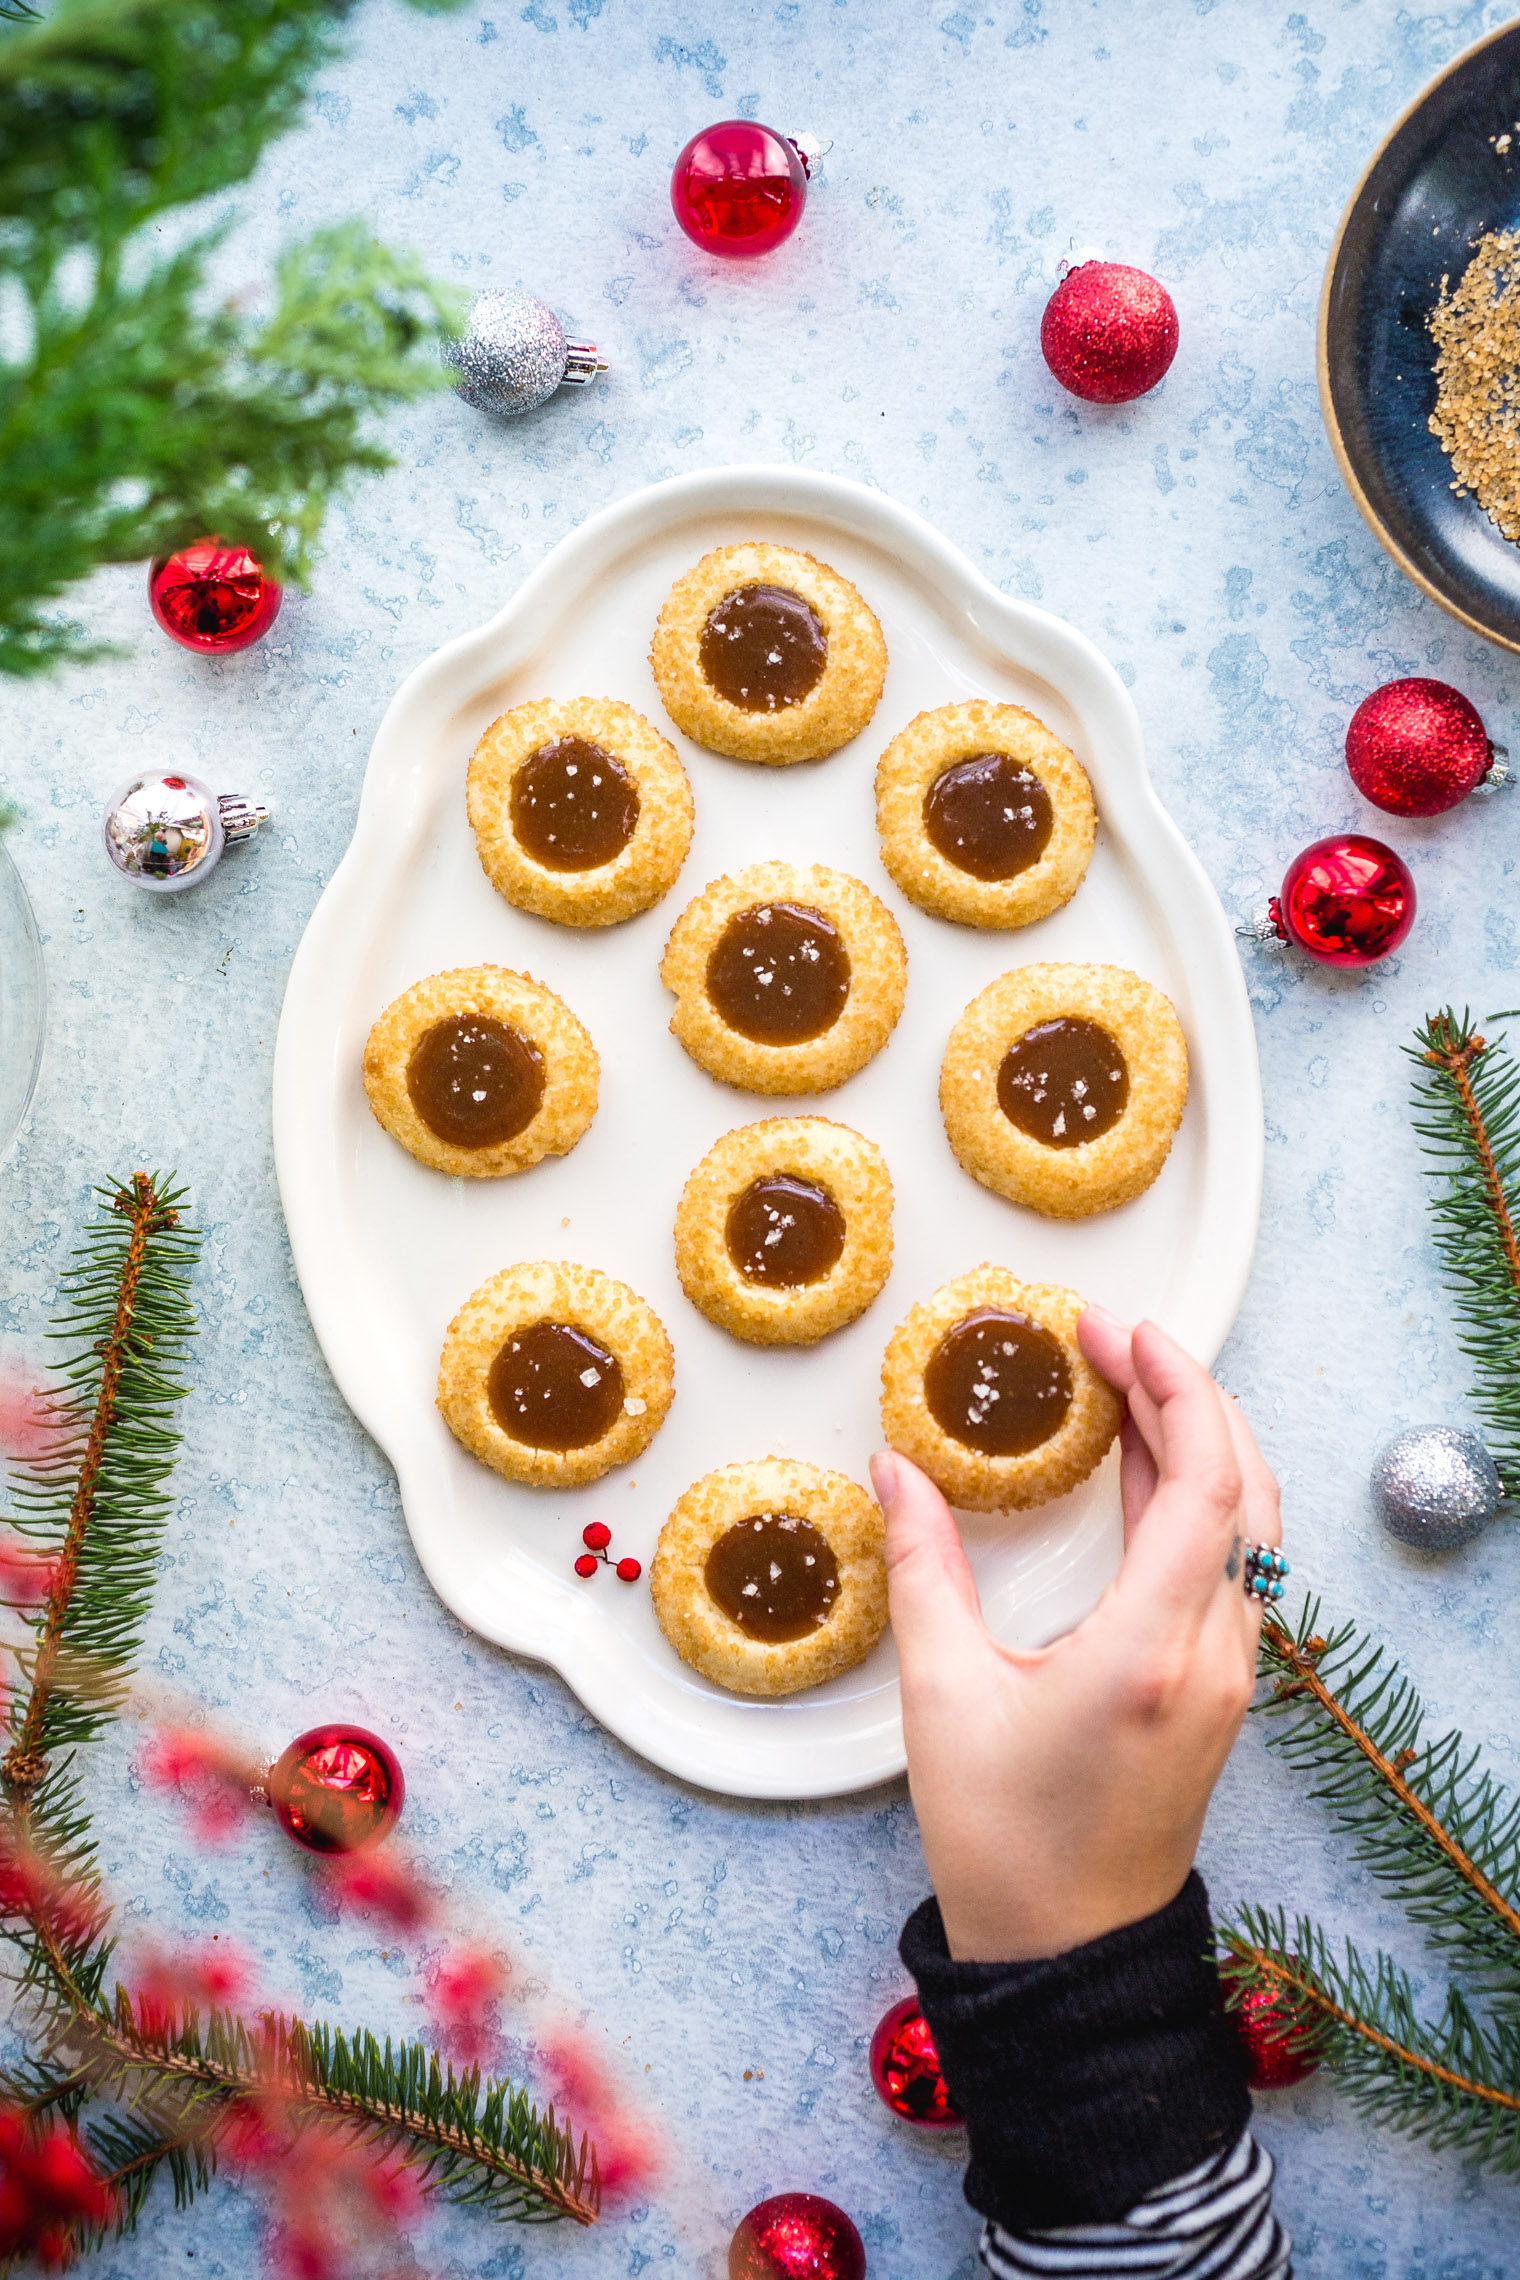
This Chocolate Rosemary Snack Cake is a quick and easy winter dessert perfect for when you are crav[...]
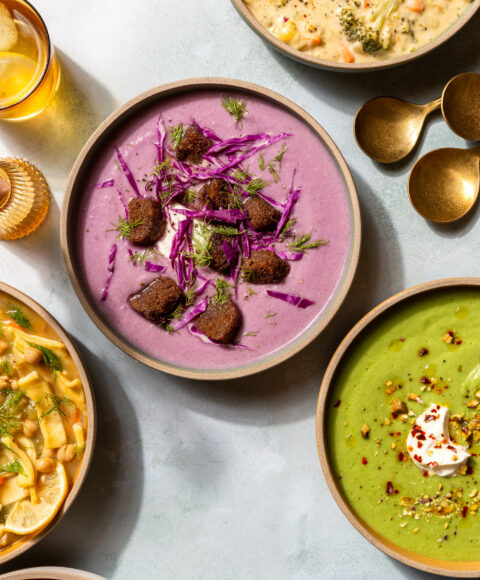
Today I've rounded up 12 vegetarian soup recipes to satisfy whatever your craving might be - we've[...]
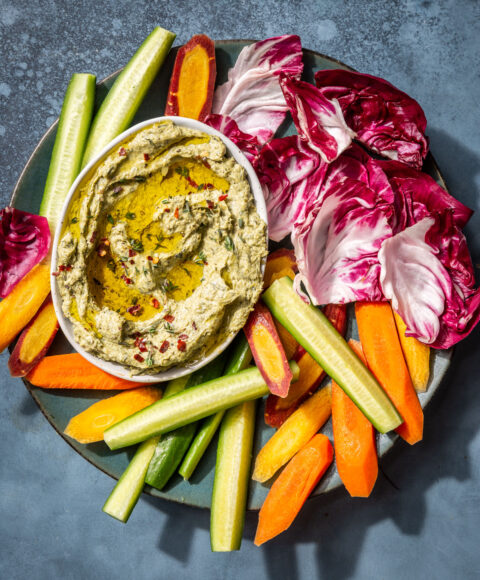
Make this Caramelized Leek Yogurt Veggie Dip on Sunday afternoon to enjoy all week long with veggie[...]
I'm pinching myself that next week is already Christmas - where has this month gone?! Although it f[...]
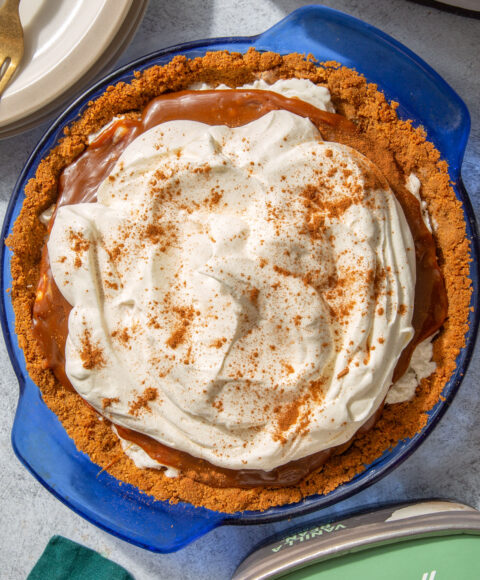
This Buttered Rum Ice Cream Pie is the perfect holiday treat to serve to friends and family! Think[...]
