Hey Friends! I'm back after an unintentional two week hiatus! To be completely honest, I made these ch[...]
Hey Friends! I'm back after an unintentional two week hiatus! To be completely honest, I made these ch[...]
This week's post is coming late as I went up north this past weekend to visit my parent's for Easter. I'm[...]

It's already that time again where you can't step into a store without seeing the huge display of hear[...]
Sure, it's already the middle of December but do you really have all of your holiday shopping[...]
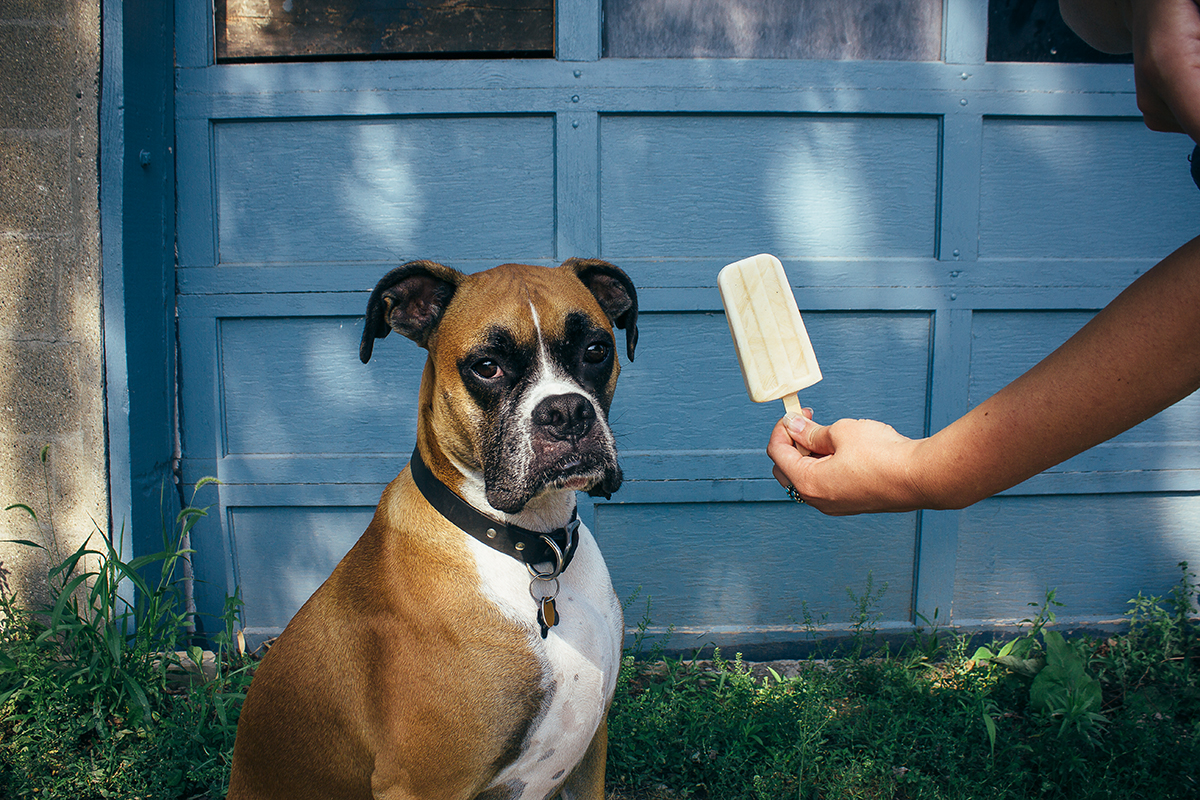
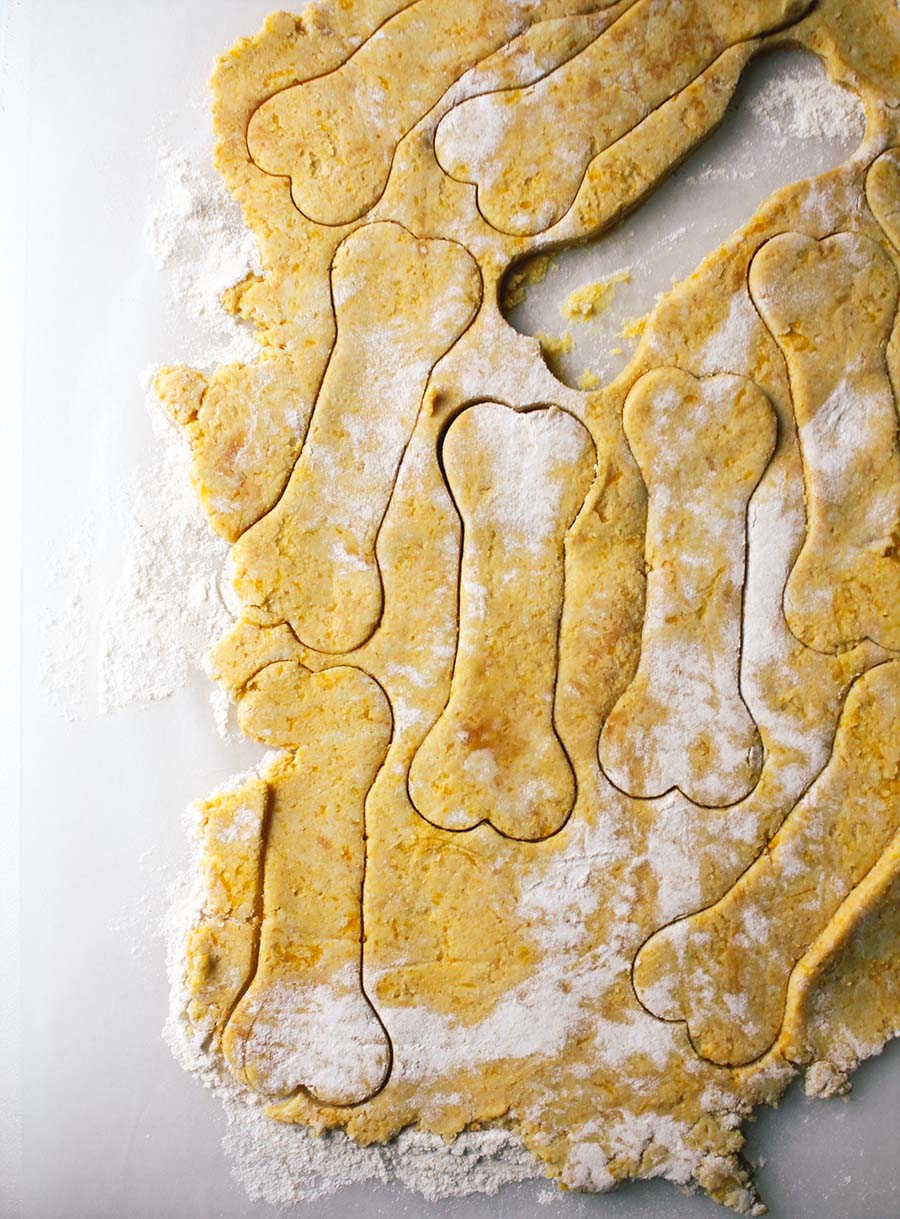
Keep your pup cool with "pupsicles" – frozen dog popsicles made with just 3 ingredients: creamy organic[...]
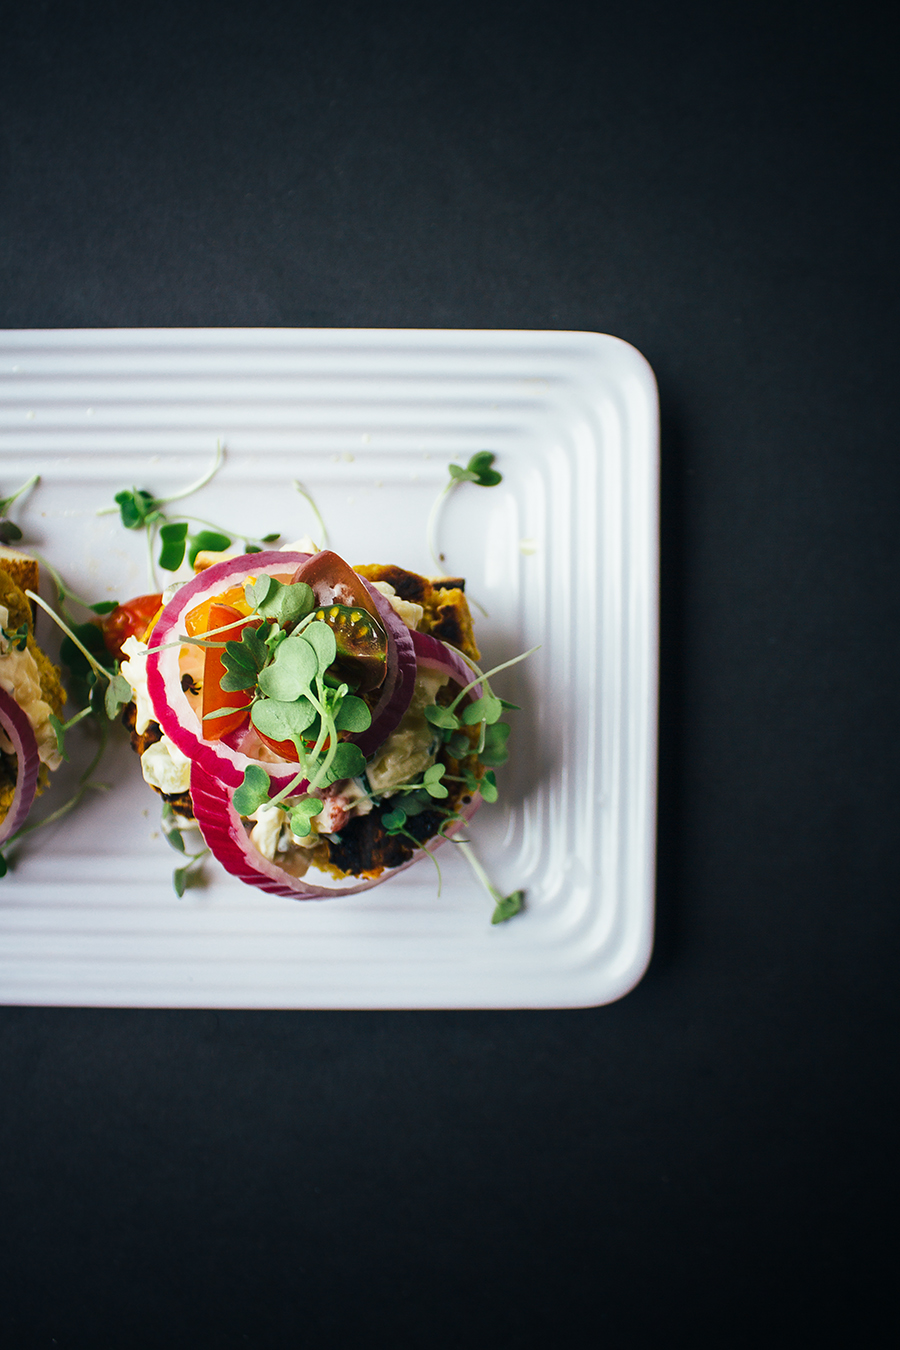
Today I am excited to pair up with the fine folk over at Vlasic Farmer's Garden to bring you a healthy, d[...]
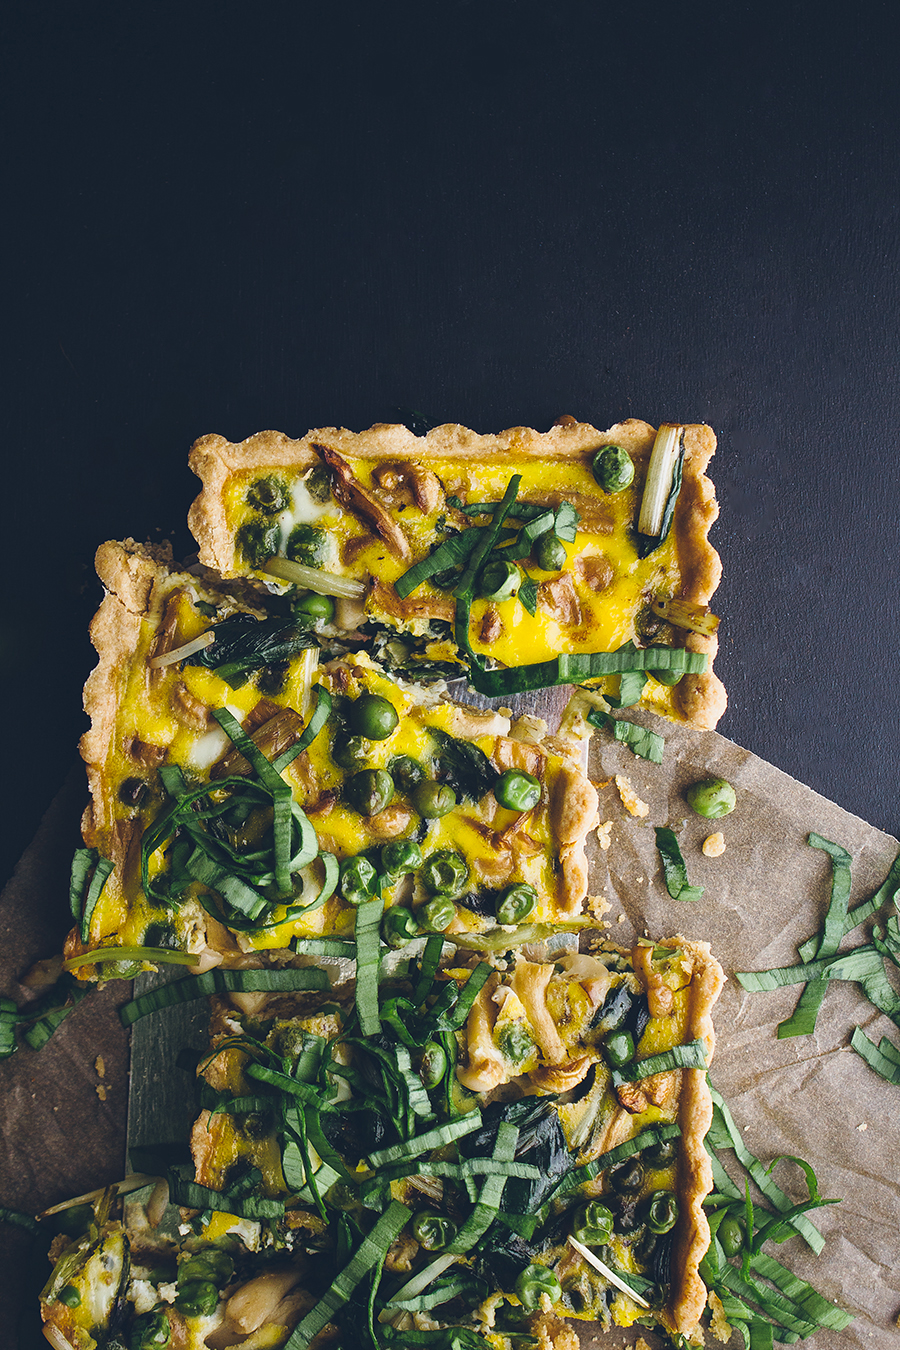
This vegetable quiche recipe has an Asian flair to it. Perfect for weekend brunches and special occasions,[...]
I'm not sure why everyone is so hung up on dip and mini corndog recipes this week? Let's be honest - d[...]
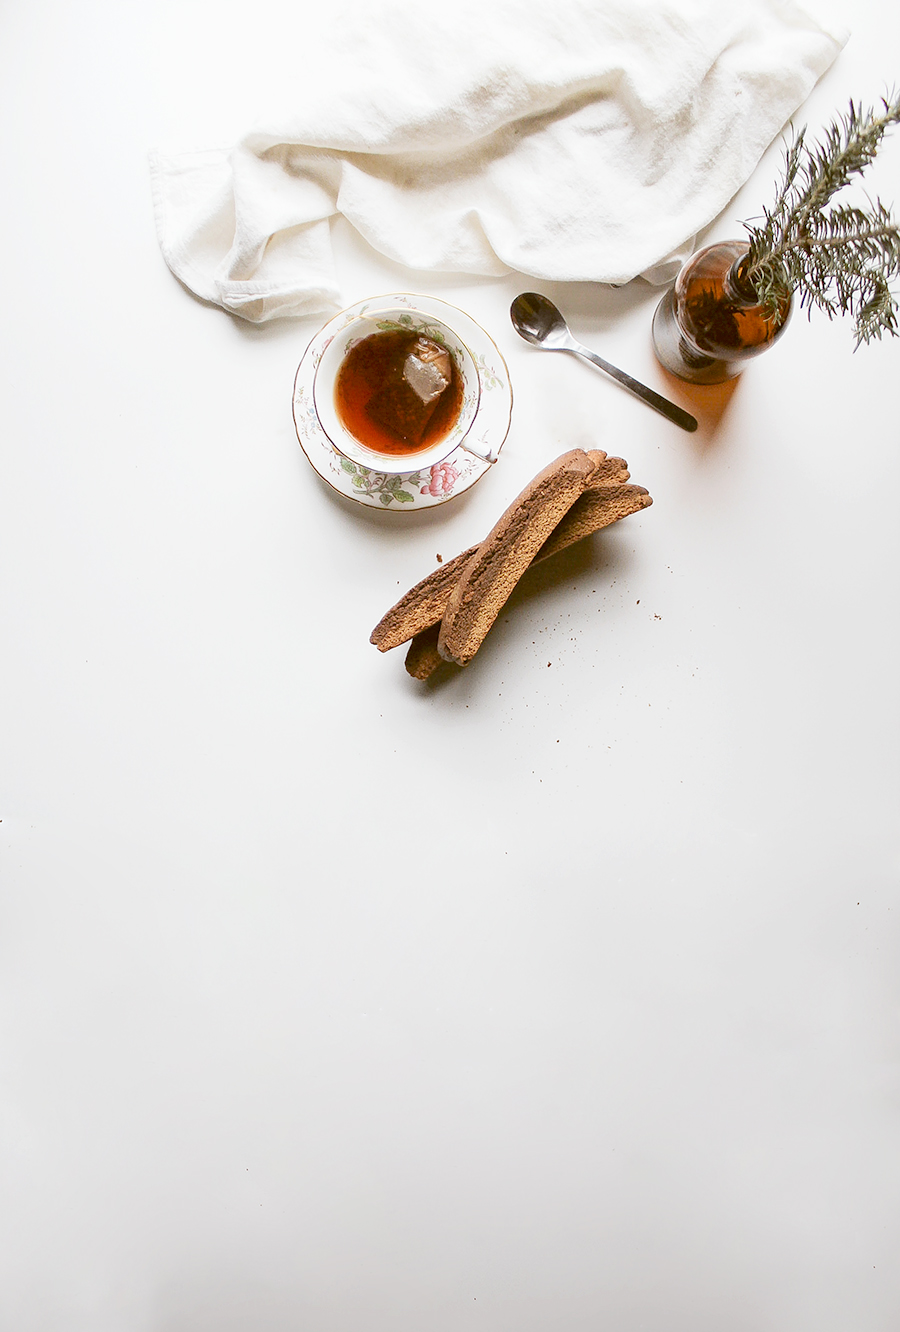
These chocolate and chai biscotti are perfect with your afternoon cup of coffee or for lazy mornings in be[...]
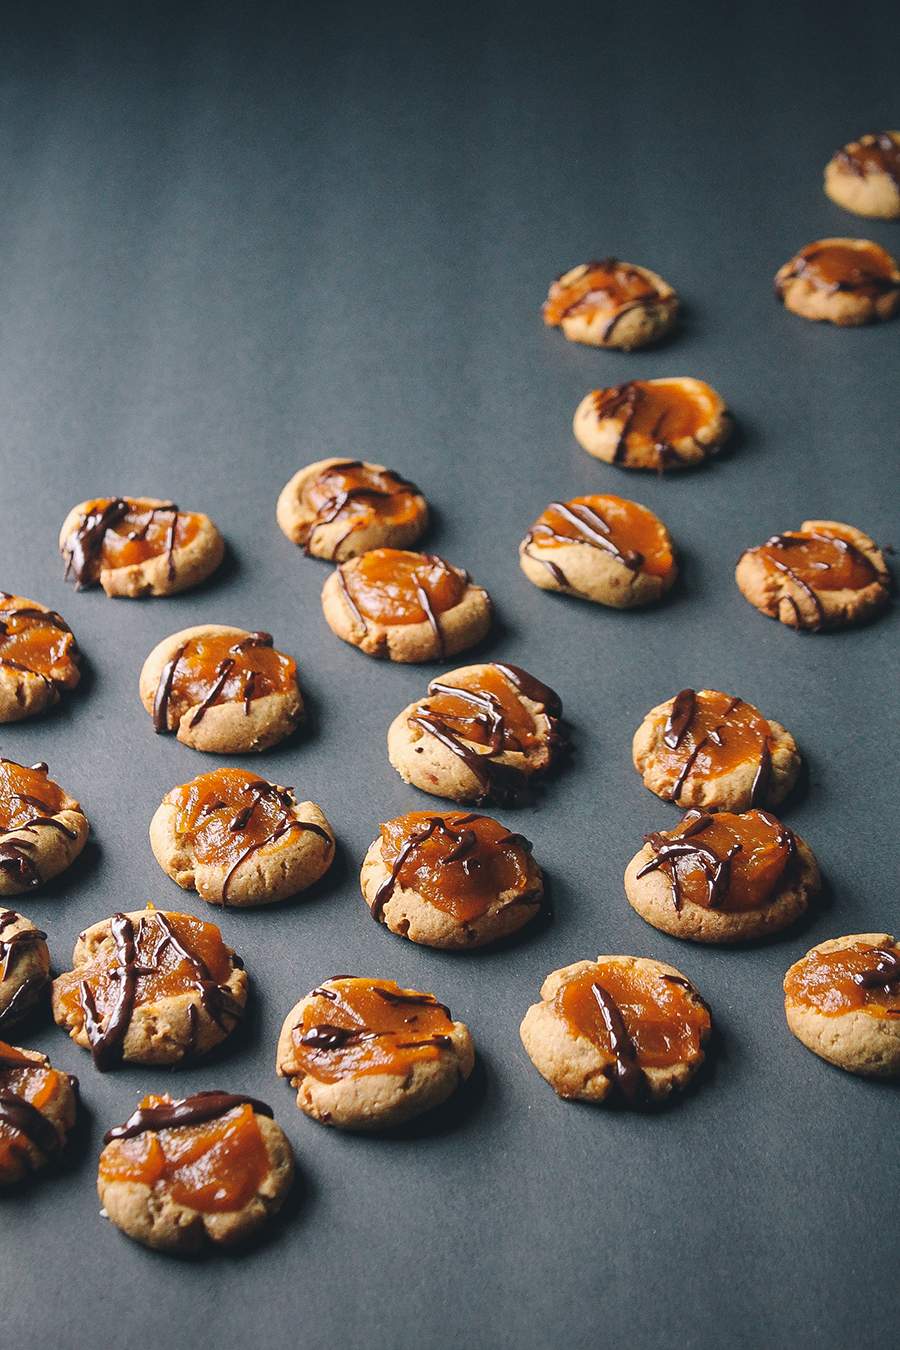
Cookies aren't really cookies without chocolate, so the dark chocolate drizzle on these maple-infused pump[...]
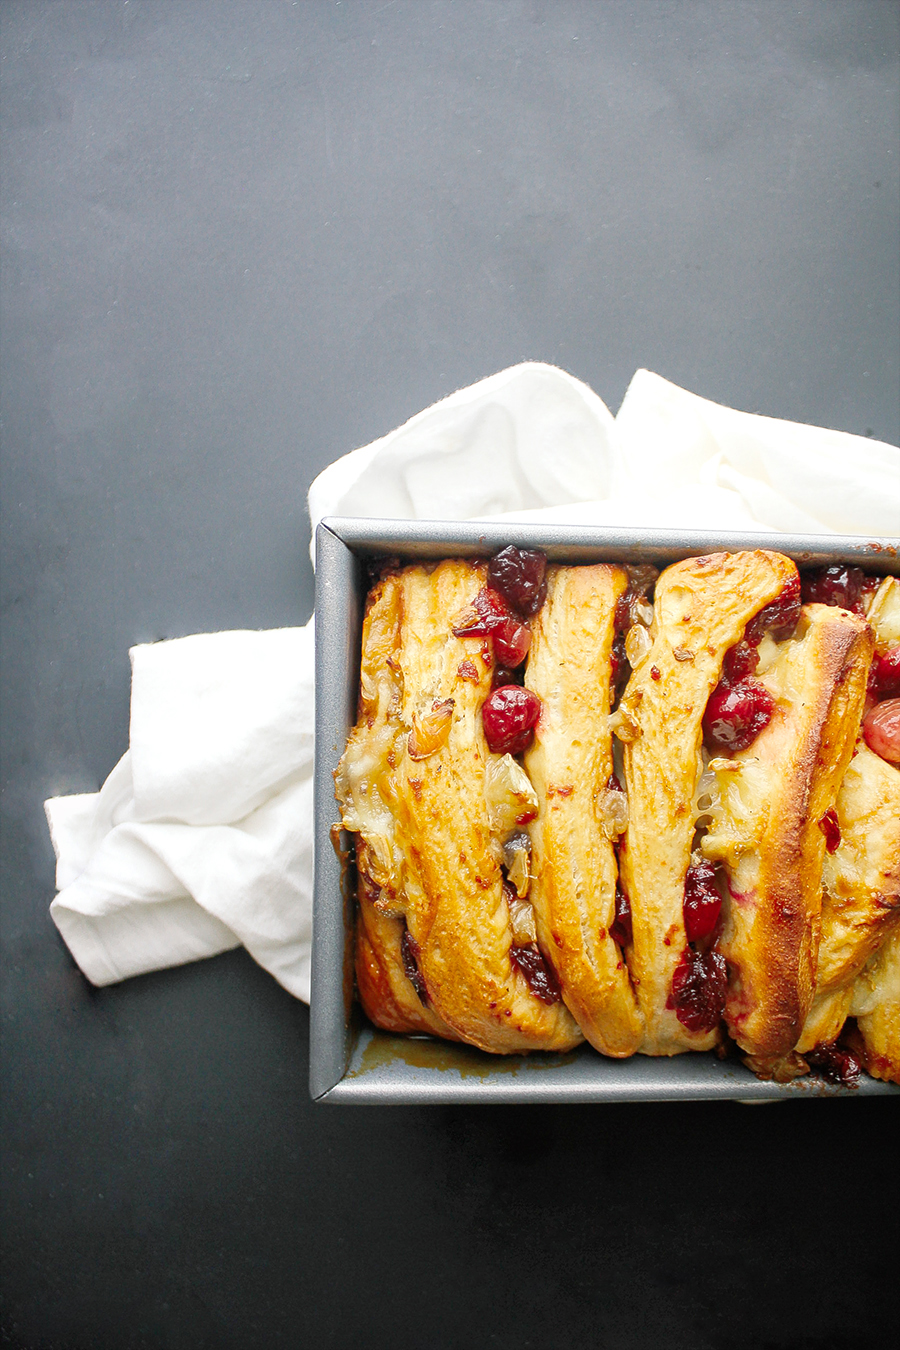
A savory pull-apart bread stuffed with caramelized cranberry and brie perfect for your next holiday gather[...]
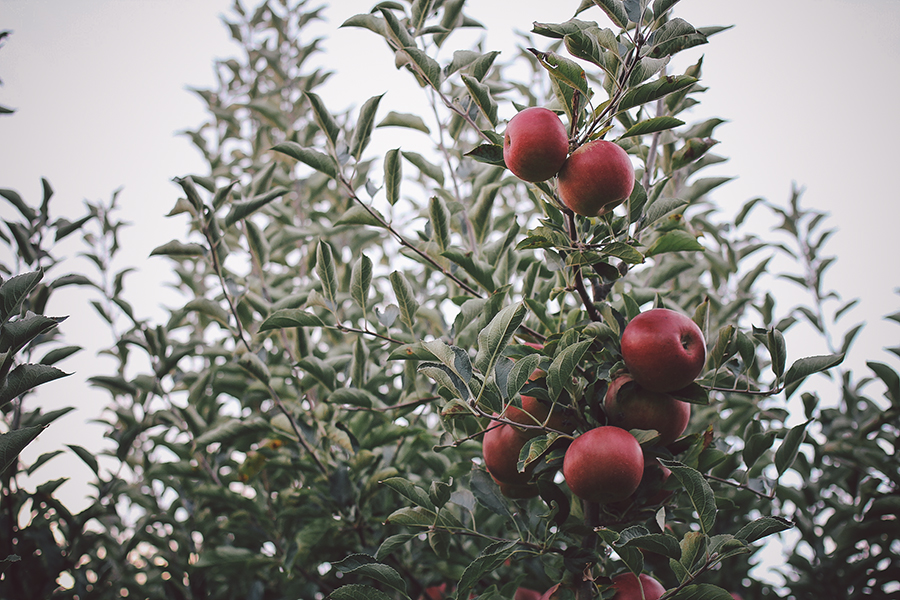
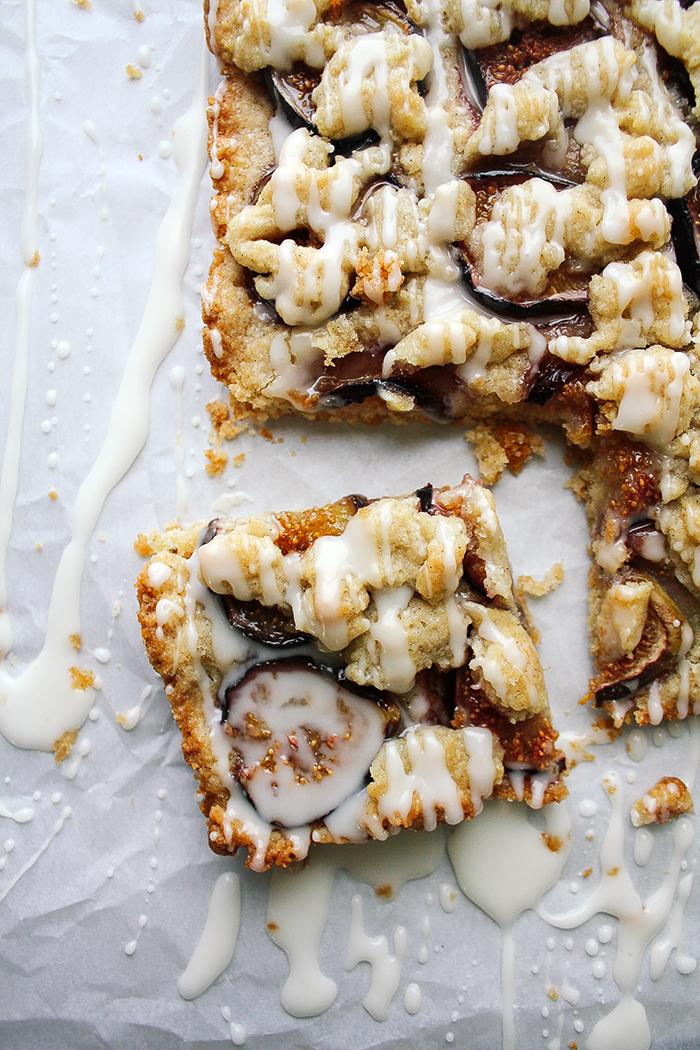
The Maple Apple Bars are an easy dessert stuffed with apples and fall spices. I know, I know. Every[...]
You know, I was so proud of myself for thinking about using that can of pumpkin before October rolled ar[...]
This past week has been wonderful. It was my birthday on Wednesday and I've been spoiled silly[...]
...And we're back! After almost a month long break from 'Searchable Saturday's'! Is everyone geared up for t[...]
I came across ramps for the first time at the farmer's market two weeks ago. The nice ma[...]
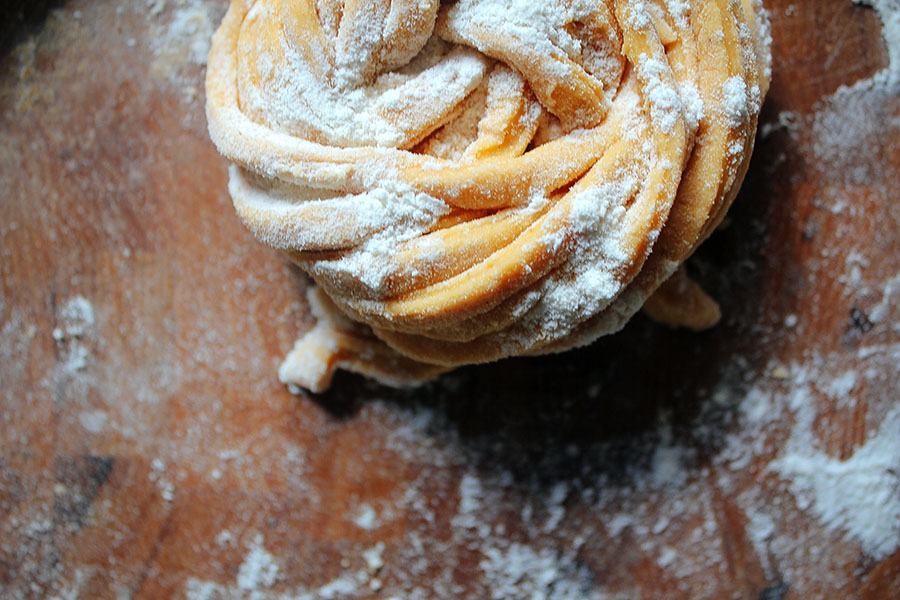
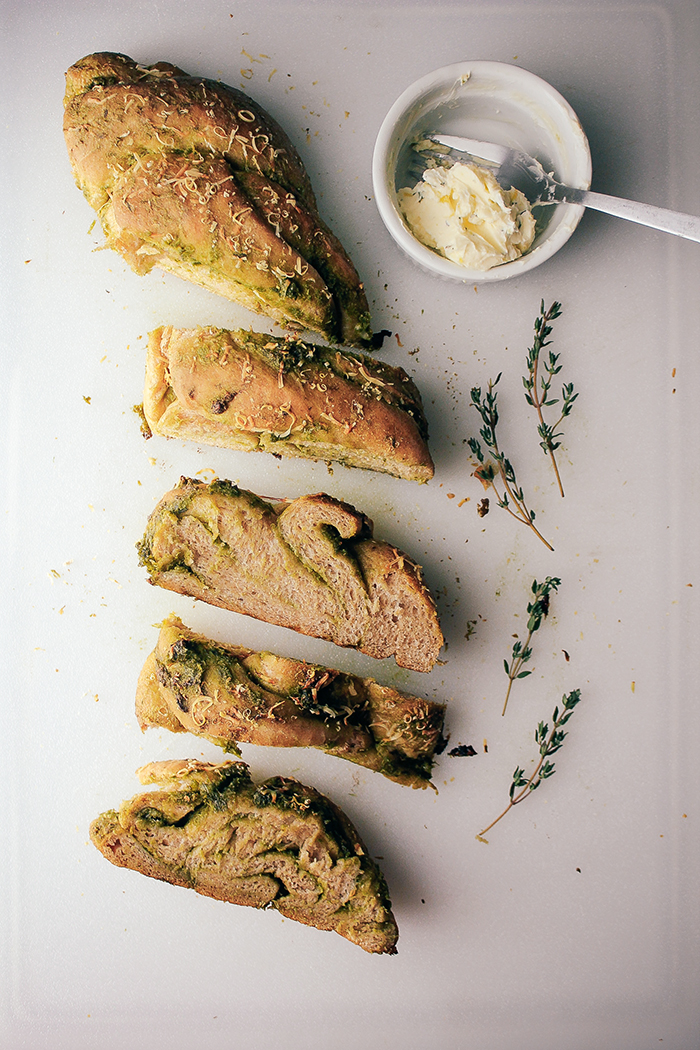
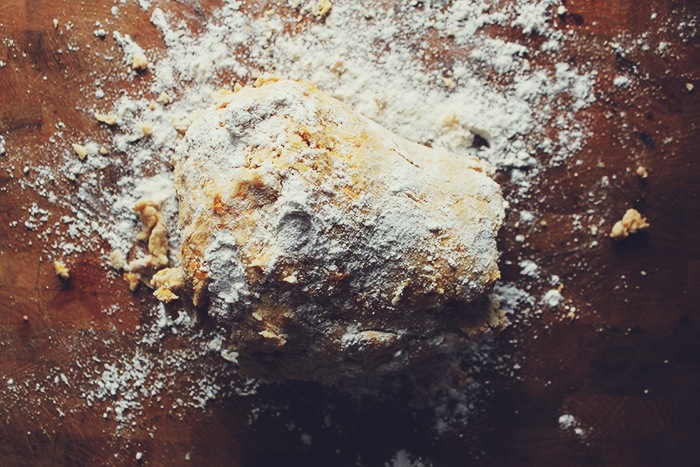
I love making bread. On any given rainy Sunday, you will most likely find me in the kitchen kneading up so[...]
I'm not going to lie to you. It's the last leg of winter and I am feeling as uninspi[...]
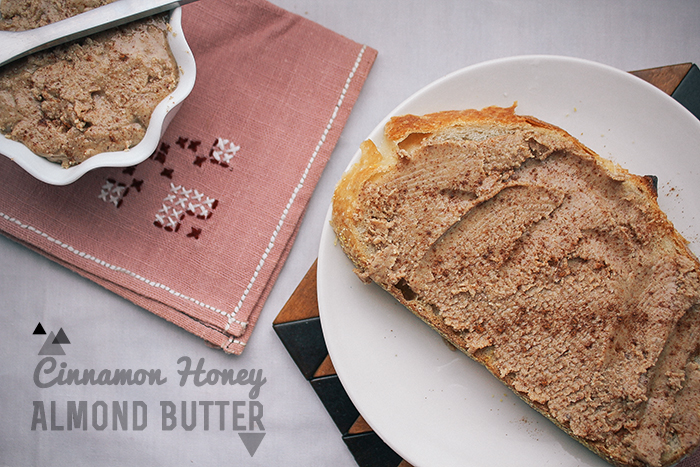
As I continue the journey with my 2013 resolution of less processed food, I can't help but continue to b[...]
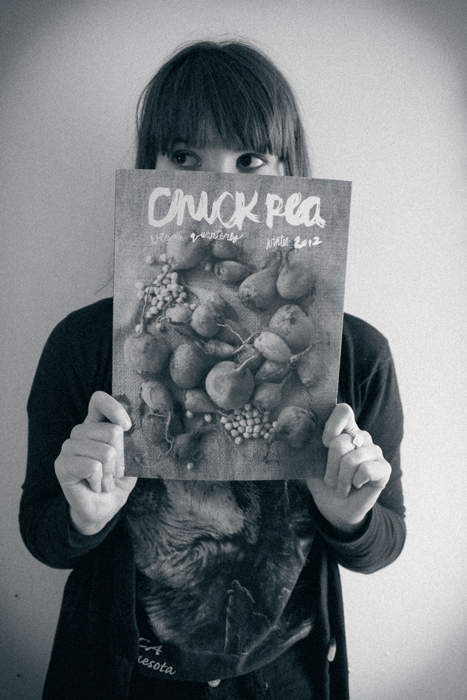
Good afternoon! Before I get to the monthly recap, I wanted to share my excitement with you guys about recei[...]
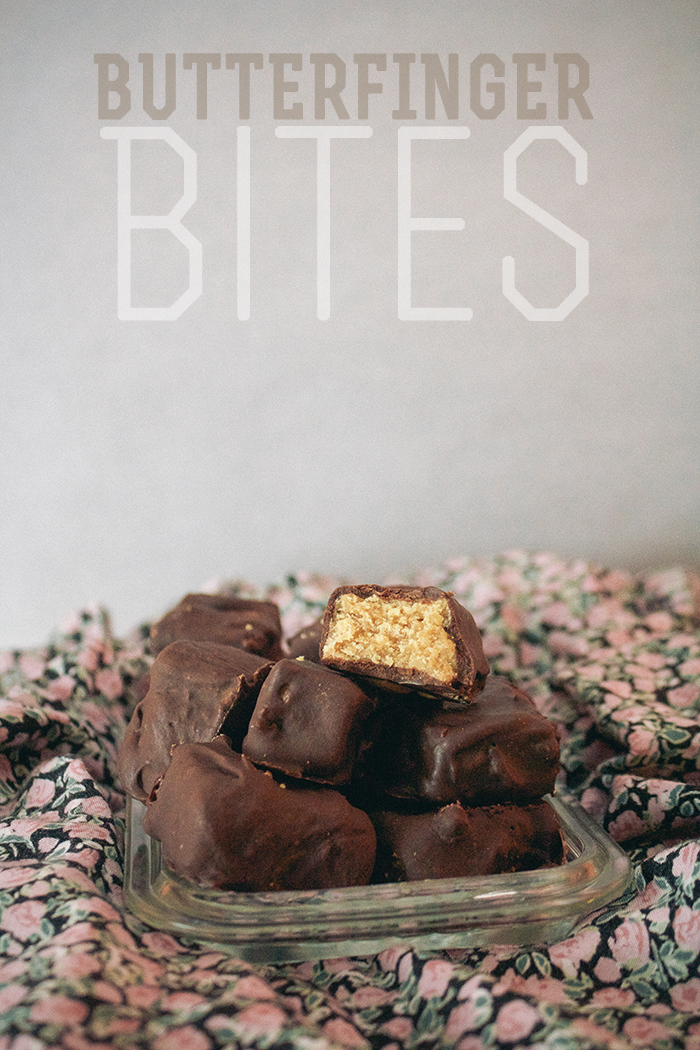
I know, I know. Yesterday was Valentine's Day and how could you possible want more chocolate in your life? W[...]
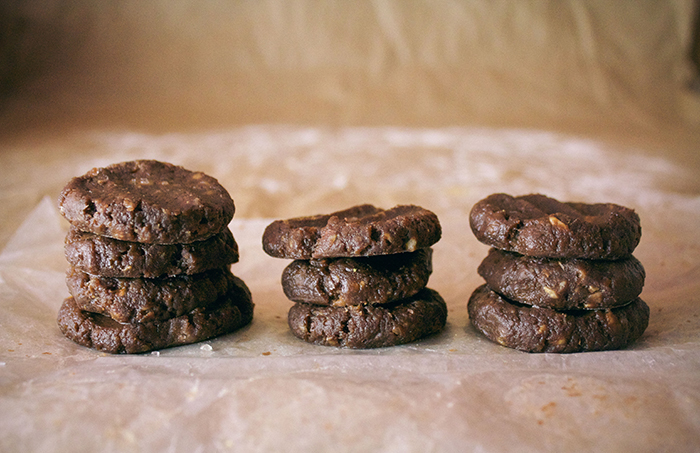
These are what I call the 'I just did my taxes and need some chocolate' cookies. They were a little 'gui[...]
Biscuits and Gravy are a pretty re-occurring theme here on VV (see here. And here. And here). It's not m[...]
As I mentioned yesterday in my post on Pear, Brie, and Spicy Brown Mustard Grilled Cheese, this is the first[...]