
This tart and floral Elderflower Lemonade is a refreshing homemade drink that can be made alcoholic by addi[...]

This tart and floral Elderflower Lemonade is a refreshing homemade drink that can be made alcoholic by addi[...]
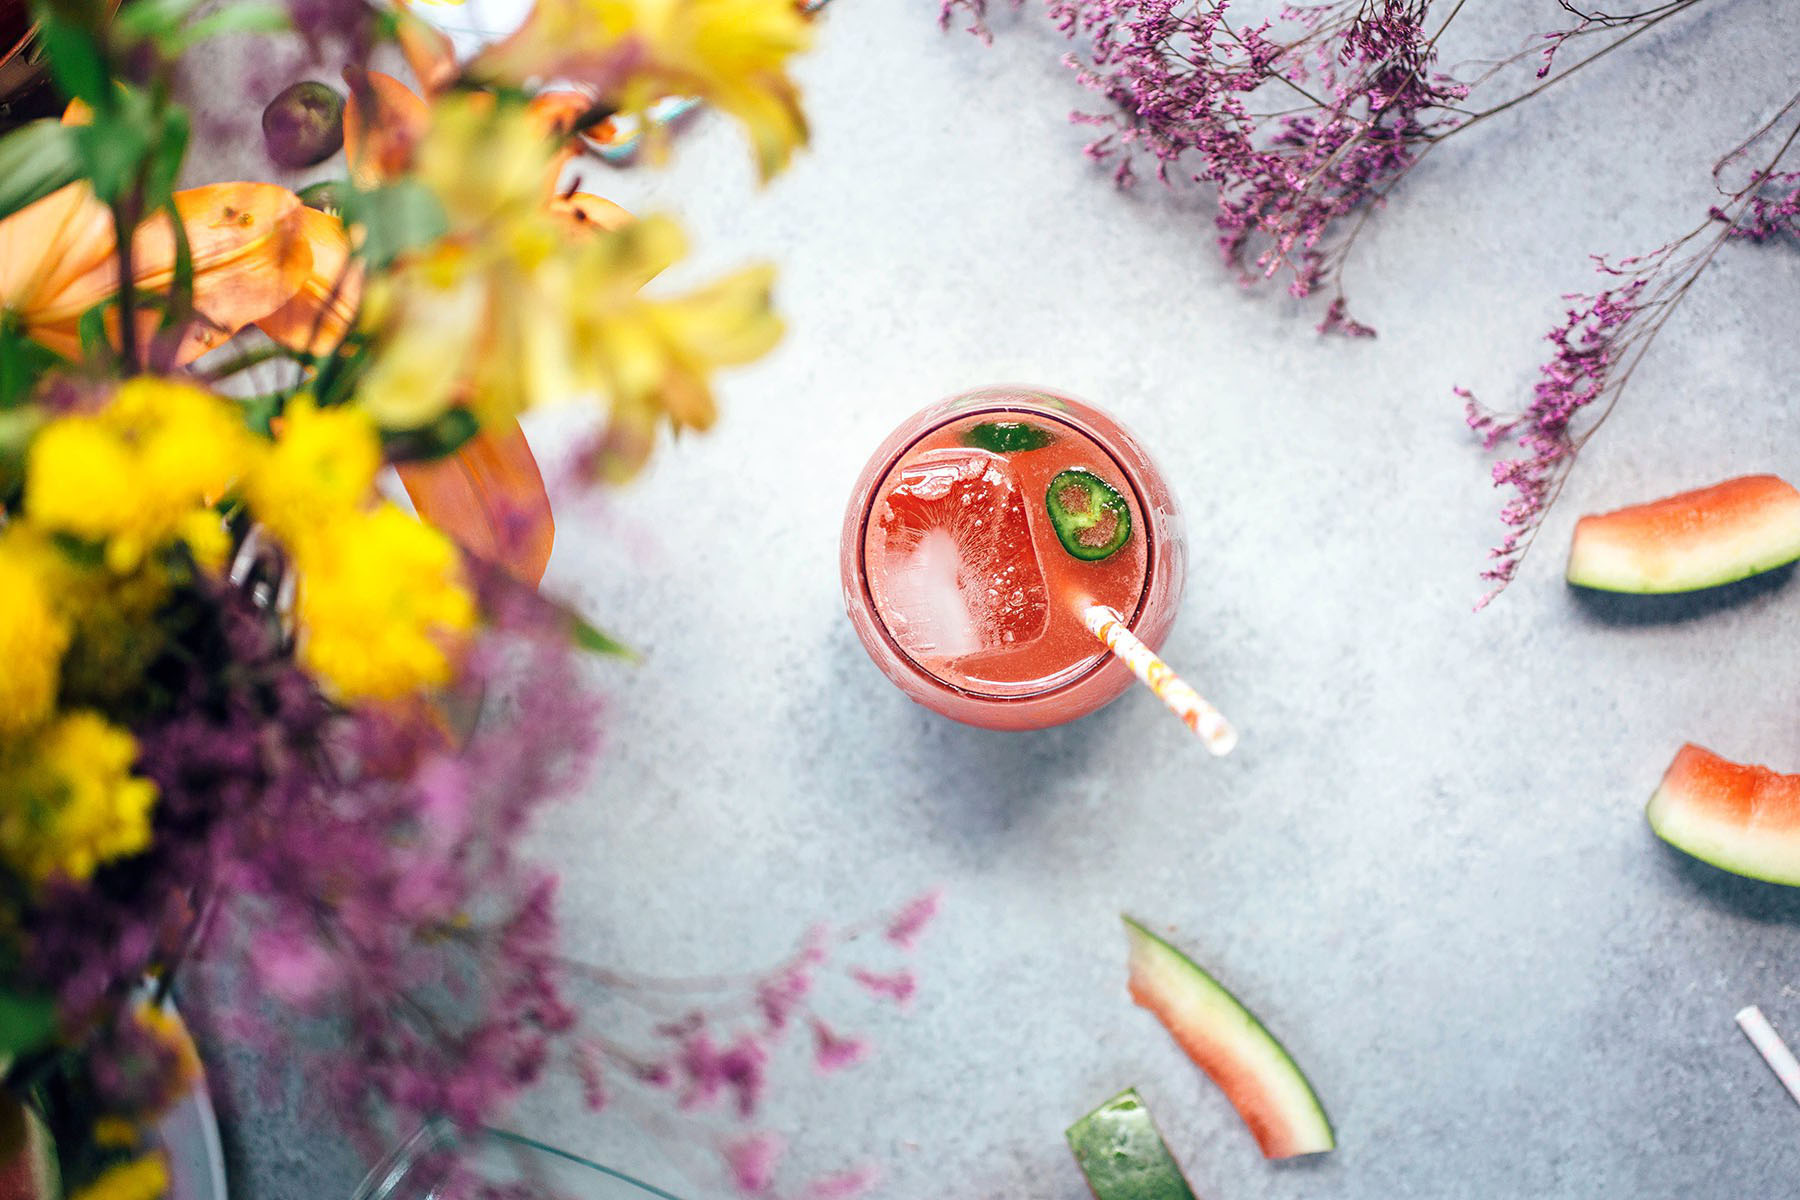
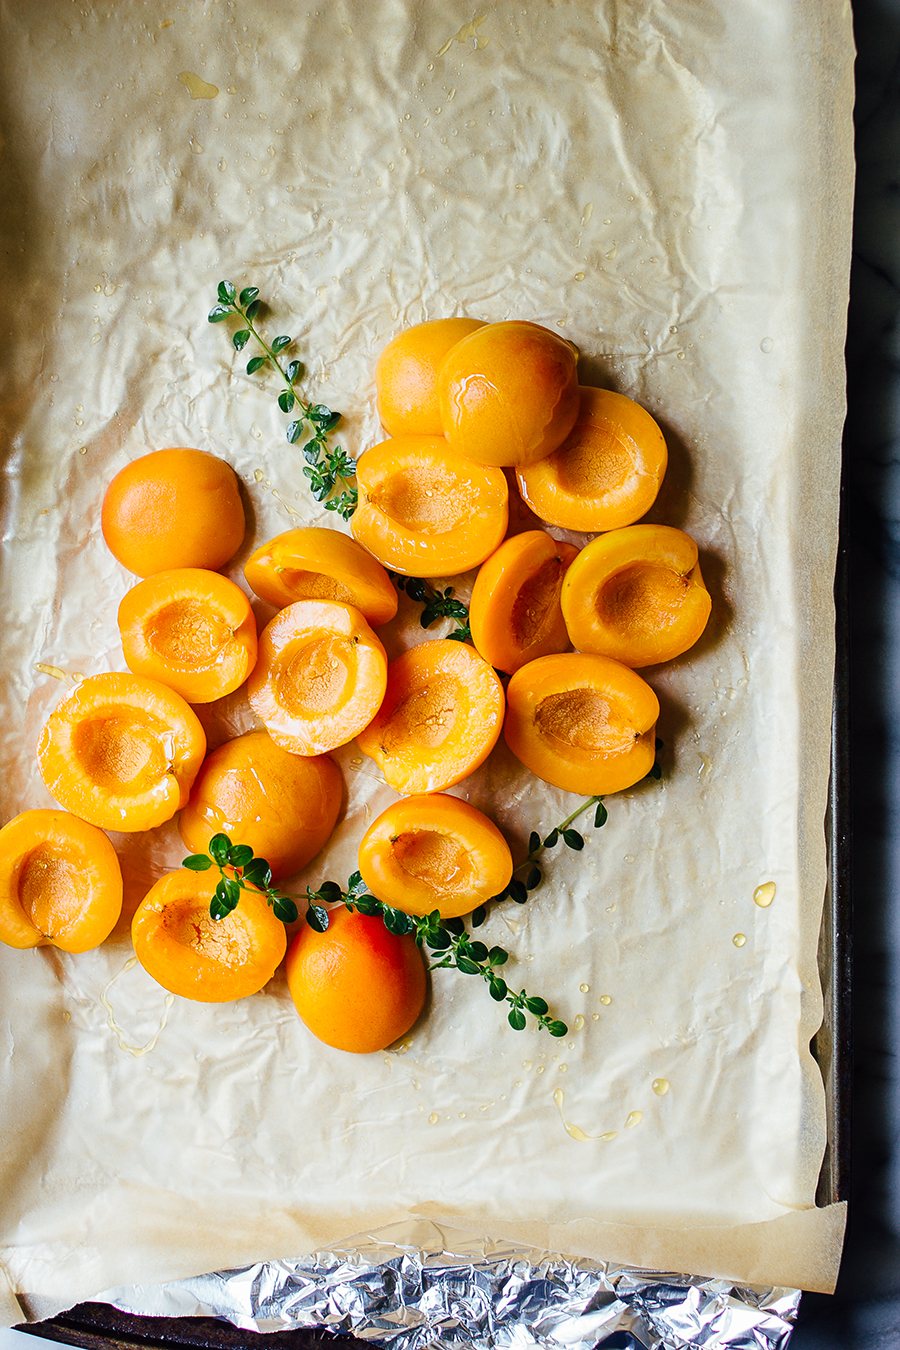
This homemade sweet and spicy watermelon soda is the perfect fizzy non-alcoholic drink recipe to quench[...]
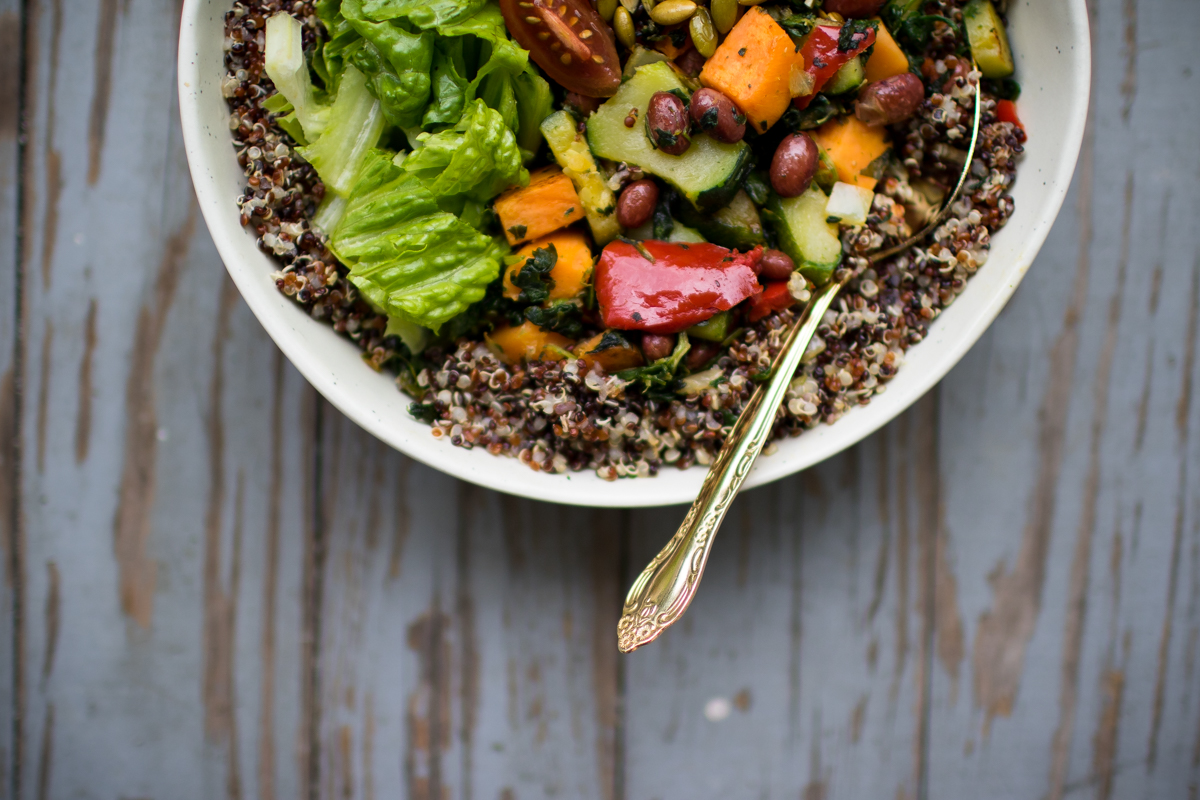
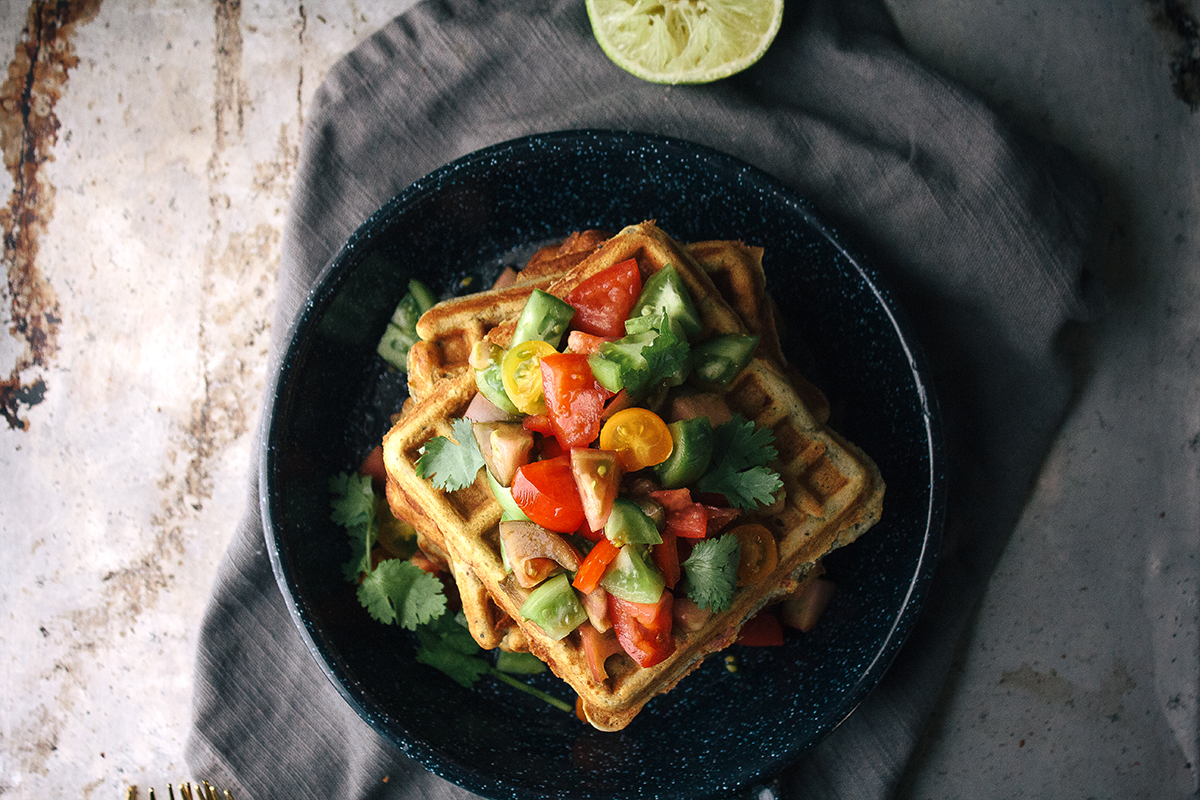
This is the first meal I've cooked in our new home. I was a little nervous at first as it's always dif[...]
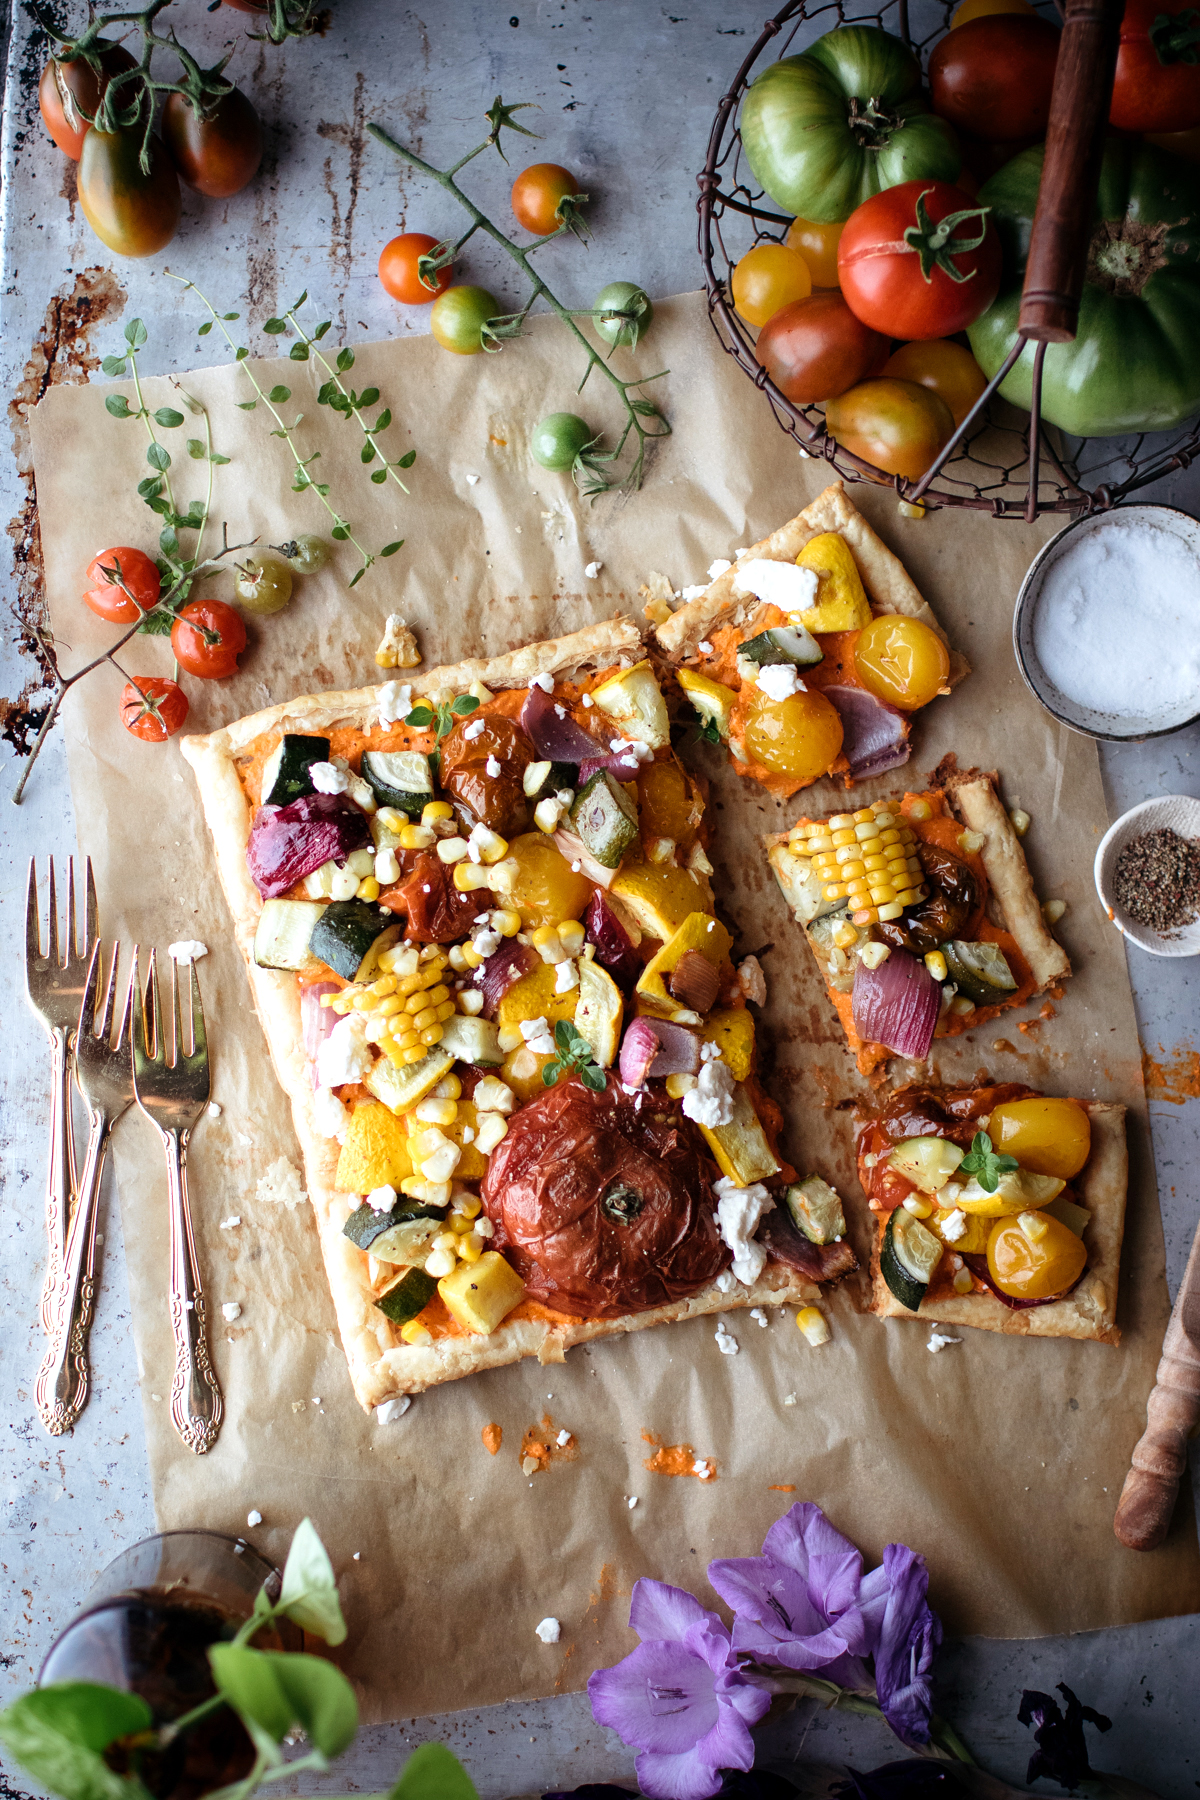
This vegetarian tart recipe was inspired by the madness of moving. A little over two weeks before we m[...]
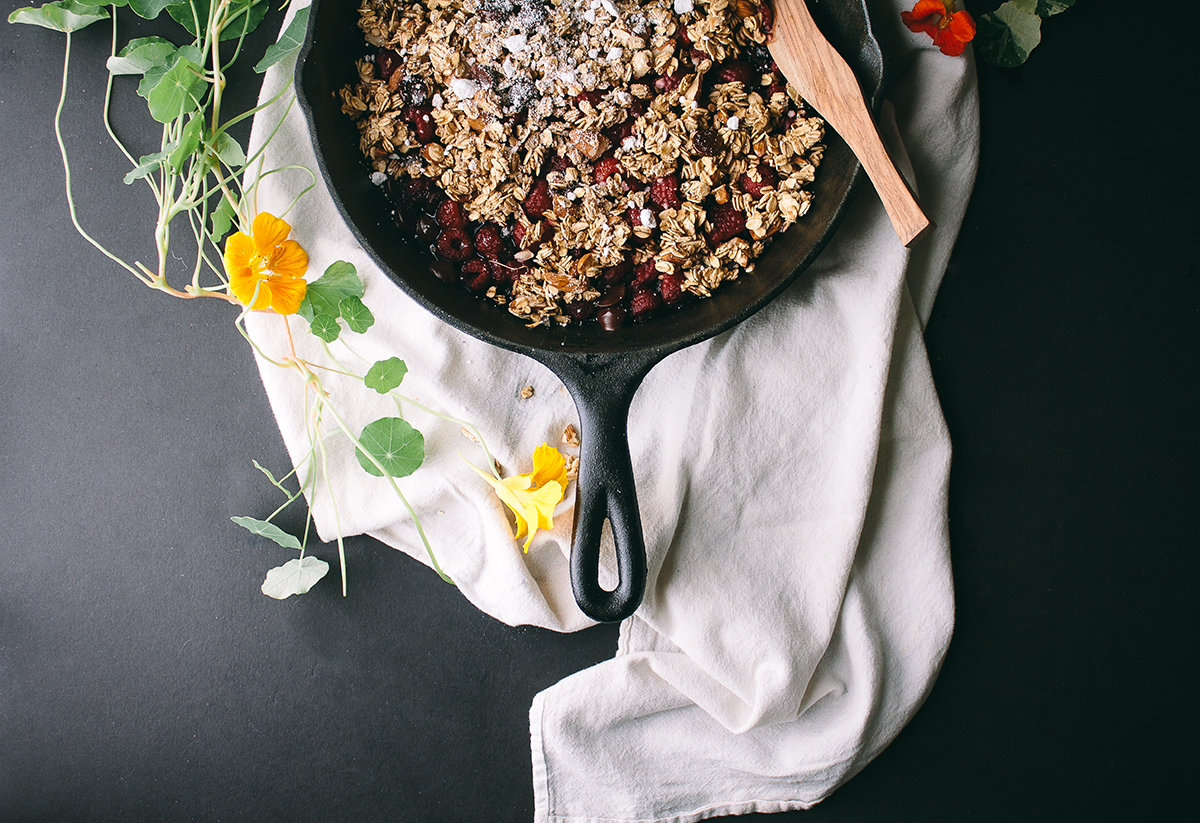
It's getting to be that time of year where all the produce is so fresh and abundant but it's also so[...]
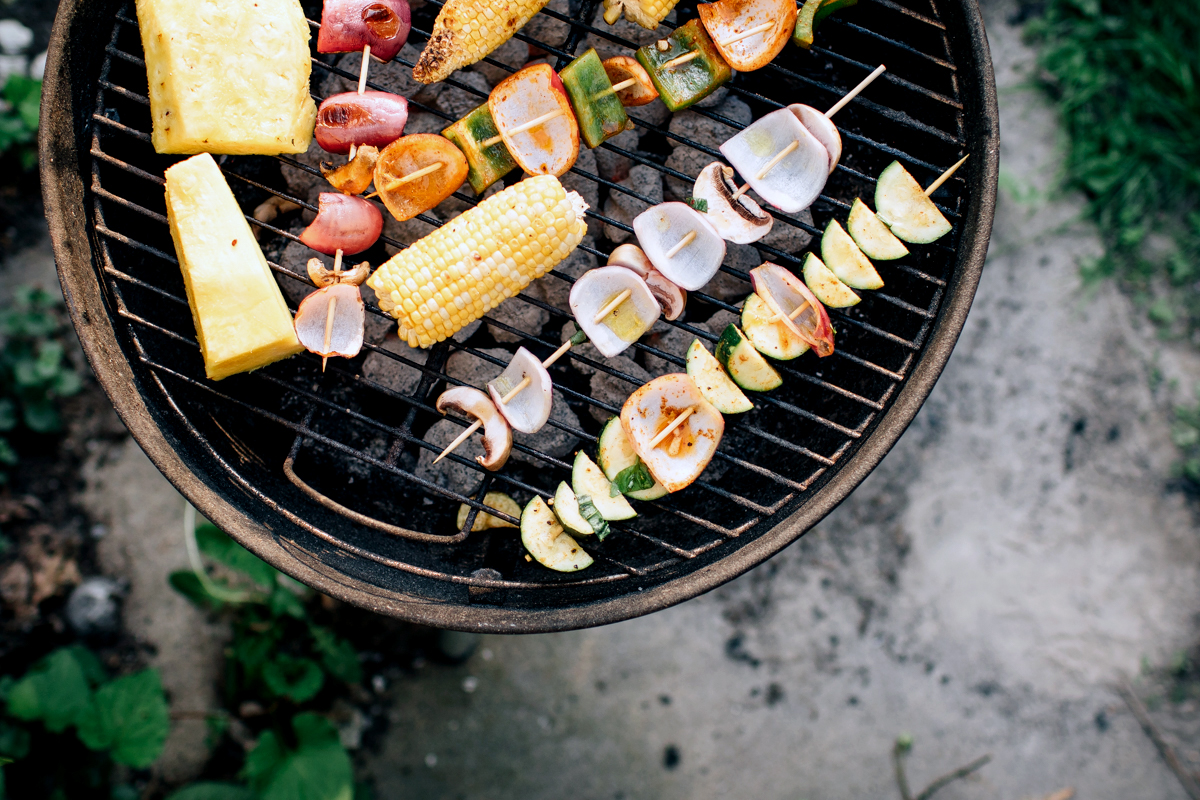
read more[...]
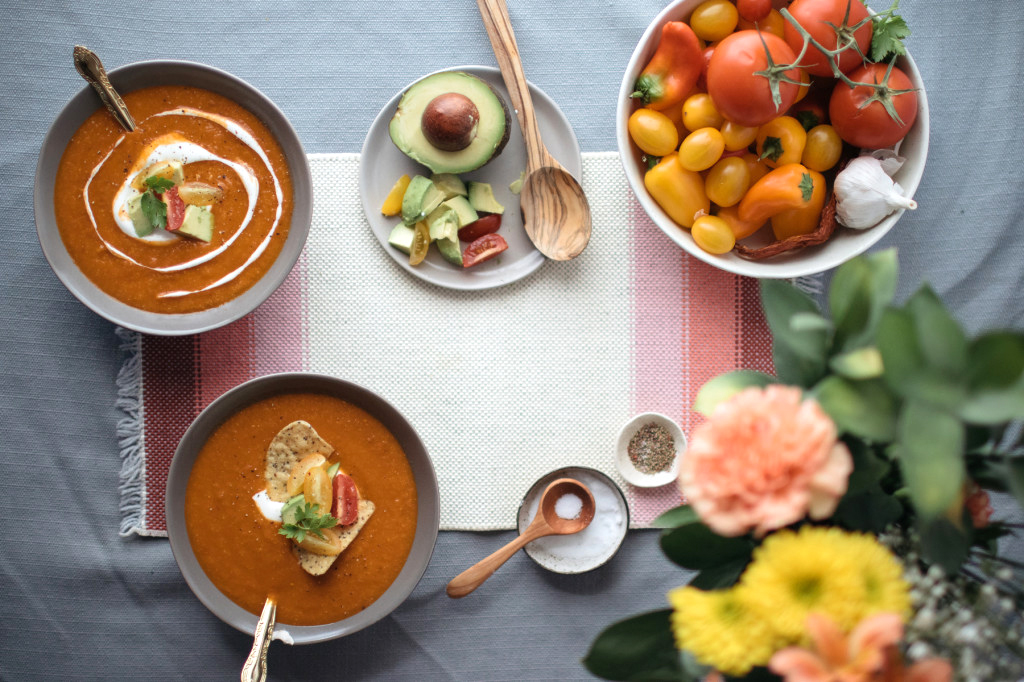
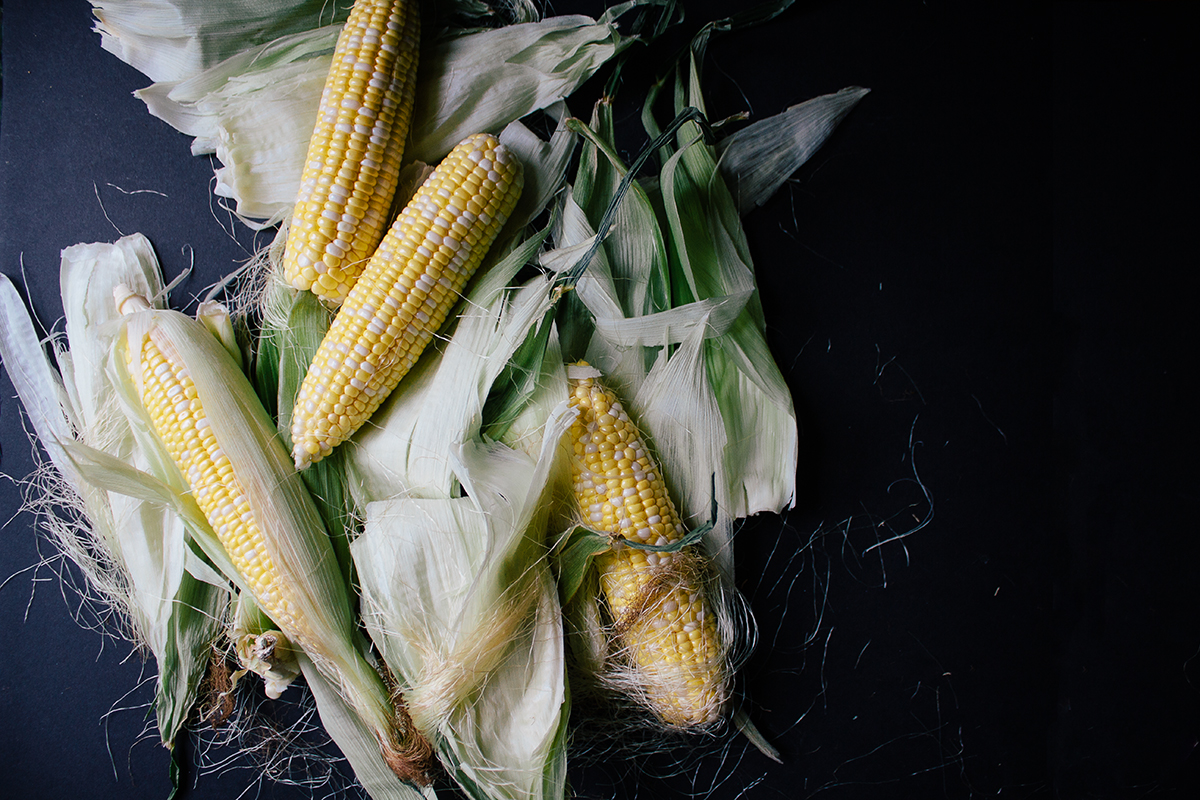
I had all these plans to make tacos and ice cream and fizzy floats over the weekend but then it rained; it[...]

This spring has been quite the season for vegetarian cookbooks: My New Roots, The Sprouted Kitchen Bow[...]
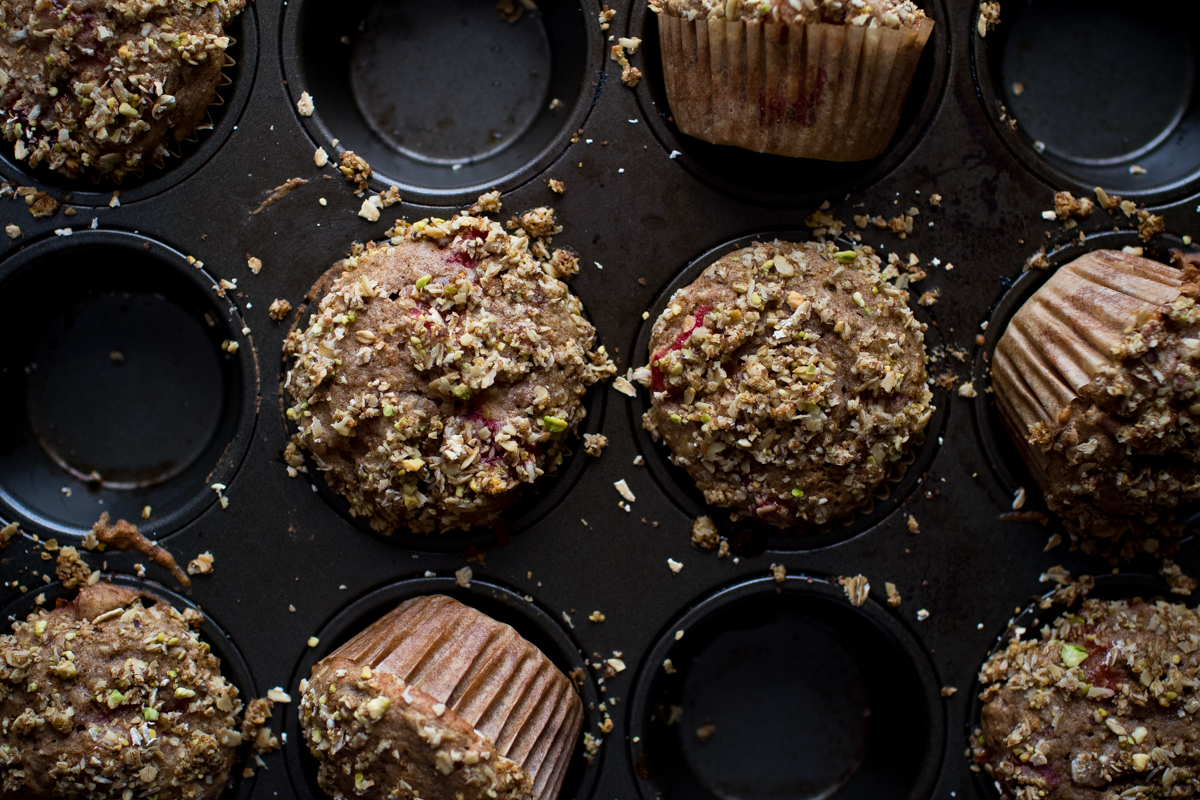
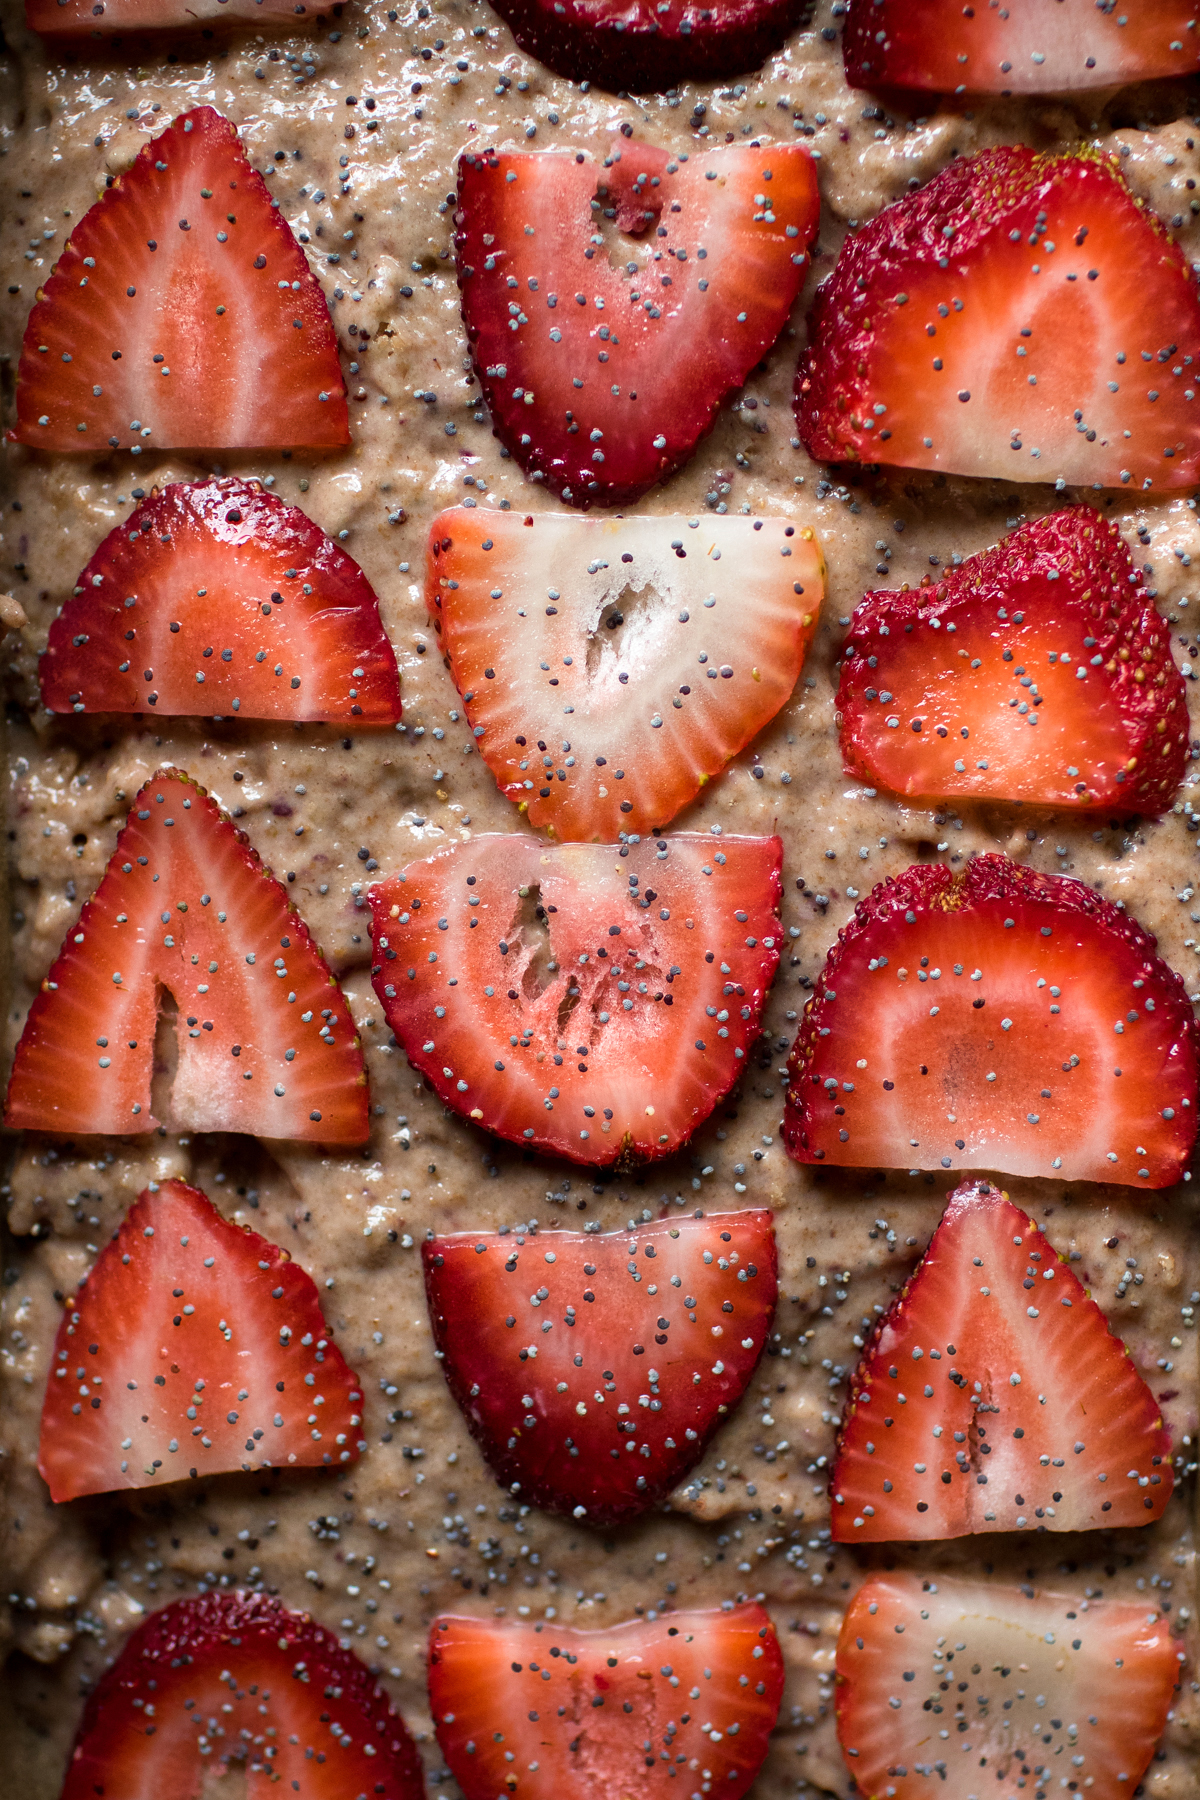
These strawberry rhubarb muffins are the perfect spring treat, made with roasted strawberries and rhubarb a[...]
Earlier this month, I headed down to North Carolina for a food and photography workshop. I had never b[...]
November. November. November. No matter how many times I say it, I am having a hard time coming to ter[...]
Caroline and I took a short drive into the country yesterday in search of an apple orchard that would[...]
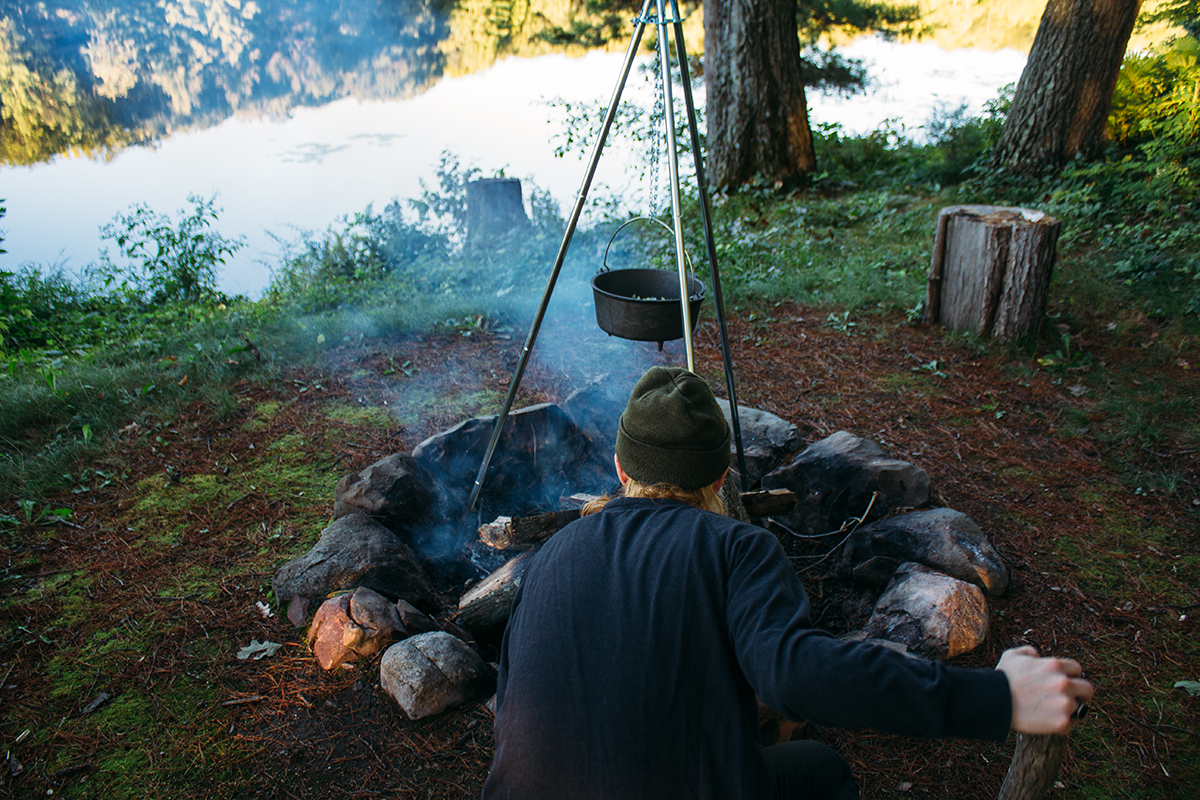
For your next camping trip or cookout, whip up this three bean chili with cornbread topping. Vegetarian cam[...]
One of my very close friends recently decided she wanted to stop eating meat so she came to me as for[...]
Well, the first week into being 25 has been quite the unfortunate whirlwind; It's bizarre how this cra[...]

[Photo of me on the last day of me being 24 years old - AKA earlier this week] I'm currently on vacatio[...]
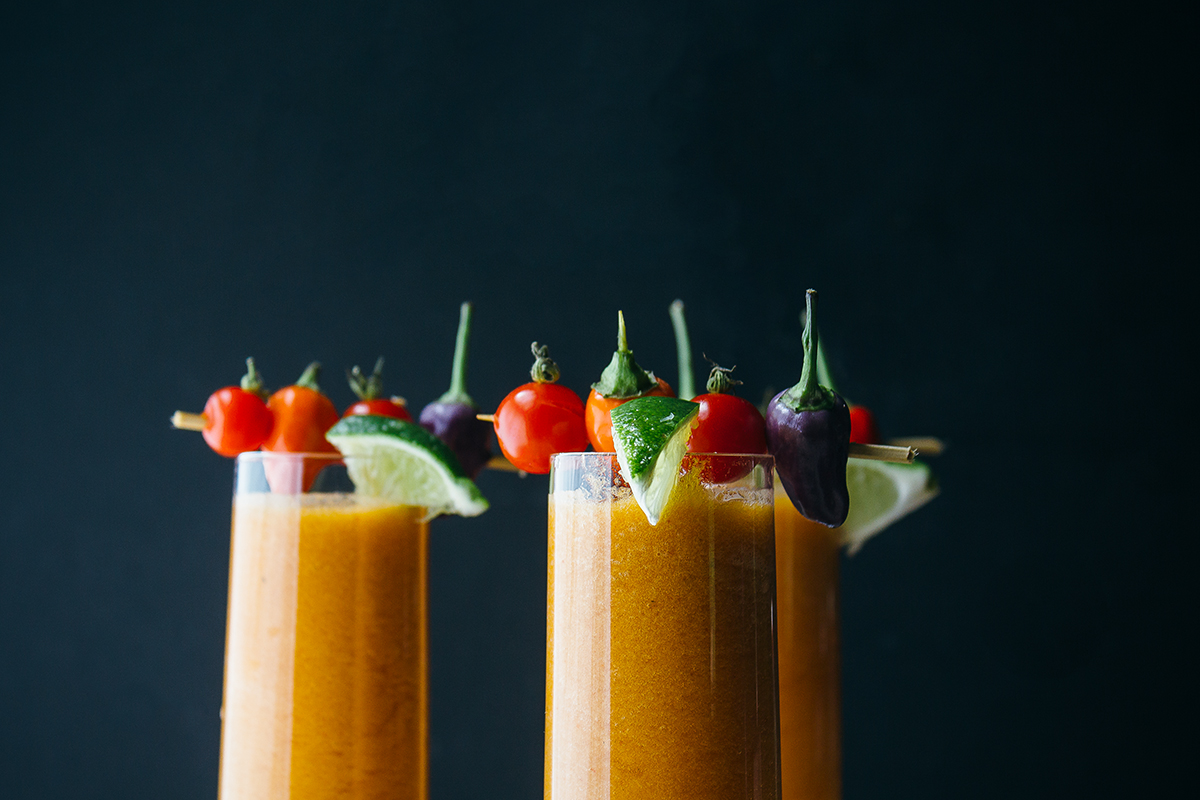
Today I've paired up with the fine folks over at Williams-Sonoma to share my favorite Bloody Mary recipe w[...]
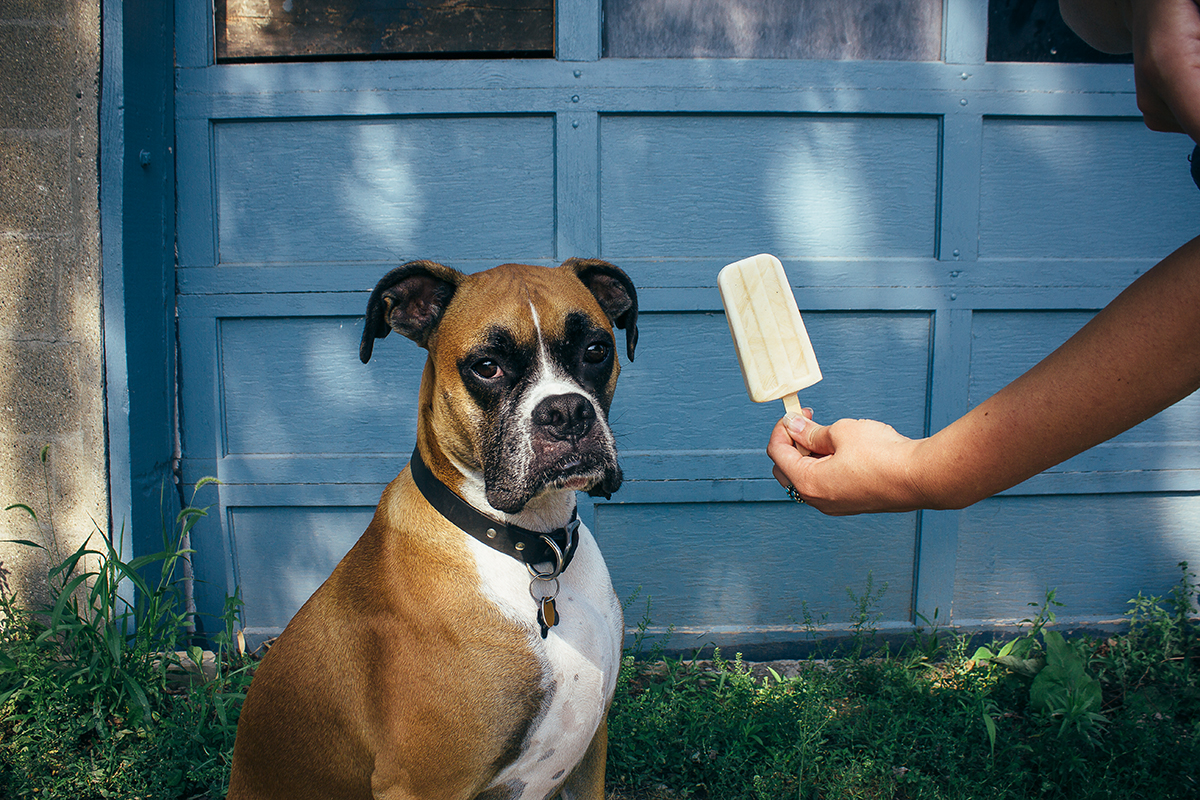
Keep your pup cool with "pupsicles" – frozen dog popsicles made with just 3 ingredients: creamy organic[...]

Hi! How are you? It's been a minute - I missed you guys. No - for real! You are like an old friend that[...]
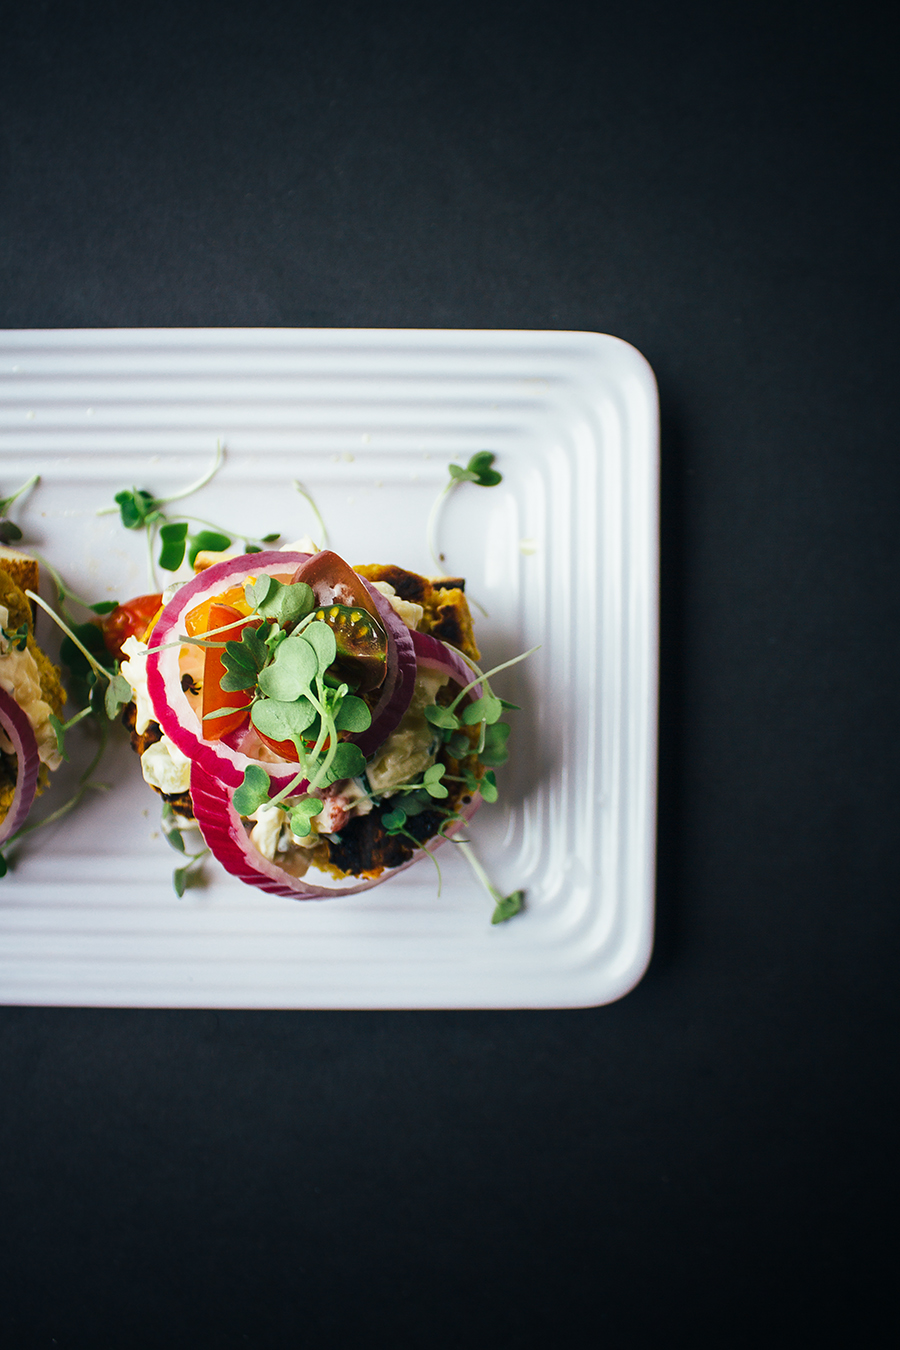
Today I am excited to pair up with the fine folk over at Vlasic Farmer's Garden to bring you a healthy, d[...]
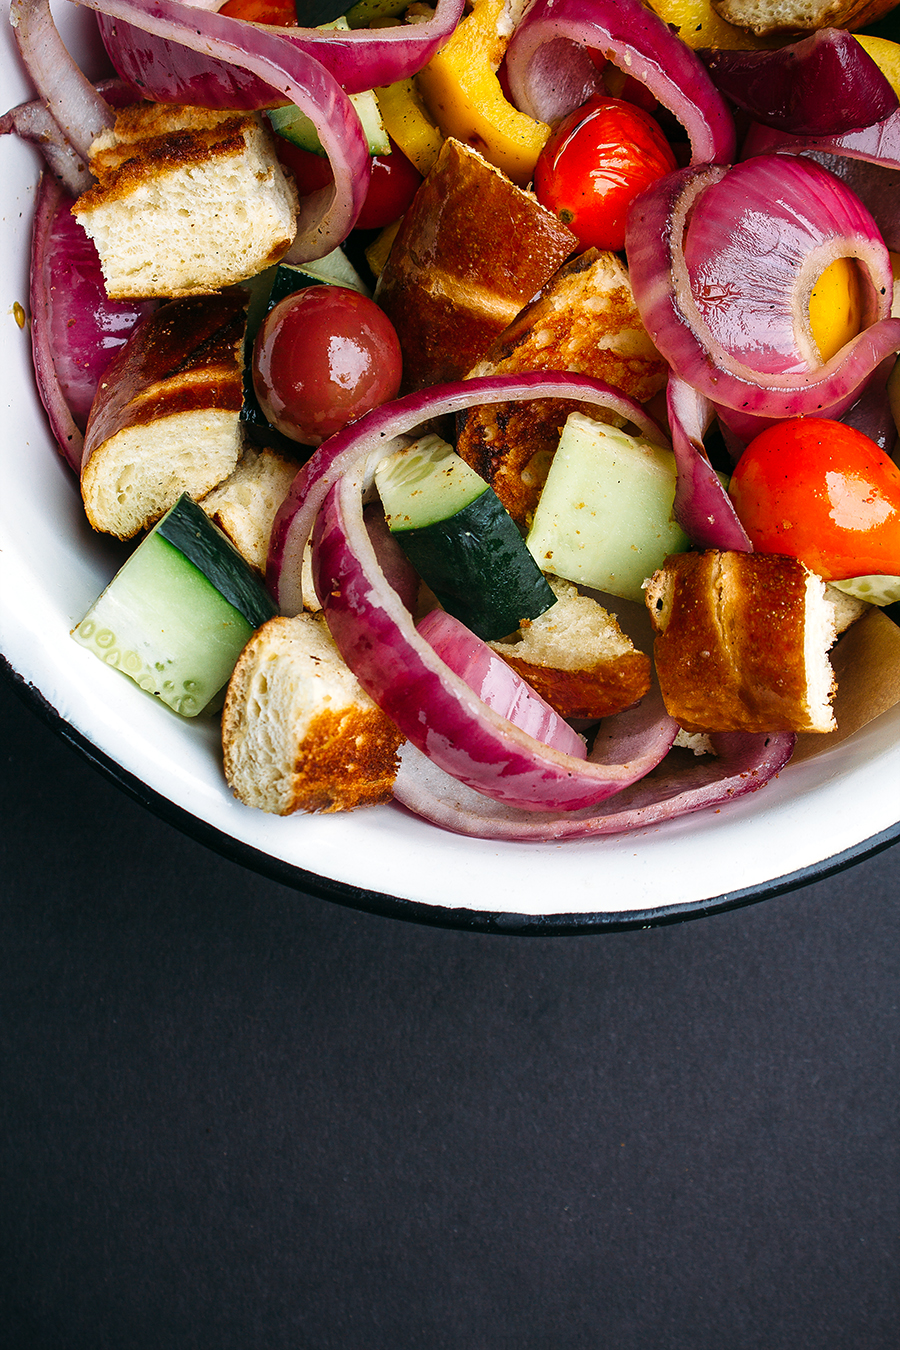
This Grilled Pretzel Panzanella Salad is the perfect grill out veggie side dish! If you are located[...]
Last July, I hopped on a plane and met one of my best friends, Ella, for an adventurous long weekend r[...]
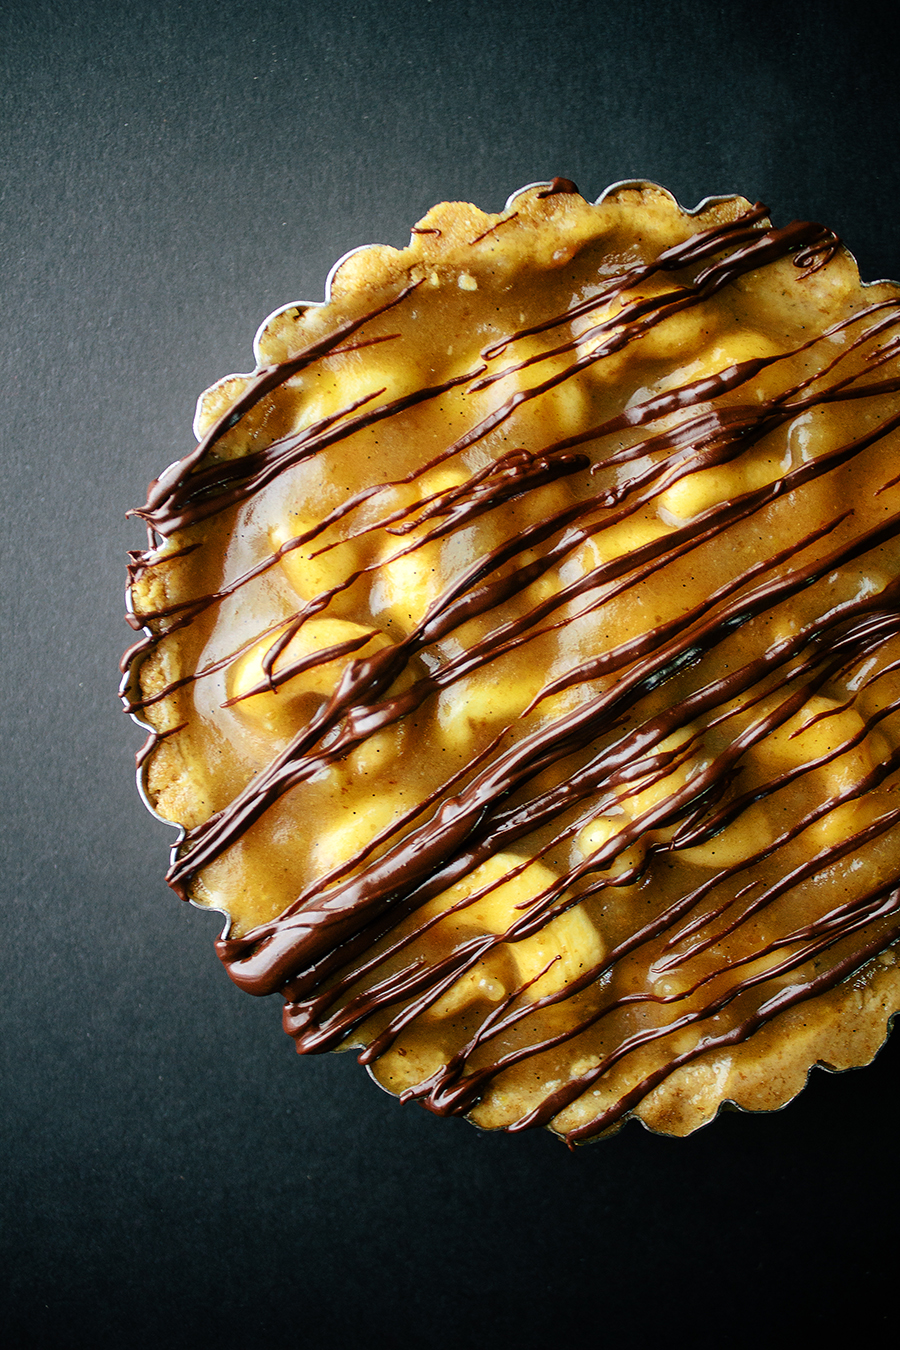
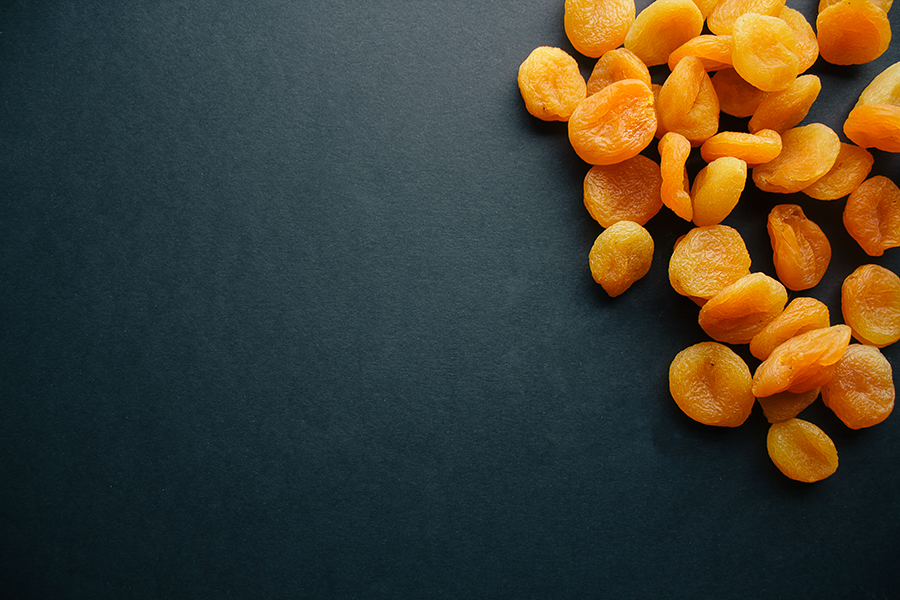
Salted Date Caramel Cashew Tart with Mocha Graham Crust is a healthier version of an indulgent dessert mad[...]
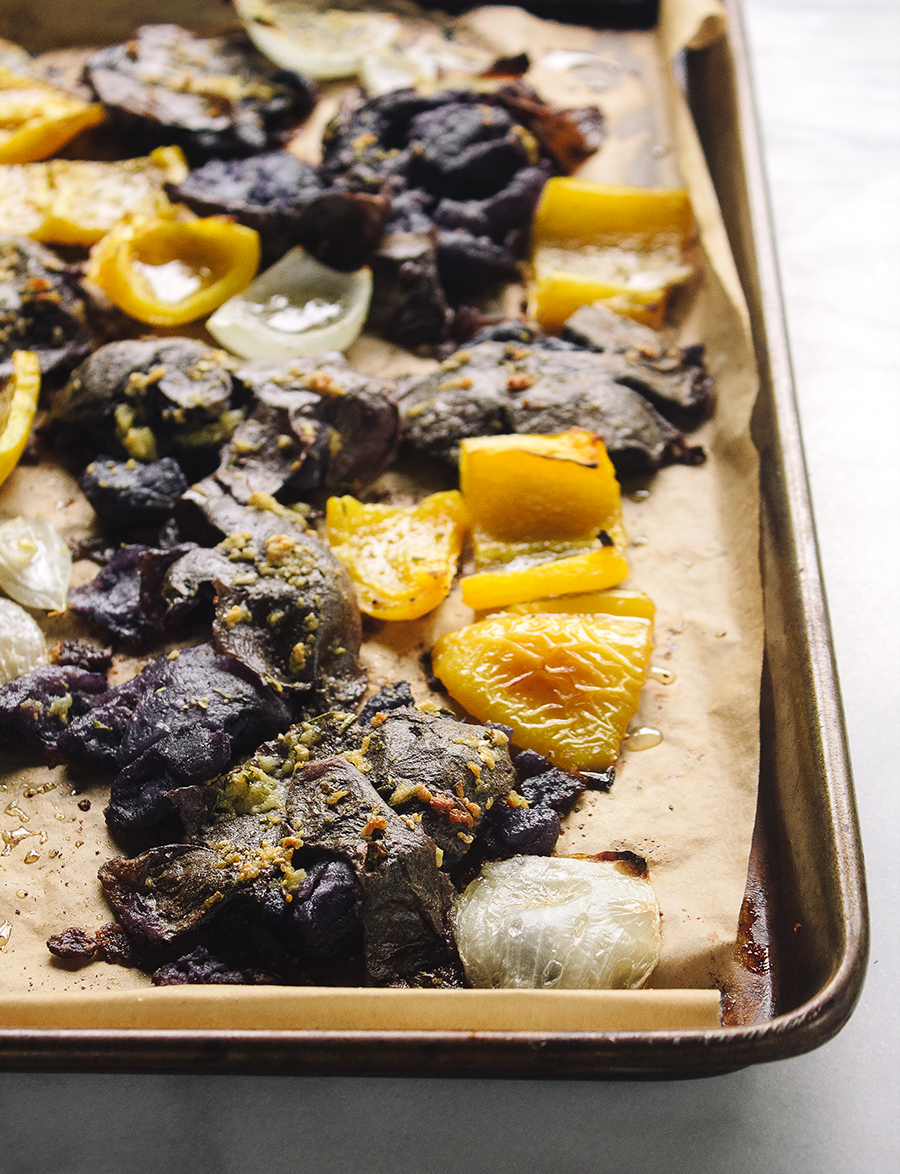
These Rosemary & Garlic Smashed Purple Potatoes are an easy but flavorful side dish perfect for any ty[...]
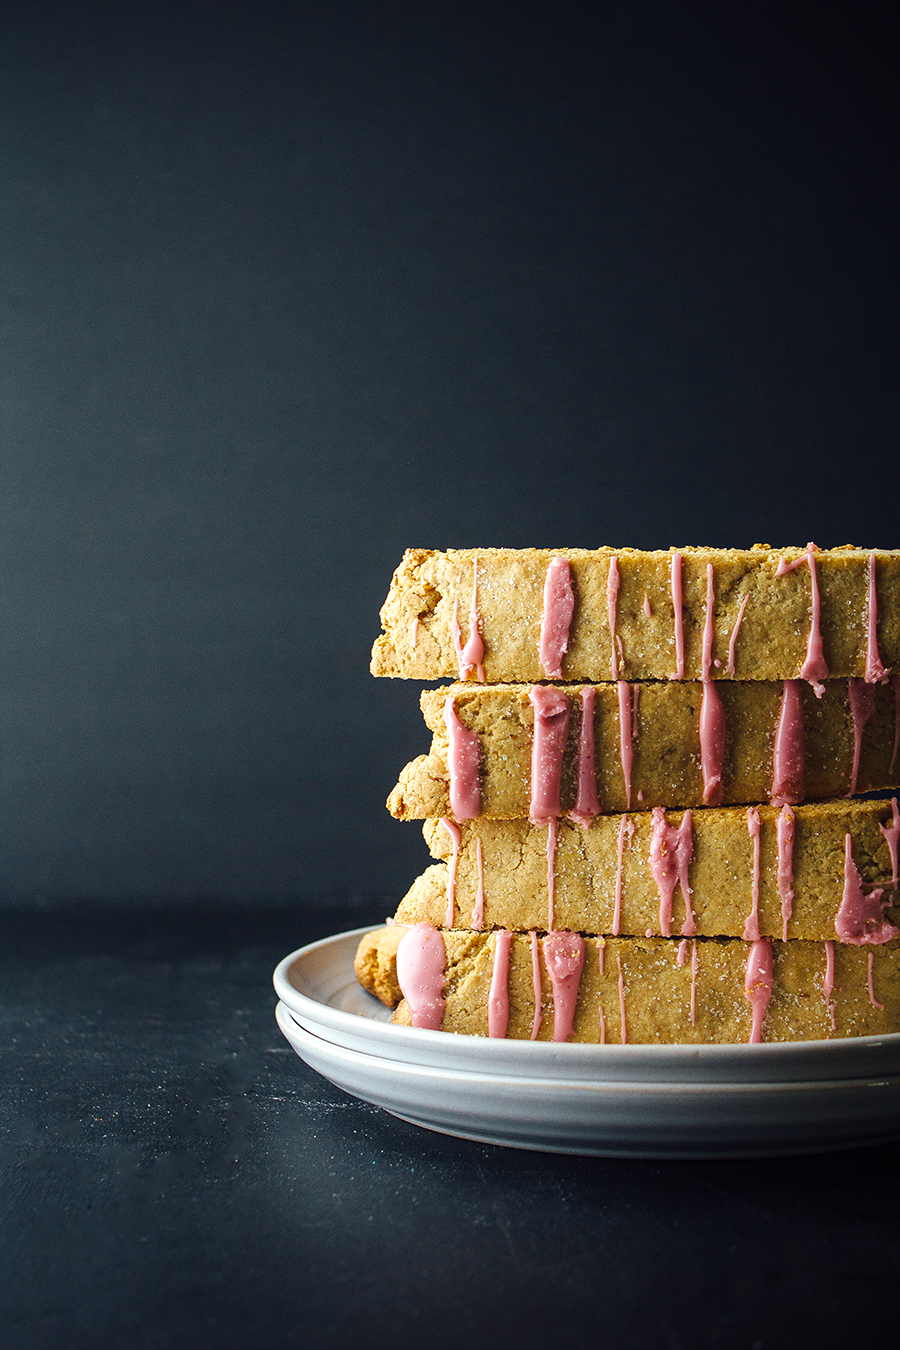
This Citrus Biscotti with Hibiscus Glaze packs a flavorful citrus punch that pairs perfectly with a cup of[...]