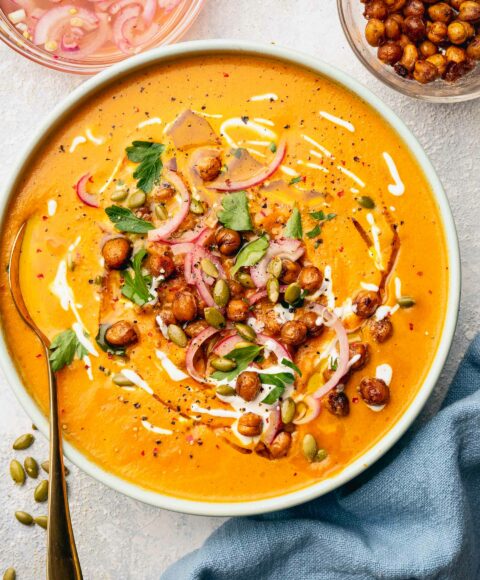
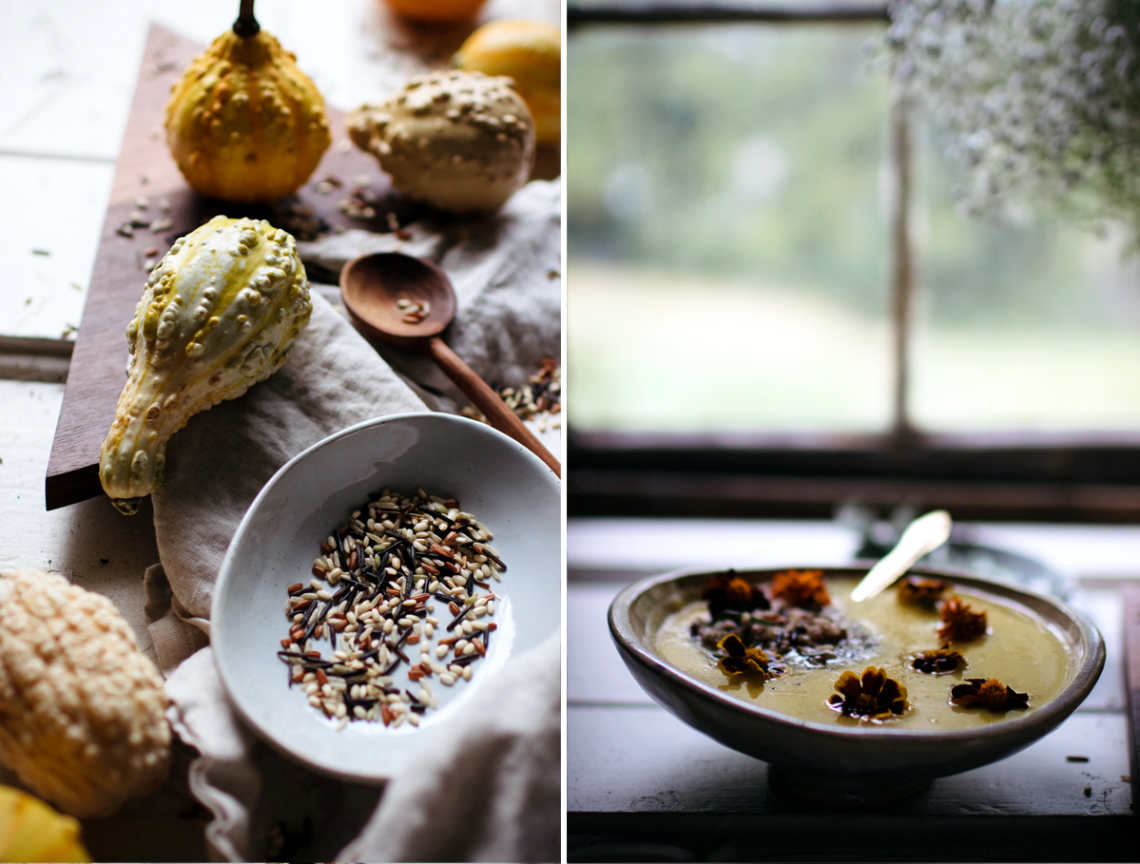
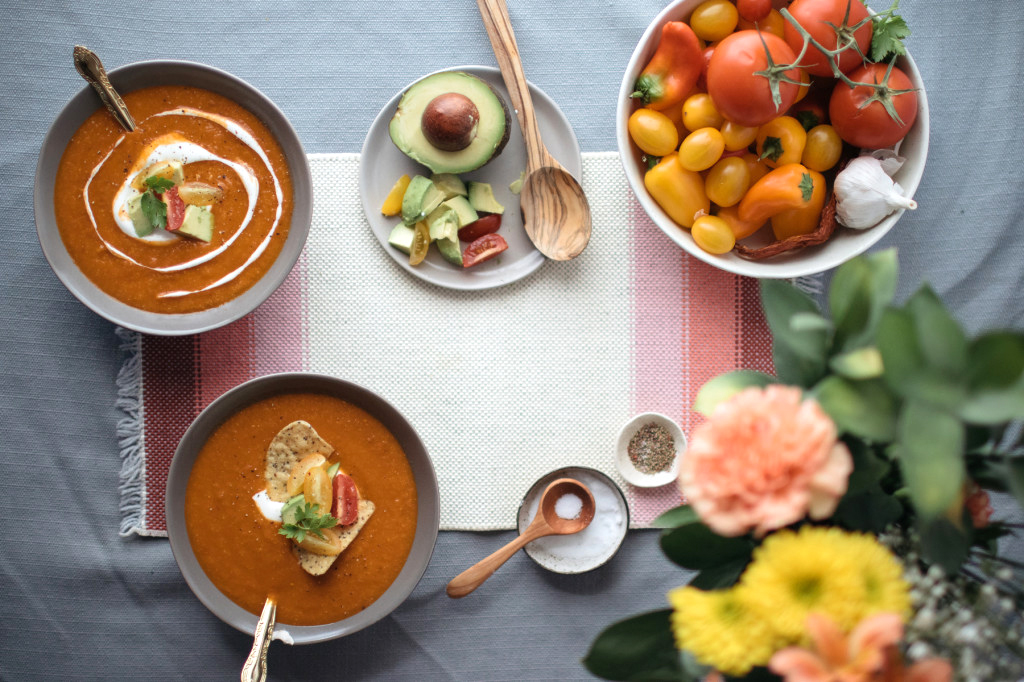
This Curried Carrot Soup with Maple Roasted Chickpeas soup is a vibrant winter vegetarian recipe. The base i[...]
This Curried Carrot Soup with Maple Roasted Chickpeas soup is a vibrant winter vegetarian recipe. The base i[...]
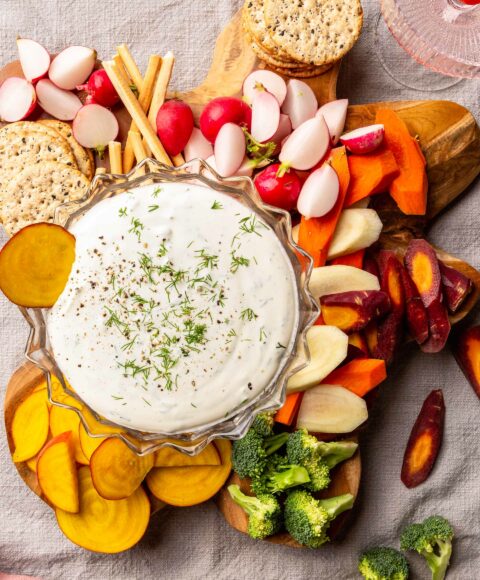
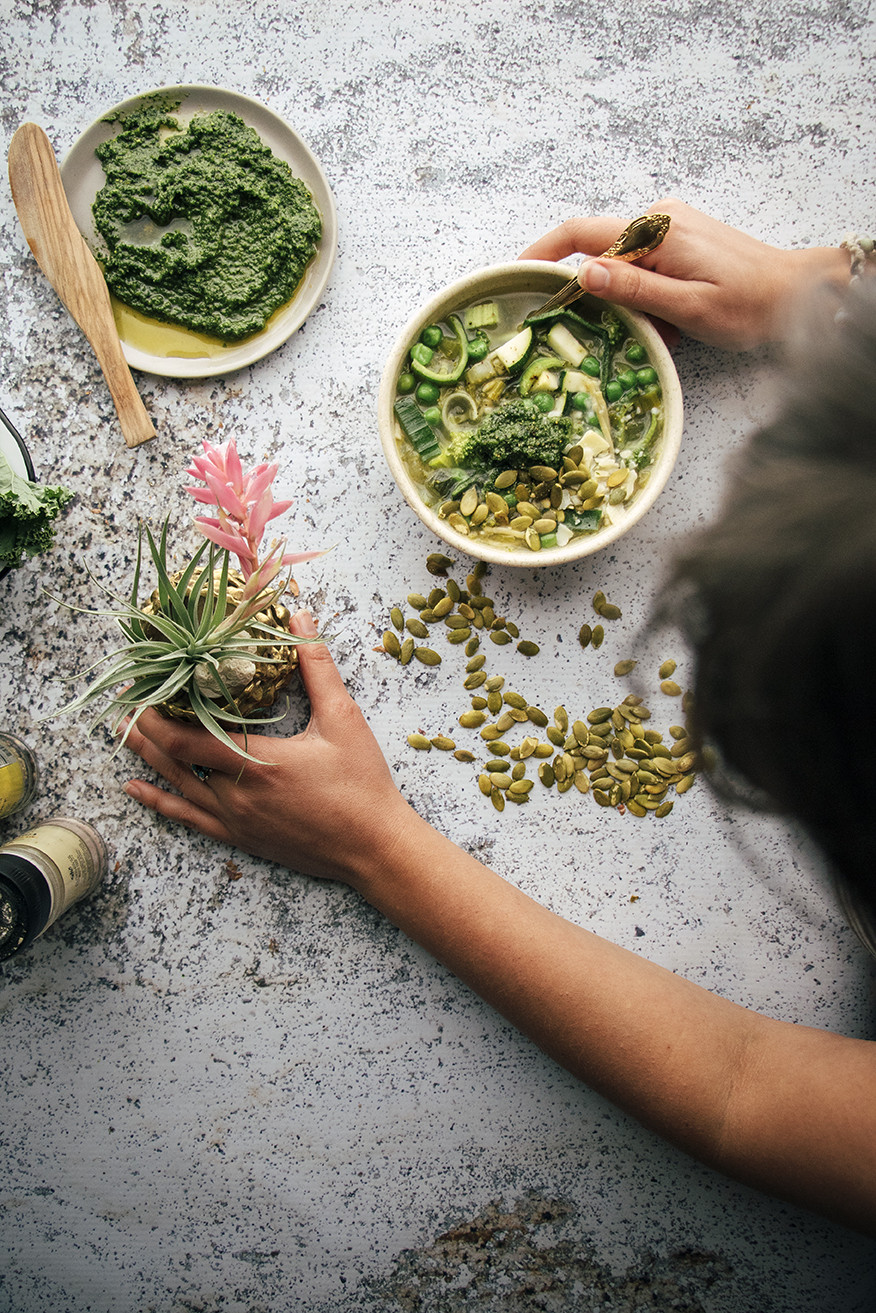
This Dill Buttermilk Dip with Winter Crudités is an herby and fresh buttermilk dip with dill, perfect to s[...]
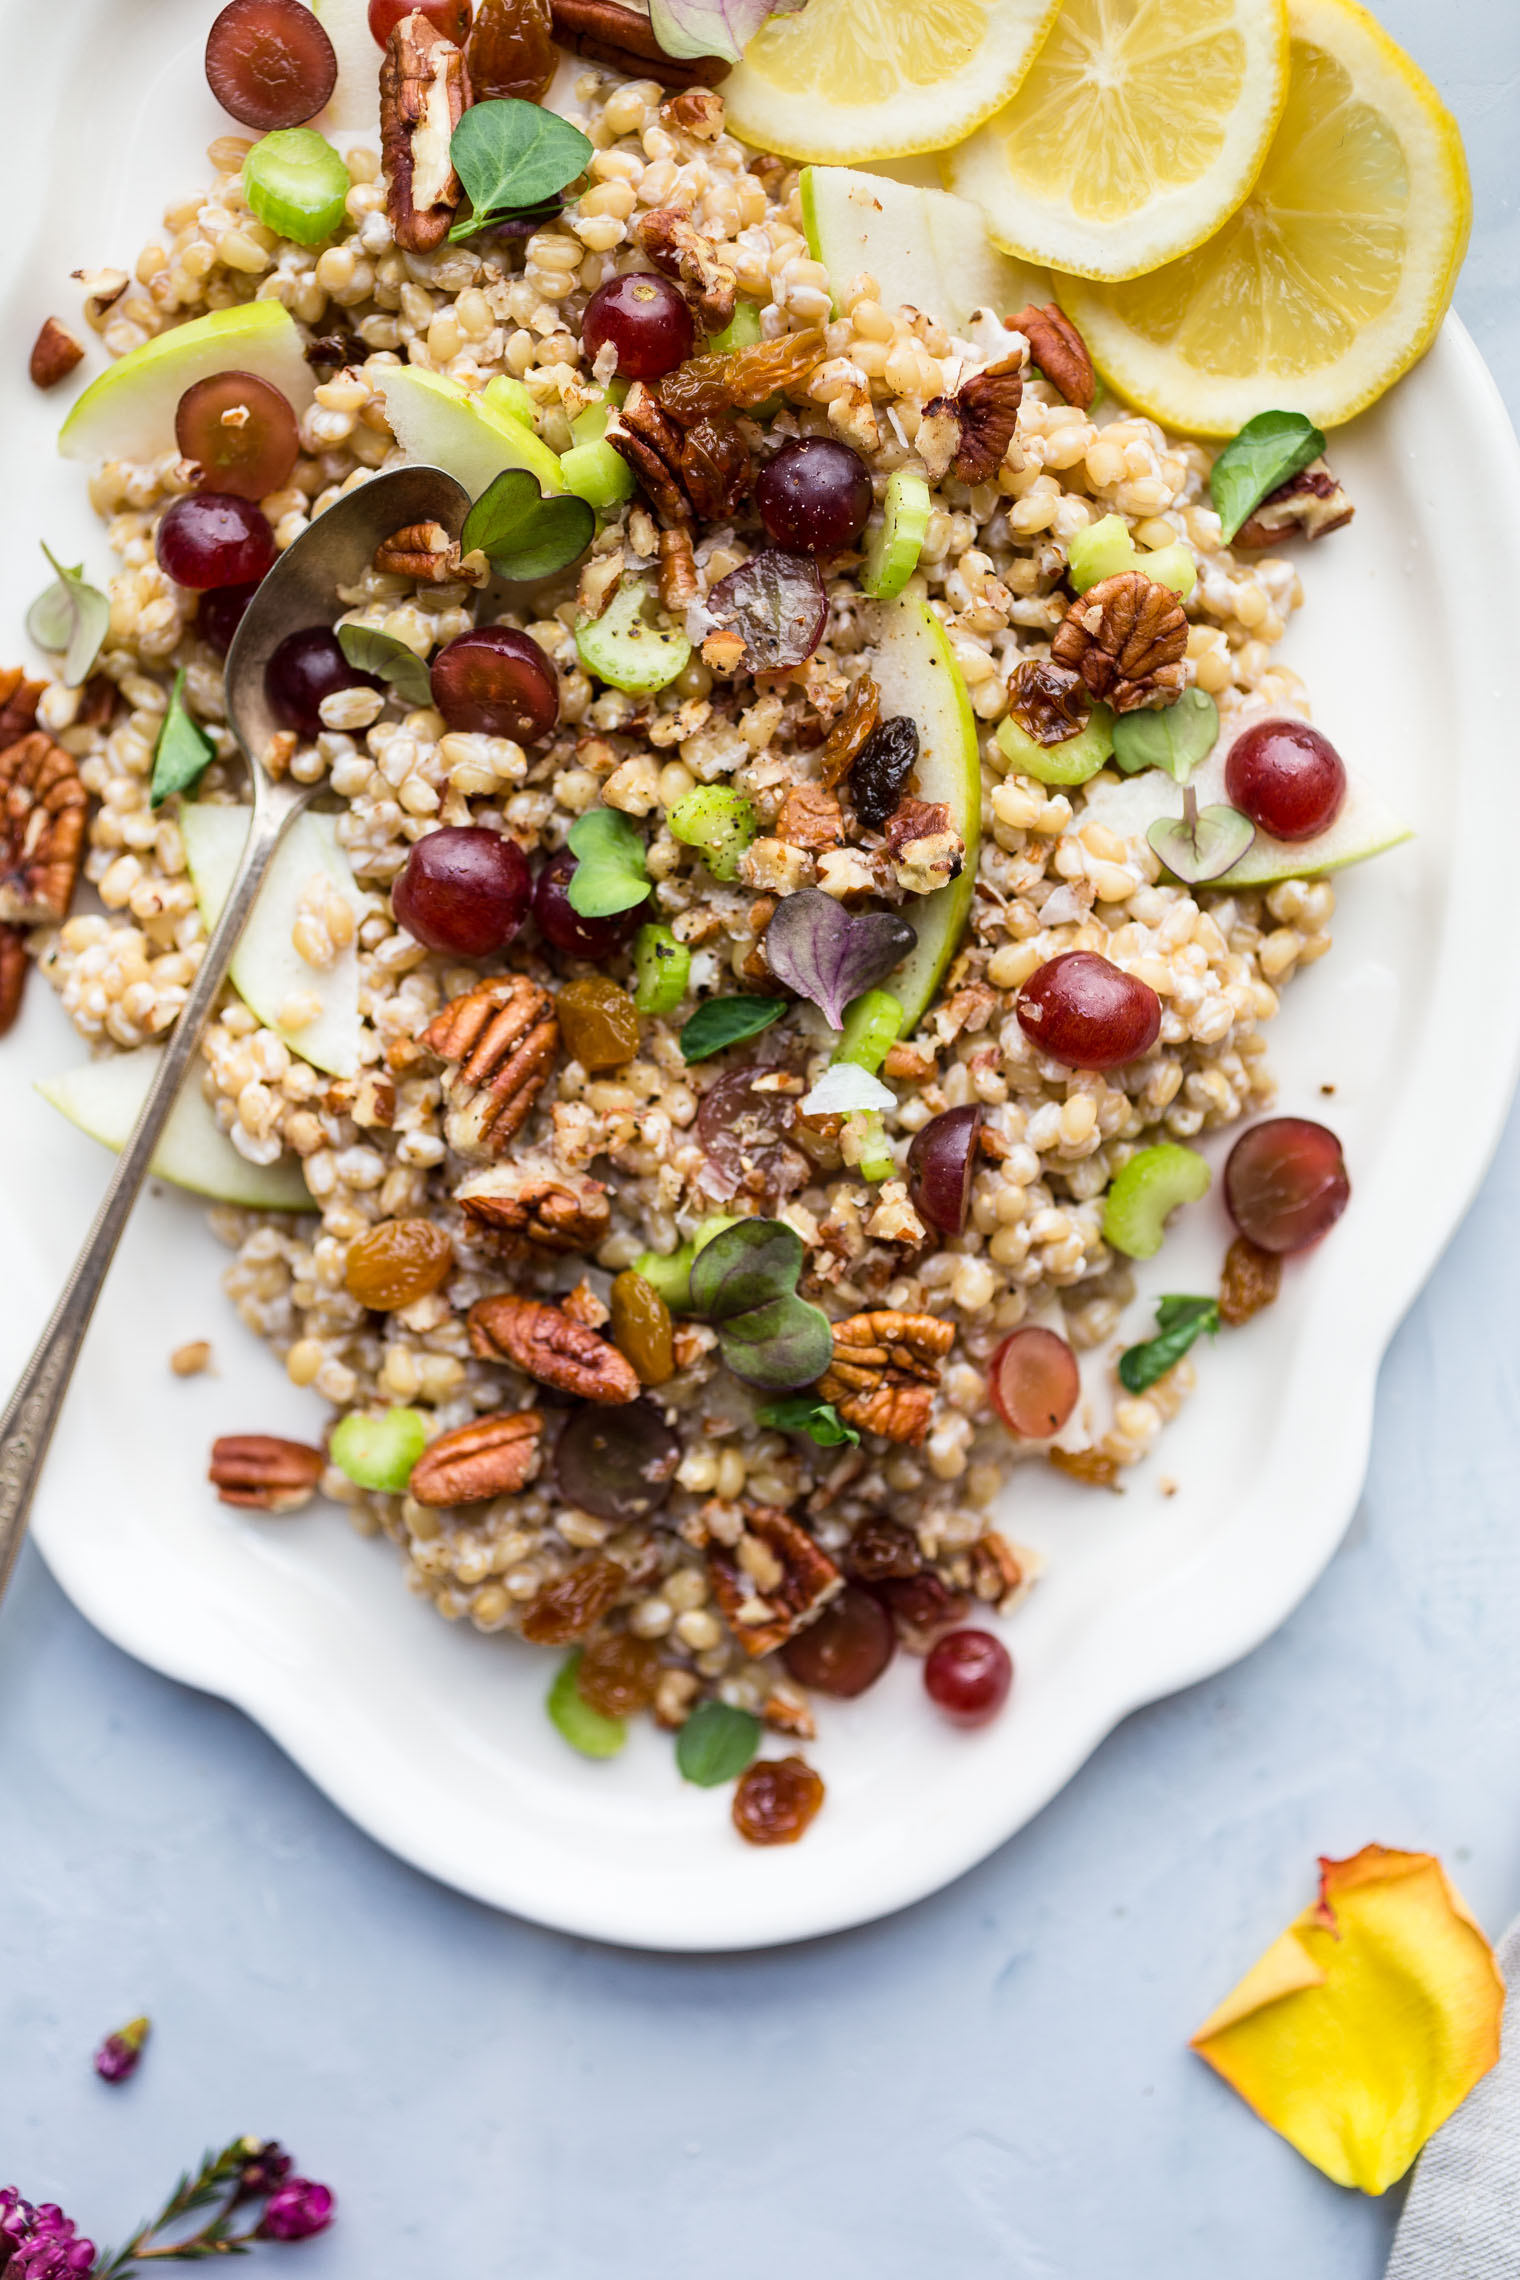
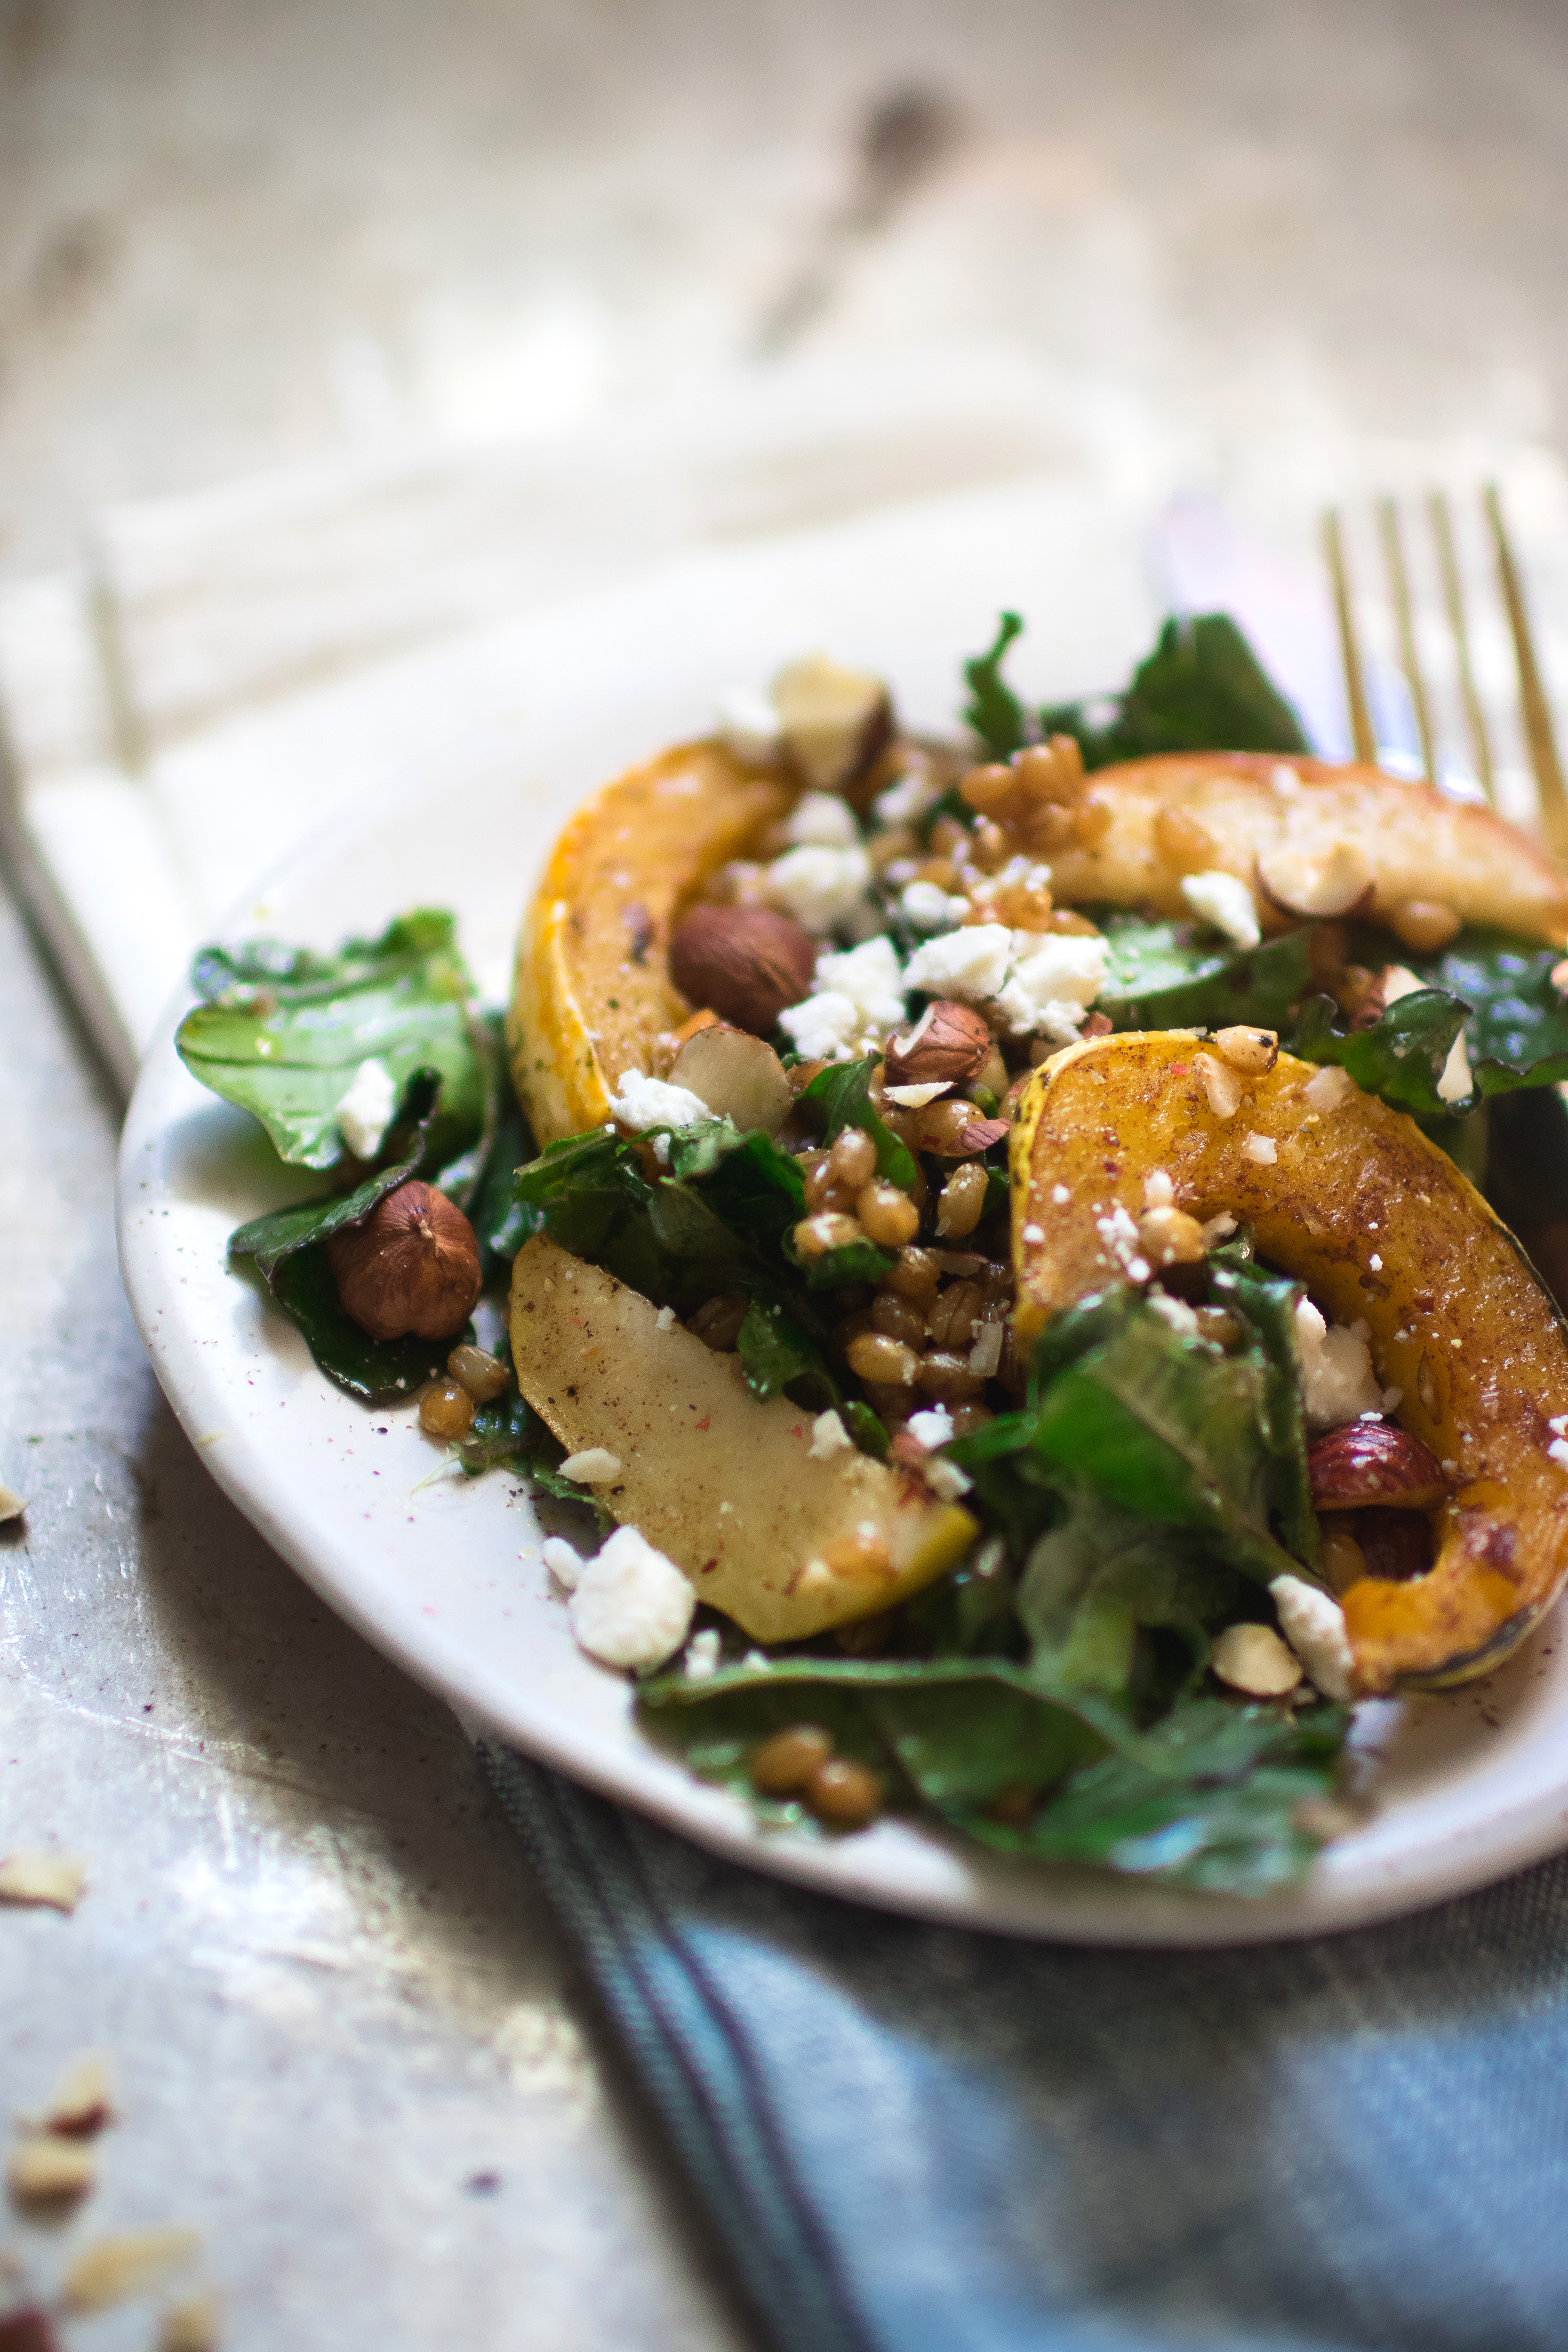
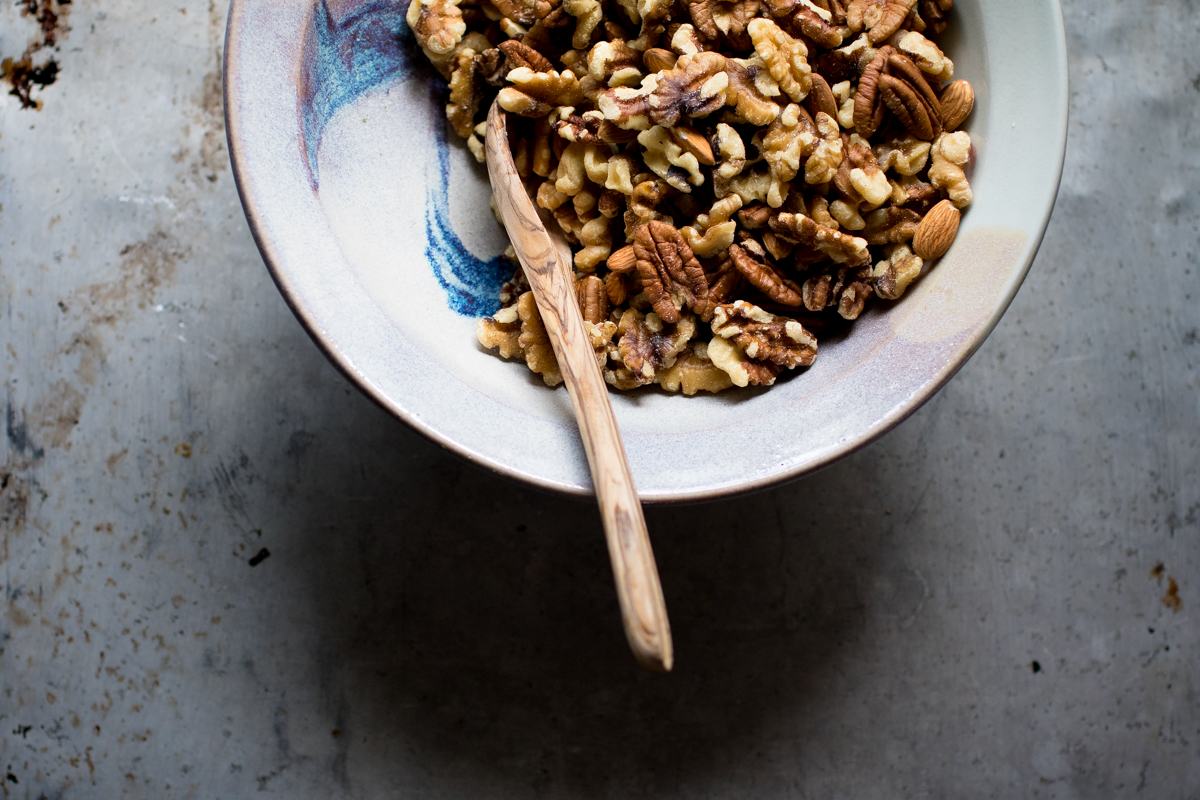
This Vegan Waldorf Wheatberry Salad is the perfect simple recipe for a filling lunch or side at dinner. #T[...]

This tart and floral Elderflower Lemonade is a refreshing homemade drink that can be made alcoholic by addi[...]
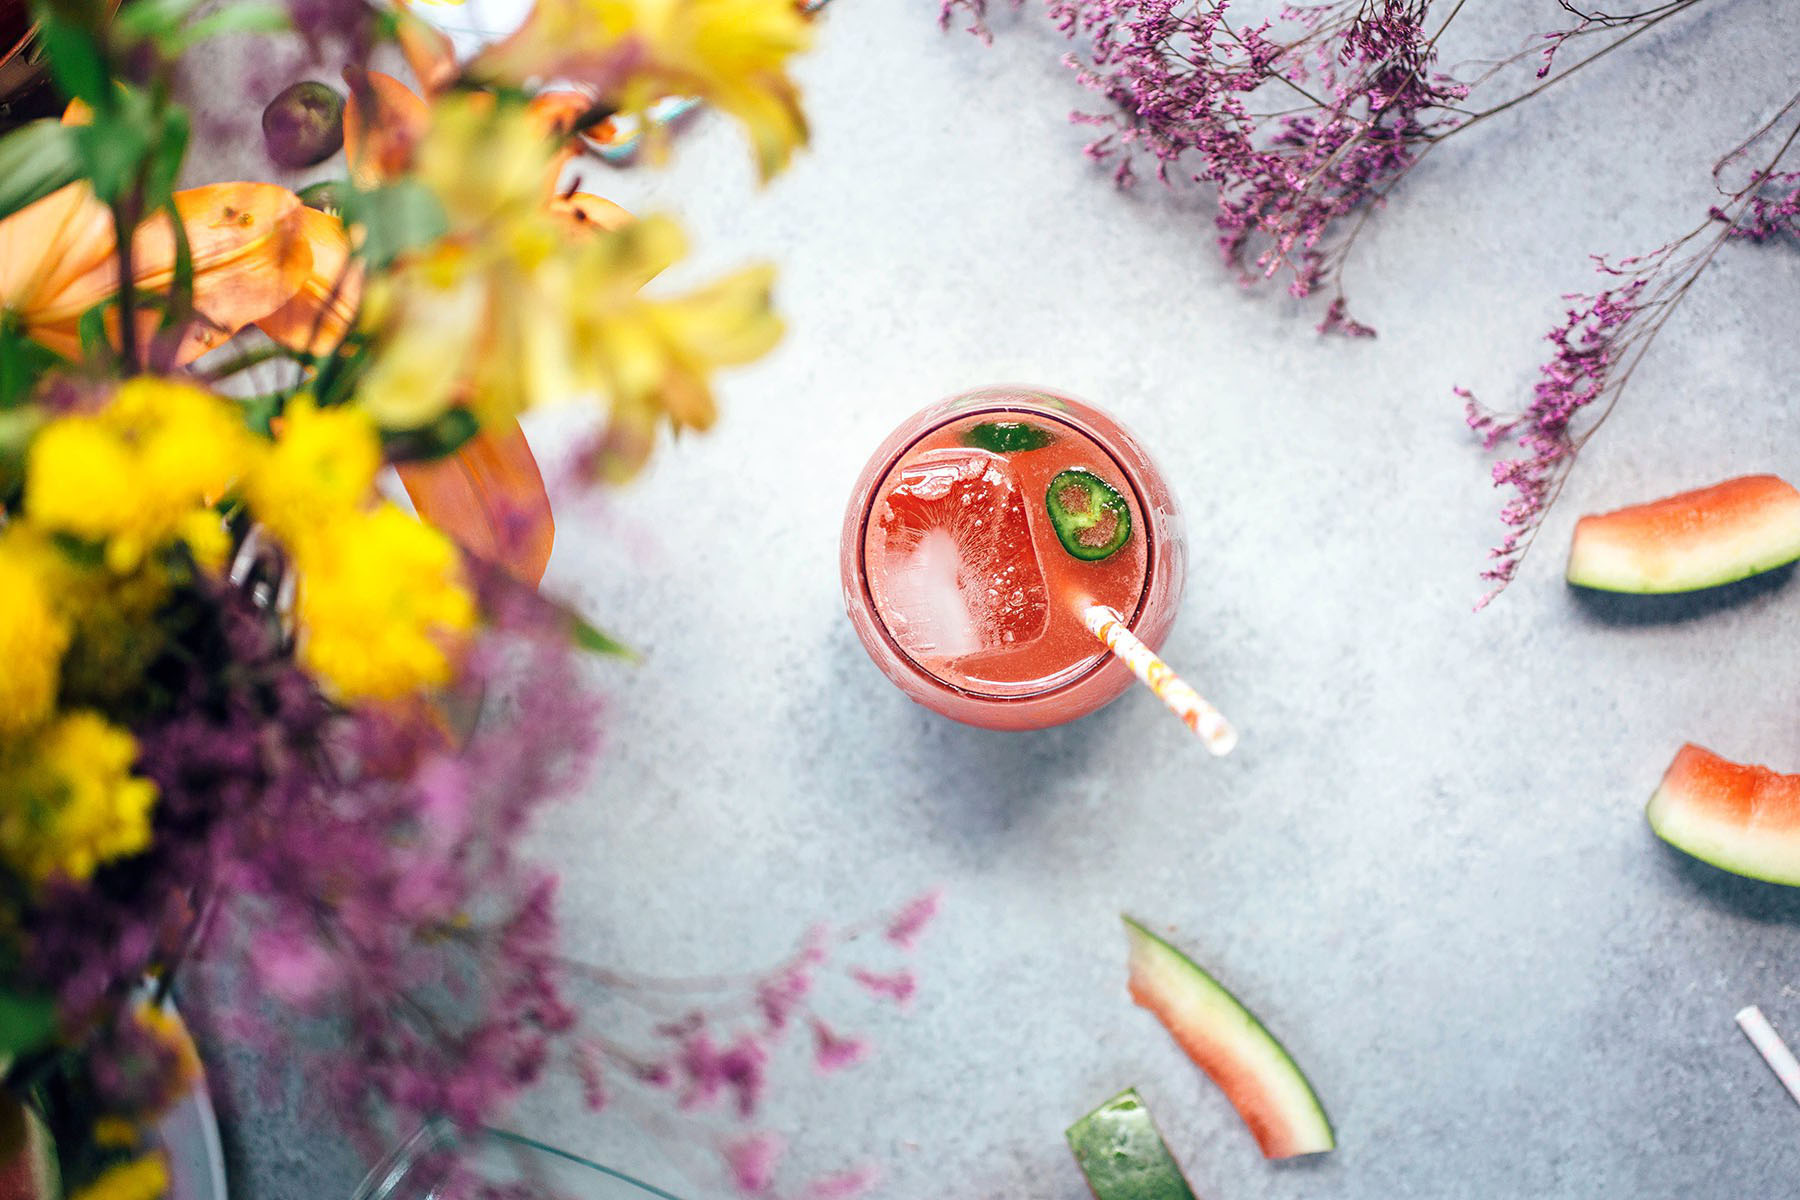
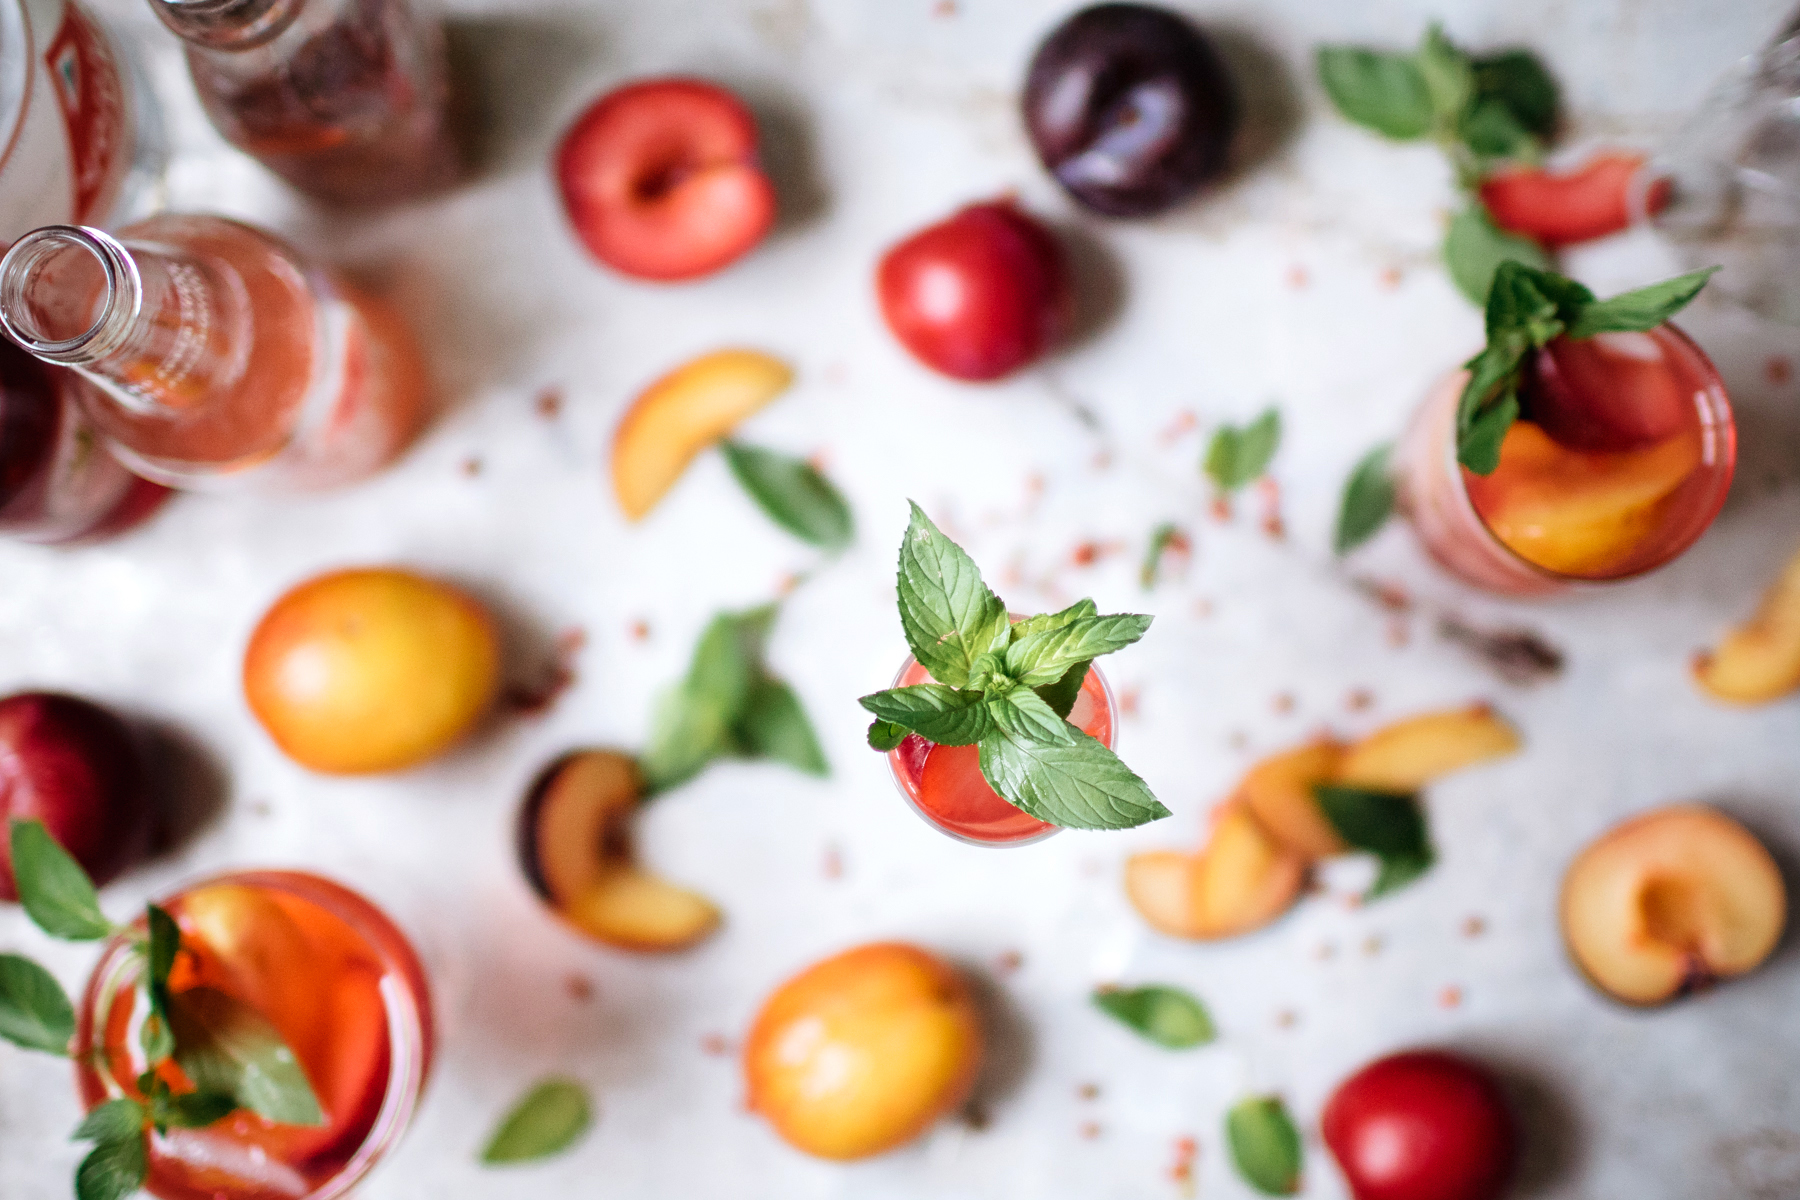
This homemade sweet and spicy watermelon soda is the perfect fizzy non-alcoholic drink recipe to quench[...]
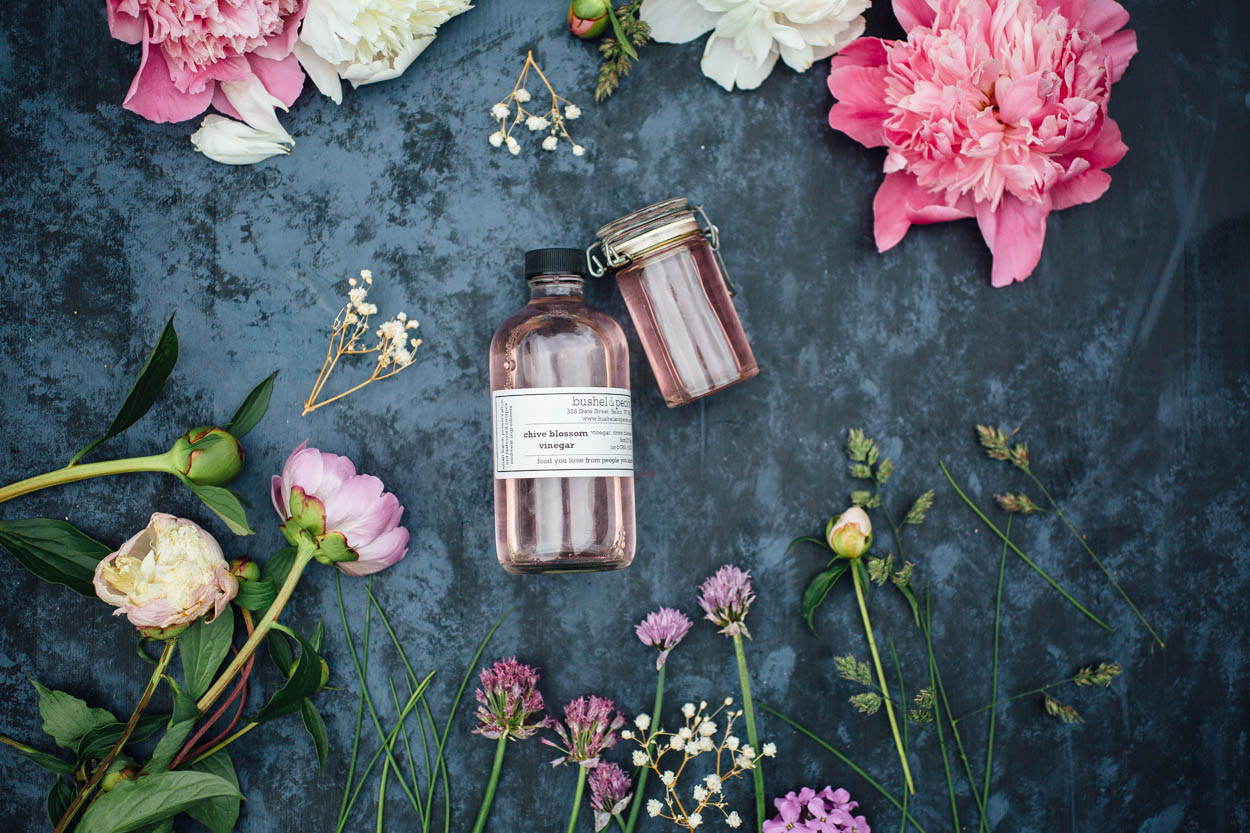
This two-ingredient Homemade Chive Blossom Vinegar is so simple that it's hard to even call it a recipe. T[...]
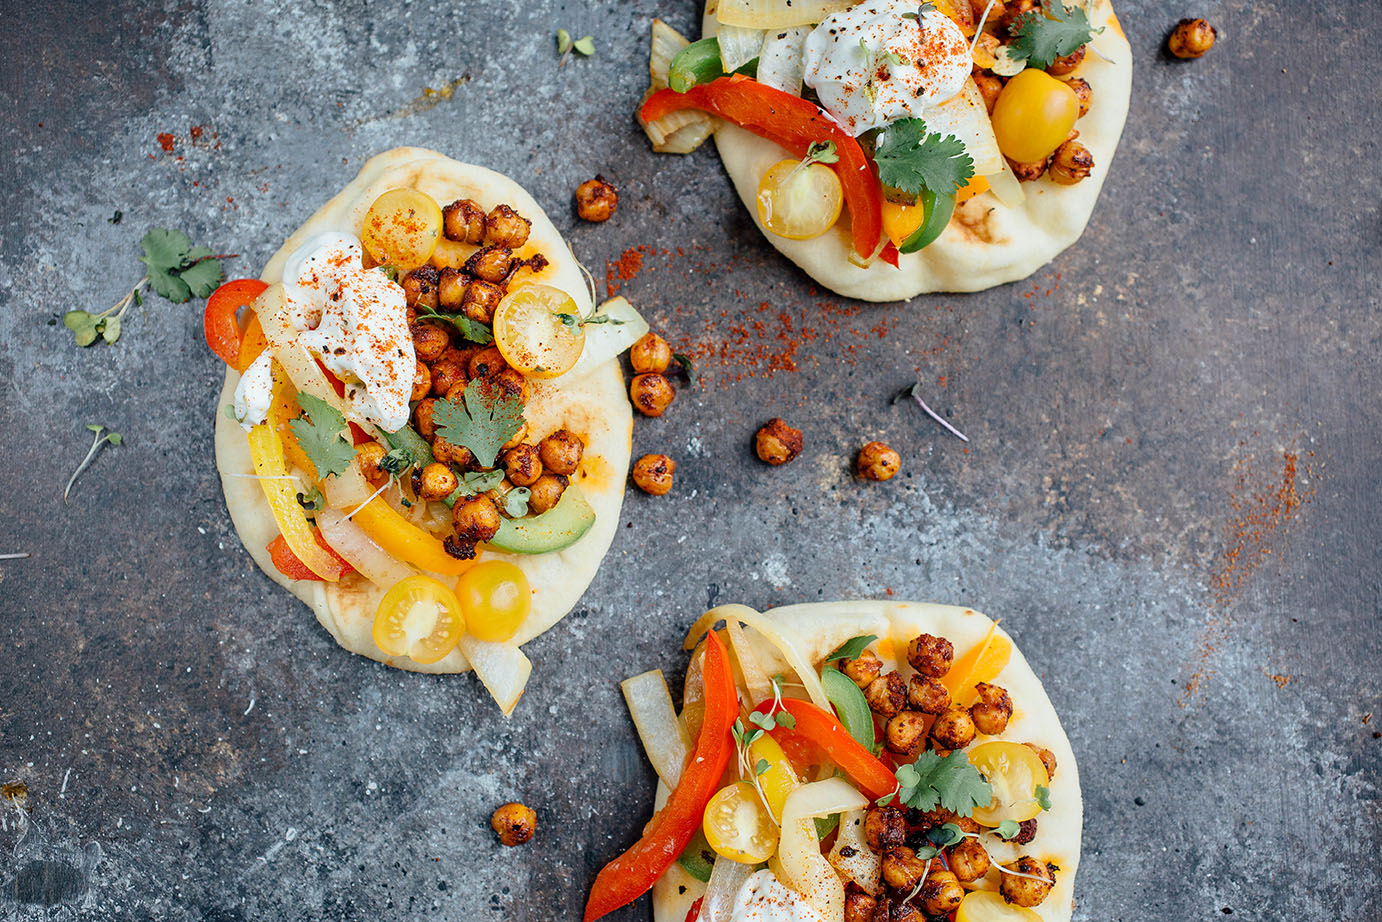
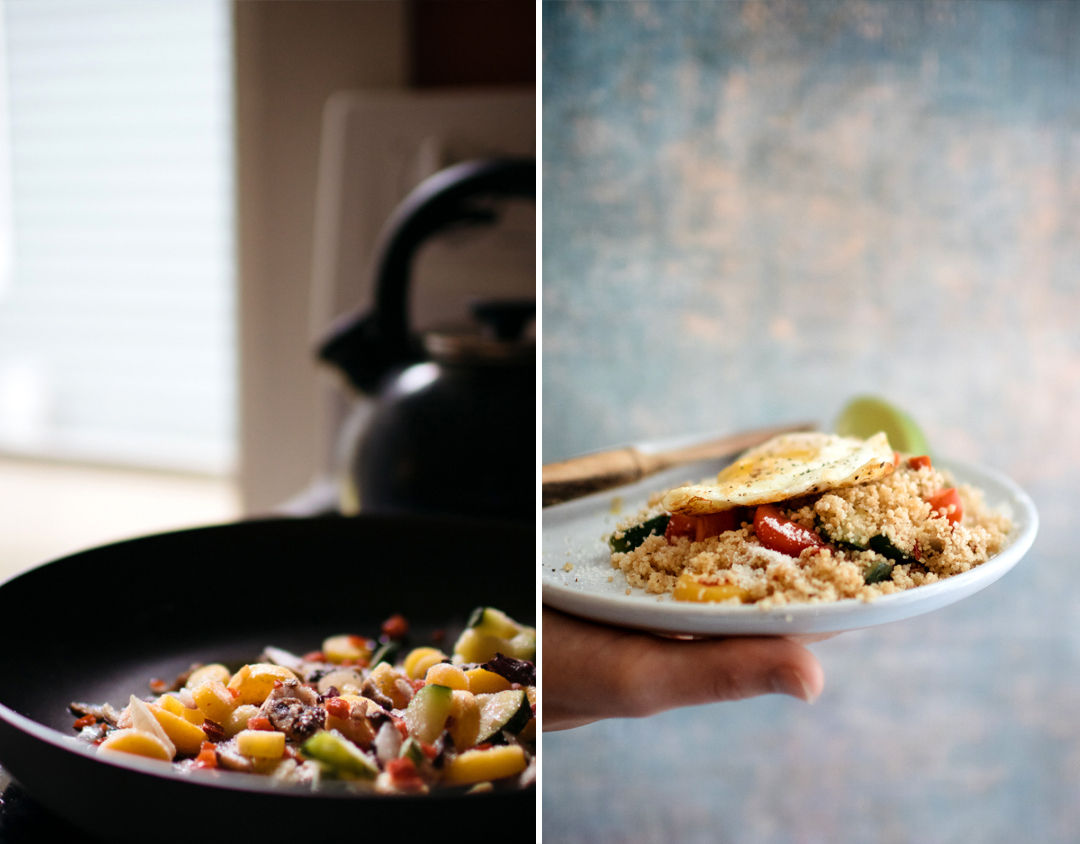
Spice up your taco night with this recipe for Chorizo-Spiced Chickpea Fajita Pitas! Switch out that boring[...]
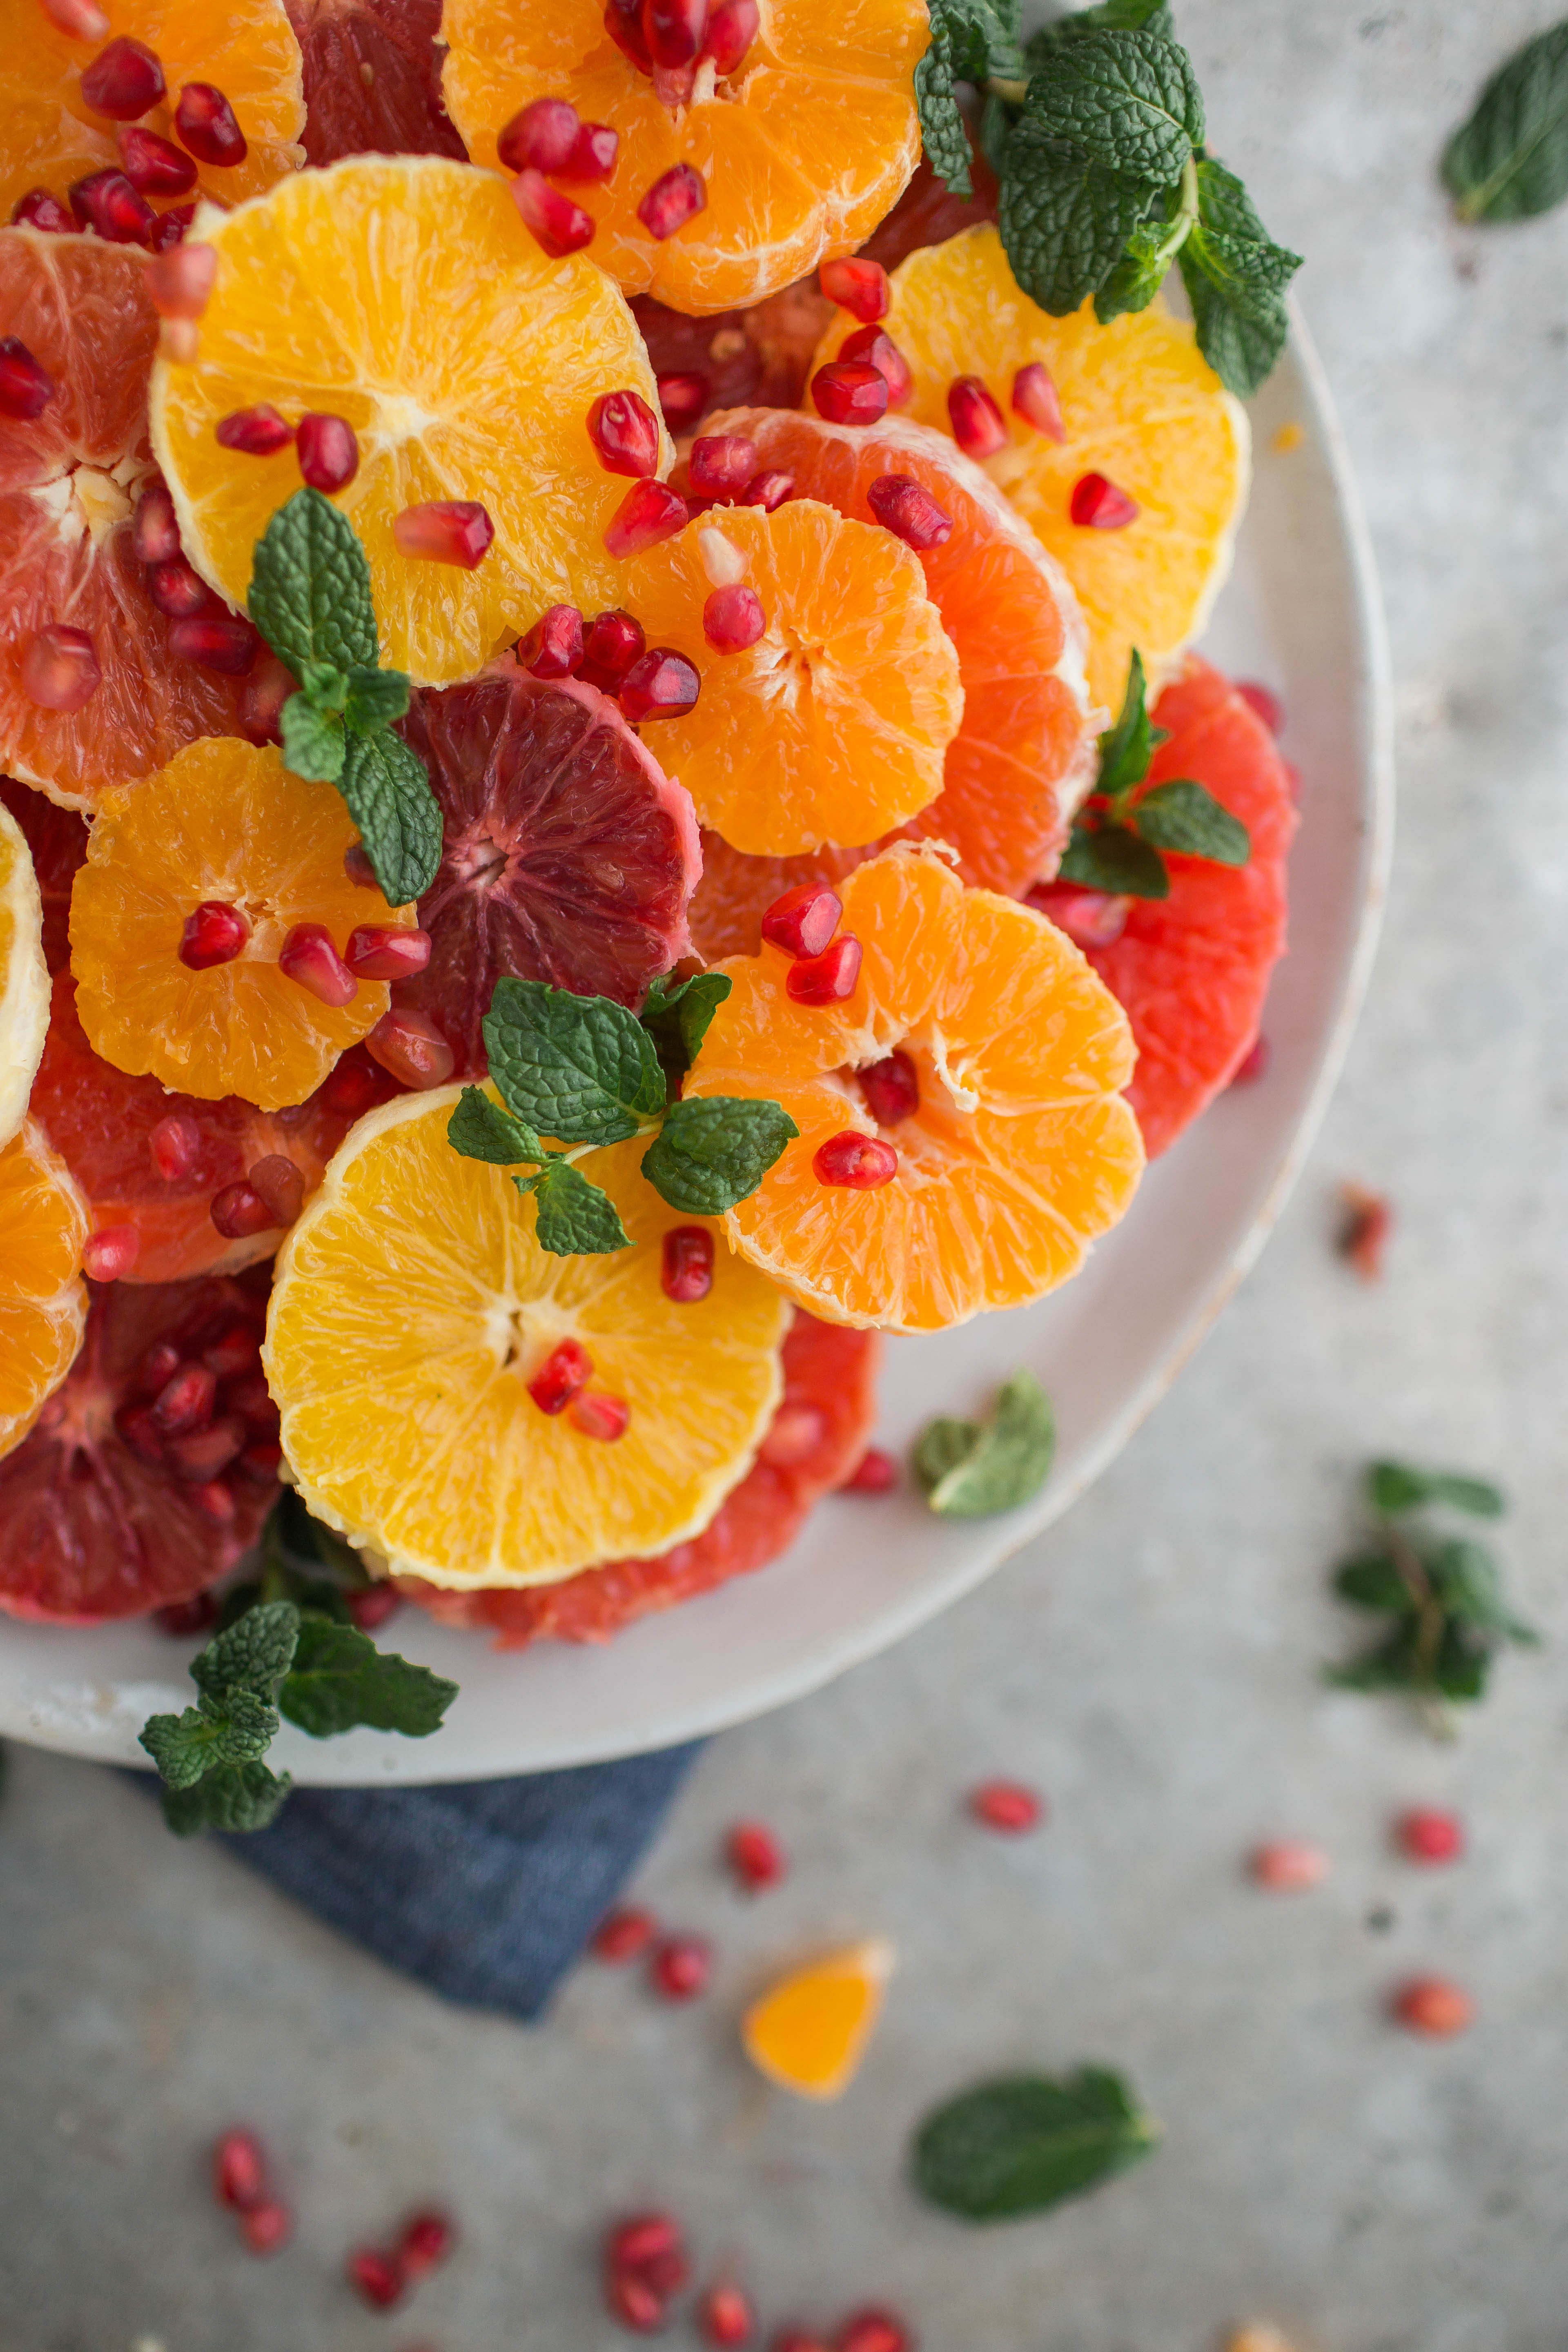
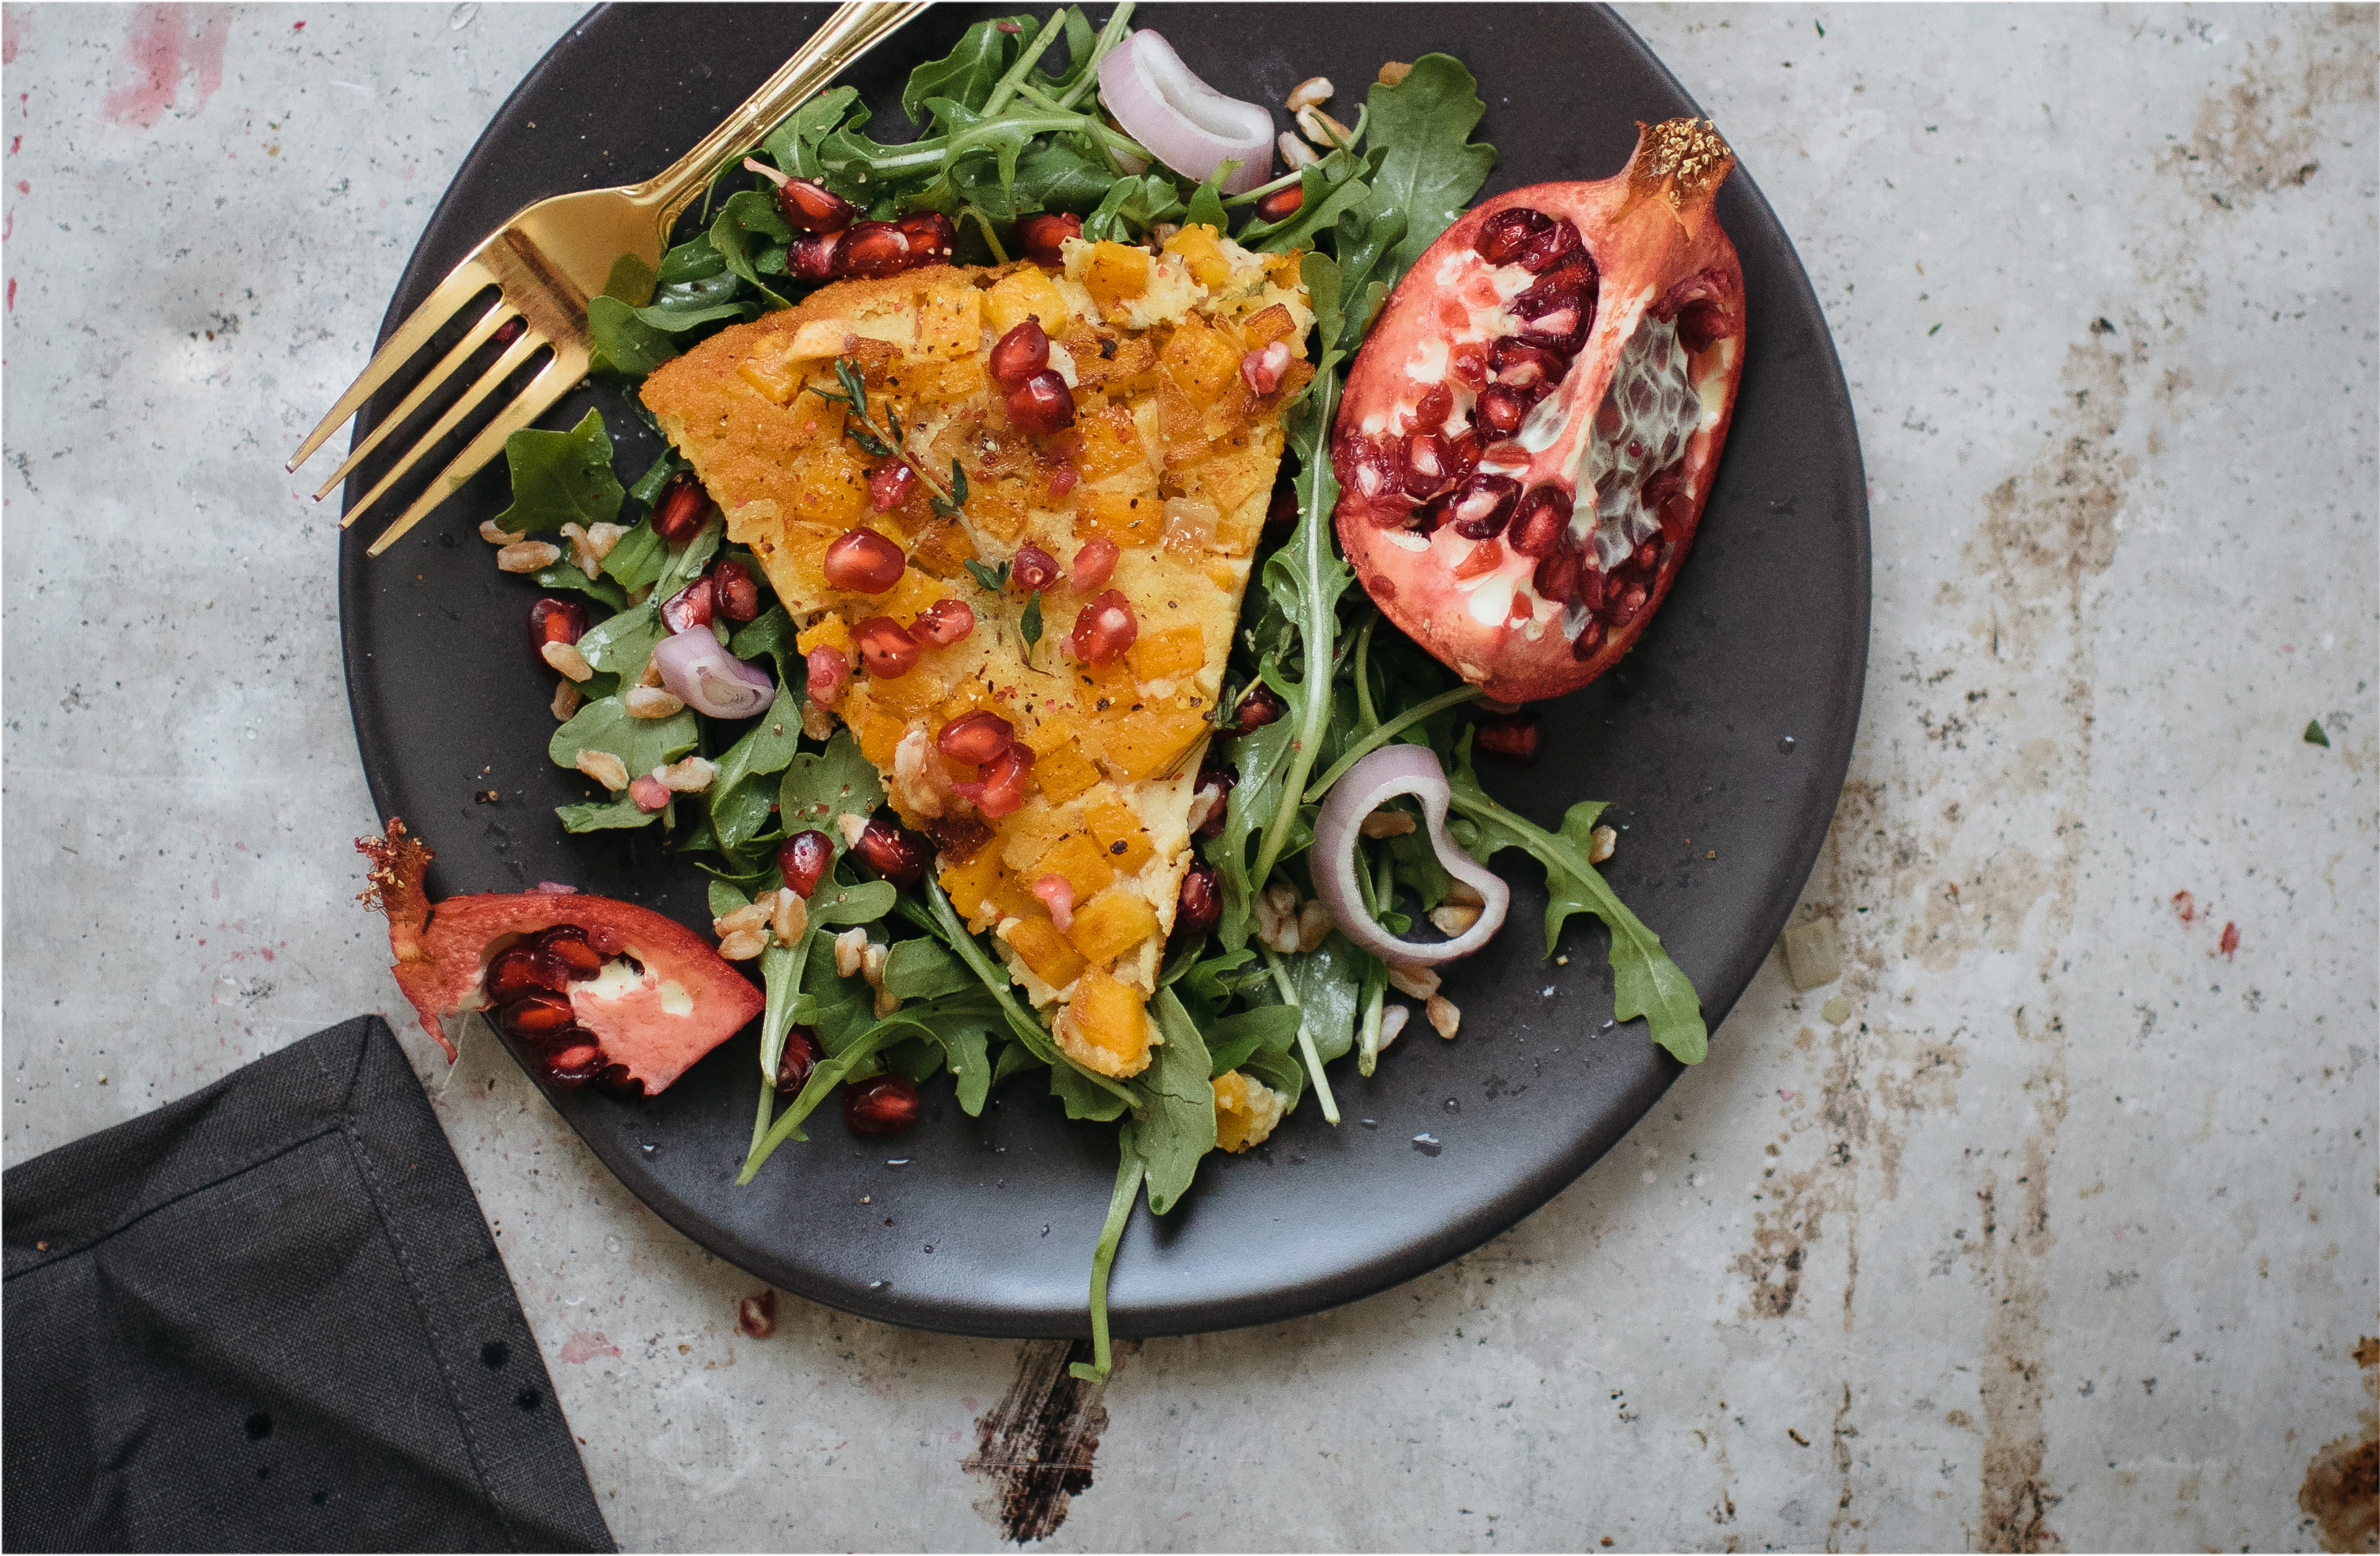
A tart and juice four ingredient Citrus and Pomegranate fruit salad to cure your winter blues. Firs[...]
Do you have your New Years resolutions all figured out? I bet somewhere between the third piece of pie a[...]
Thanksgiving has officially come and gone. I made you guys an absolutely delicious mascarpone cheeseca[...]
Let's talk about this Cornbread, Brussels Sprouts, Sweet Potato, & Pomegranate Stuffing. Can you b[...]
You know you have an amazing friend when she'll fly halfway across the country to help ease your stres[...]
I'm writing this evening's post between washer loads as I get ready for a trip up north. I'm getting[...]
I've been having trouble nailing down a spot for photos in our new-ish place. The windows in the studi[...]
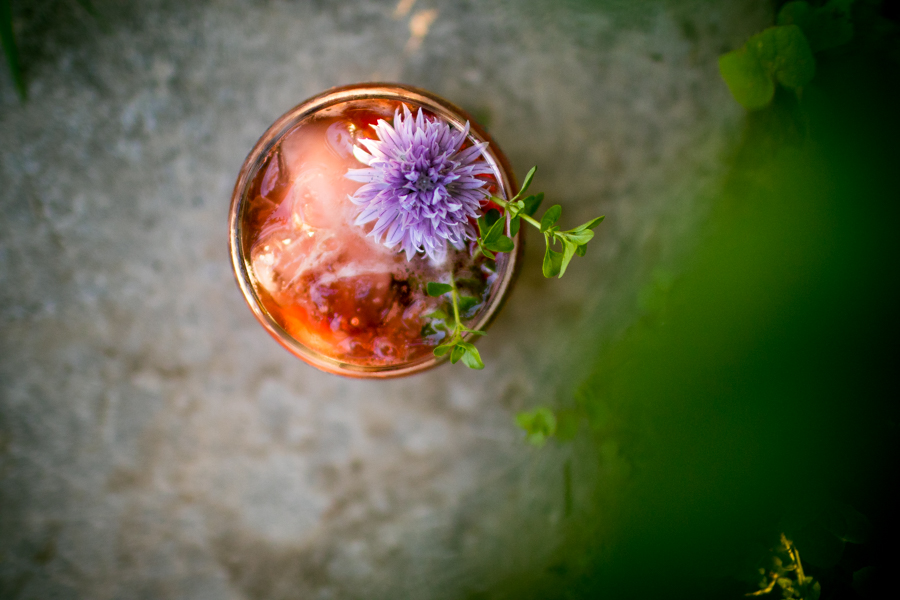
After dinner each night, Wyatt and I have been enjoying a drink on our porch with the smell of humidit[...]
Blogiversary (did I seriously just use that term?), we meet again. This time around it's VV turning fo[...]
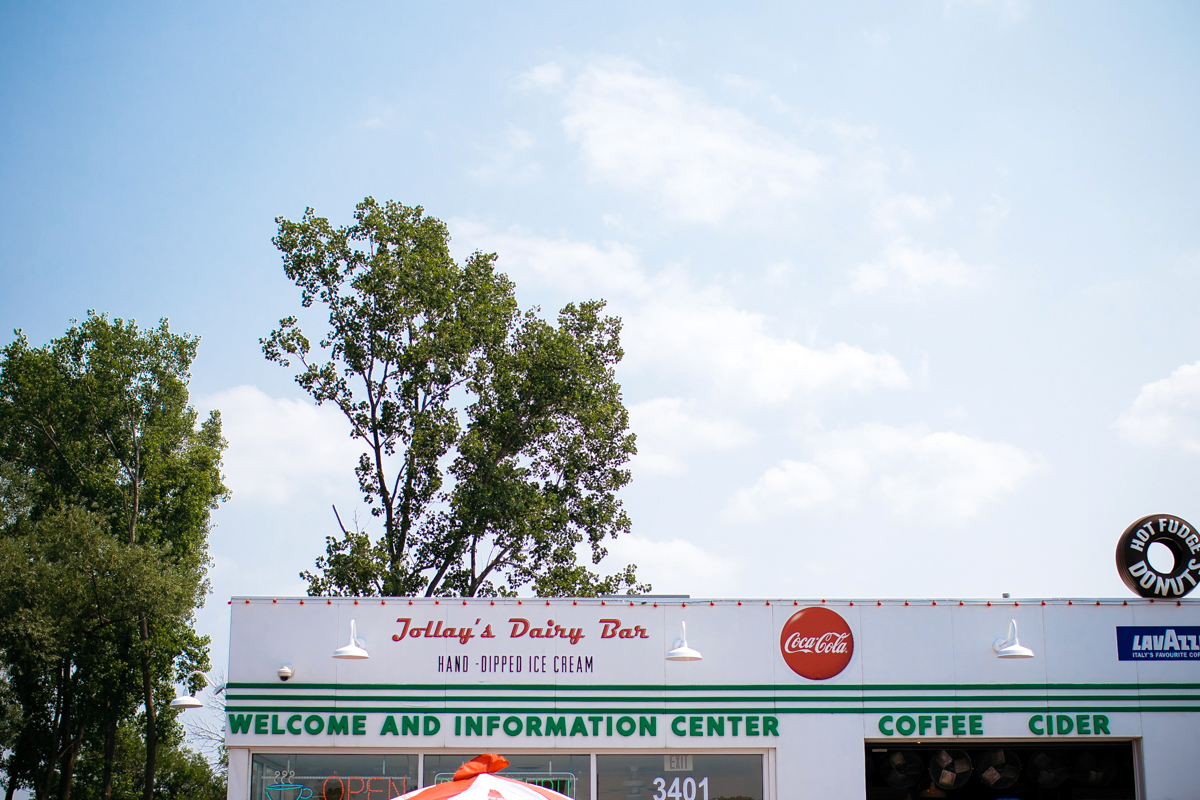
Has it really been almost a year since I last shared an adventure with you (maybe even since last summer)? W[...]
It's getting to be that time of year where all the produce is so fresh and abundant but it's also so[...]
For a city of 80,000, it's pretty incredible that we have four local breweries around town that sling[...]
After two pretty unusual and extravagant recipes, I decided that whatever I was going to share with yo[...]

This spring has been quite the season for vegetarian cookbooks: My New Roots, The Sprouted Kitchen Bow[...]
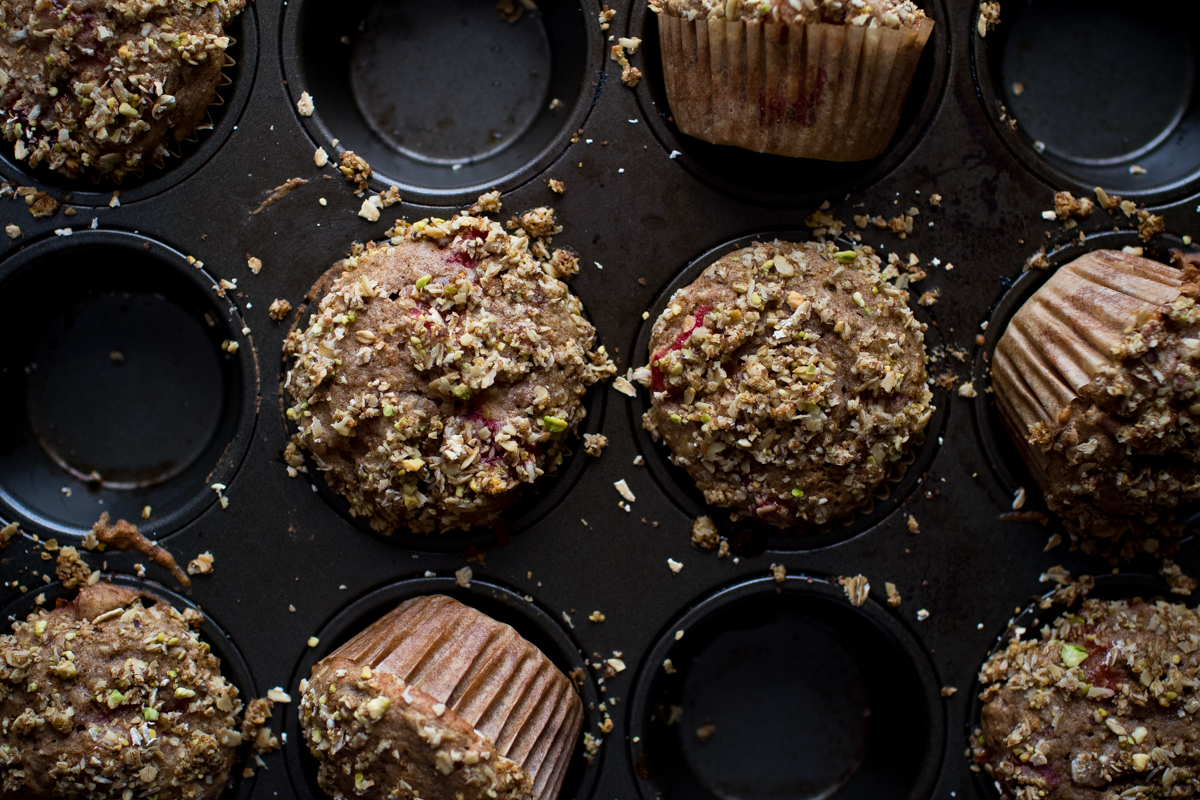
These strawberry rhubarb muffins are the perfect spring treat, made with roasted strawberries and rhubarb a[...]
Earlier this month, I headed down to North Carolina for a food and photography workshop. I had never b[...]

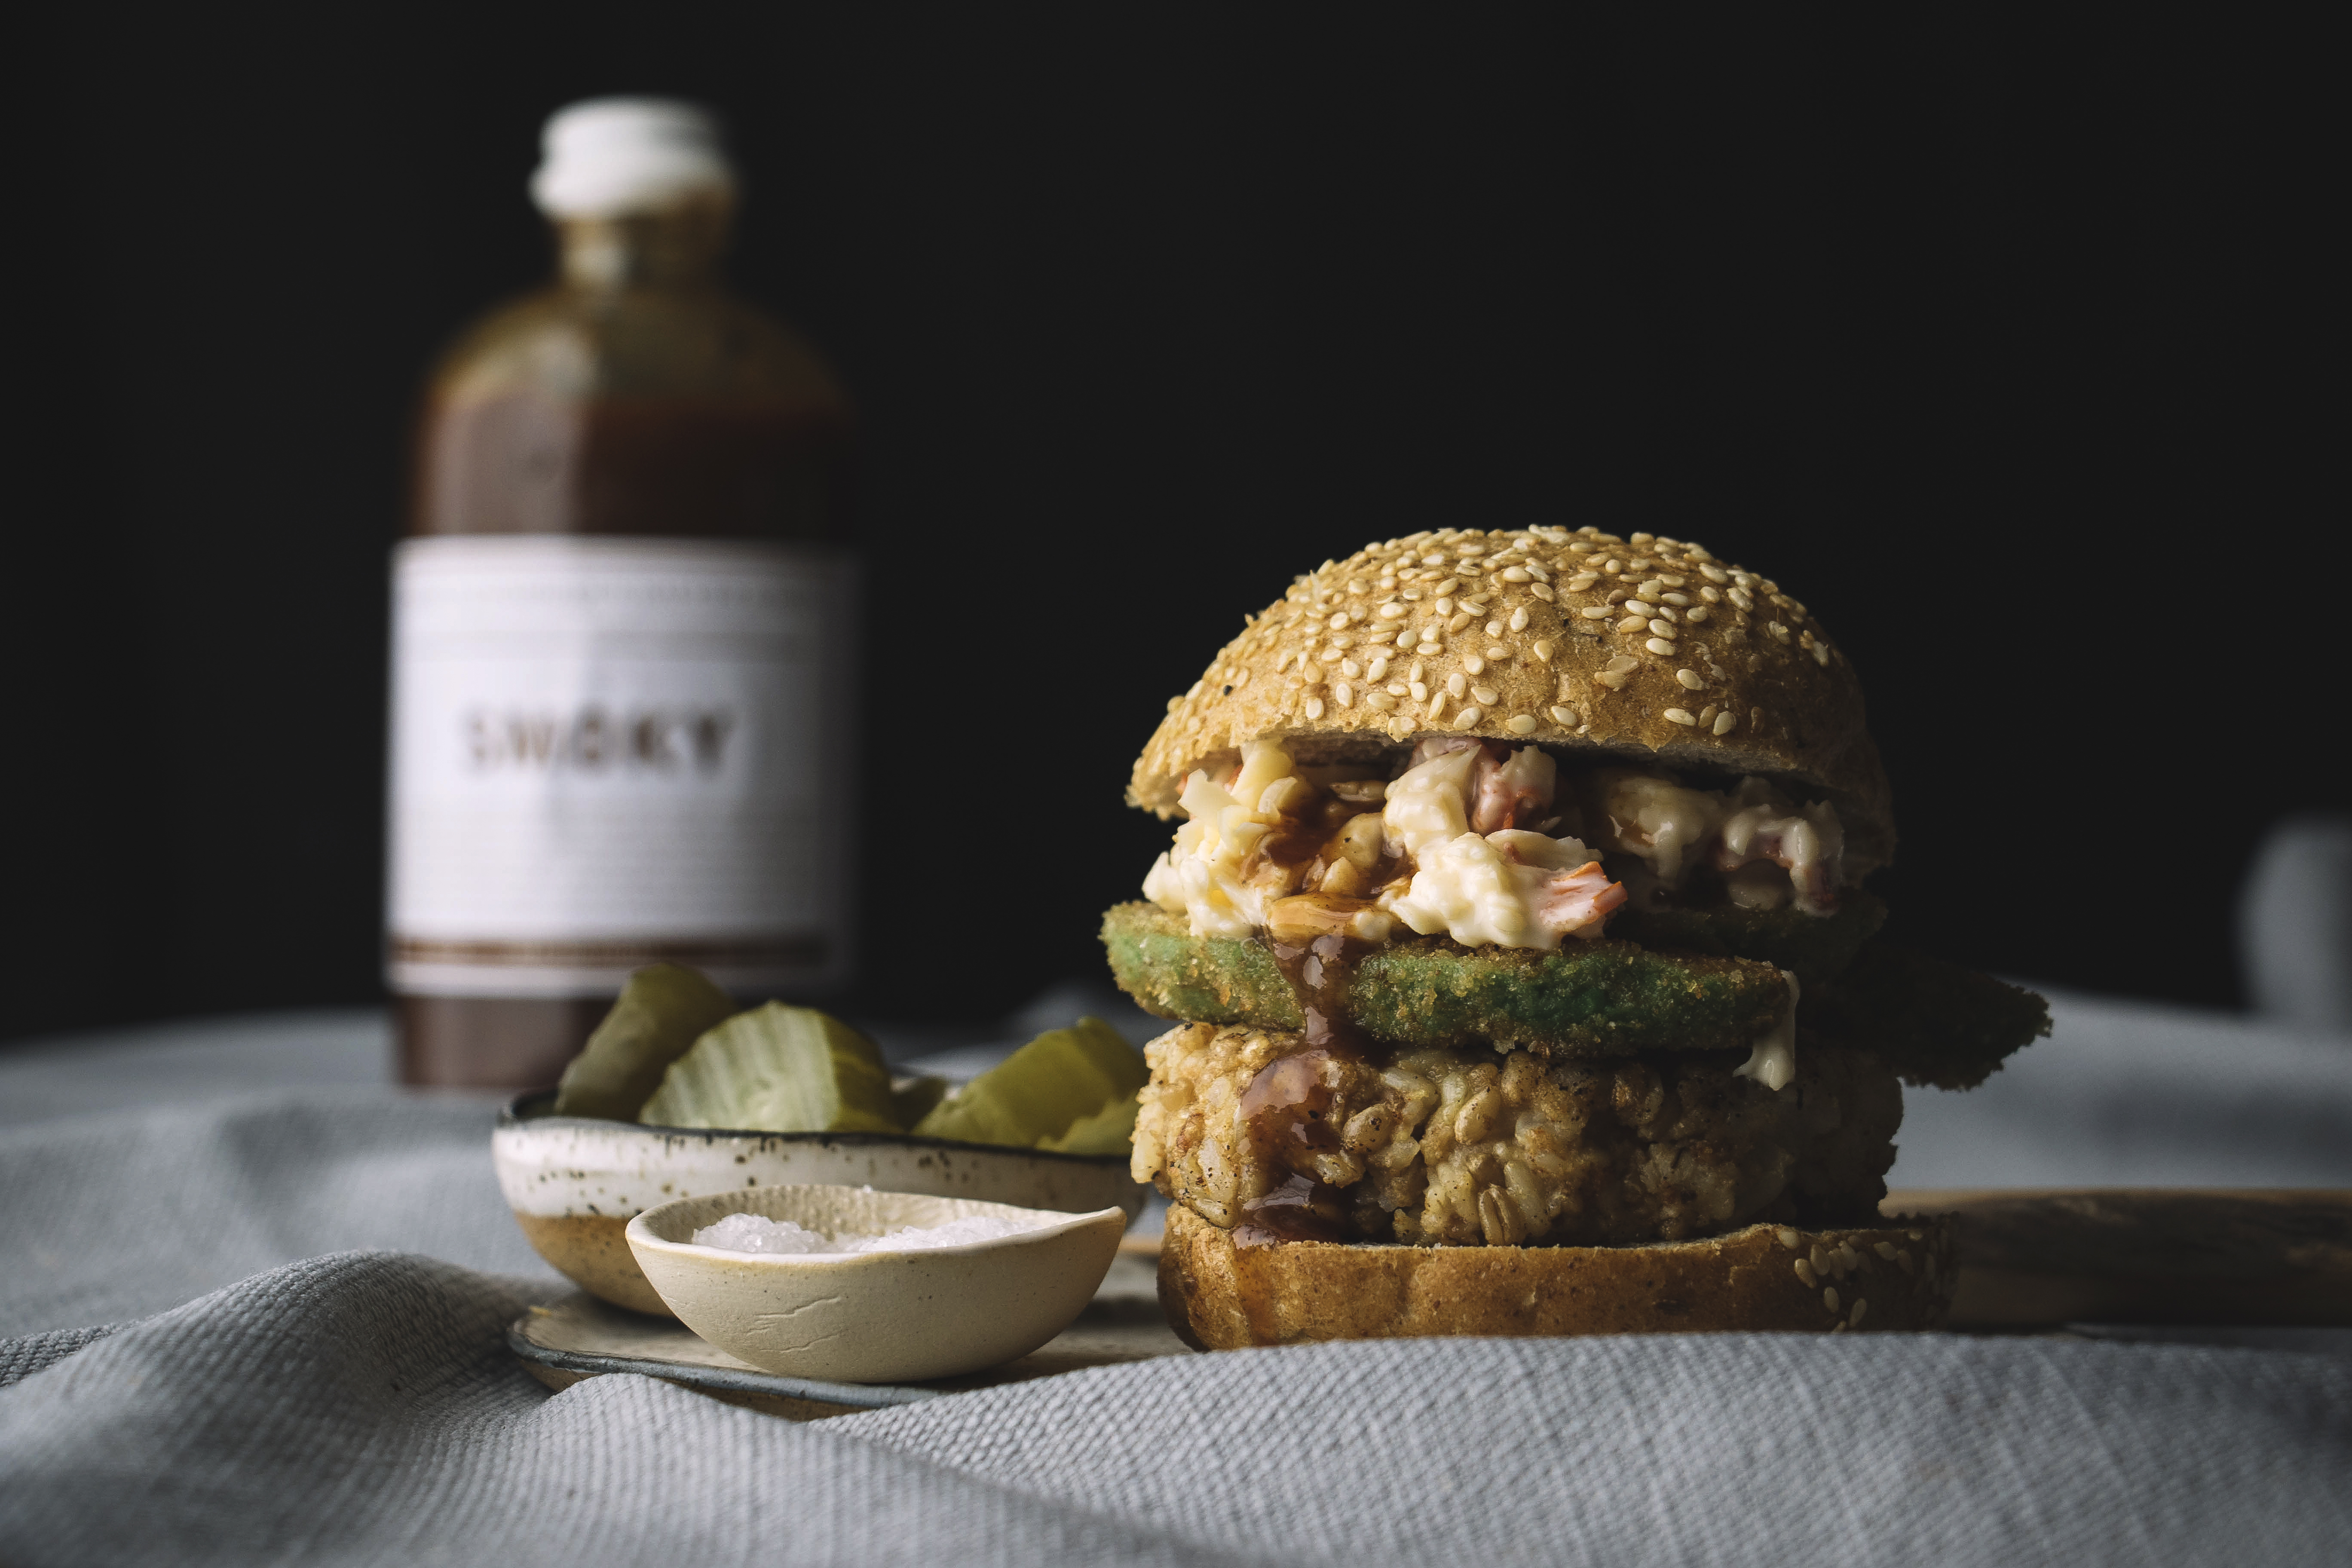
…And I'm back! The small pause around here was due to my trip into the Smokey Mountains for[...]
I don't mean to alienate anyone in the southern hemisphere right now but I. have. cabin. fever. I grew[...]