
Cheddar Corn Pudding with Crispy Spicy Sweet Topping
This is a sponsored conversation written by me on behalf of KitchnAid. The opinions and text are all mine. Thank you for supporting the brands that make VV possible.
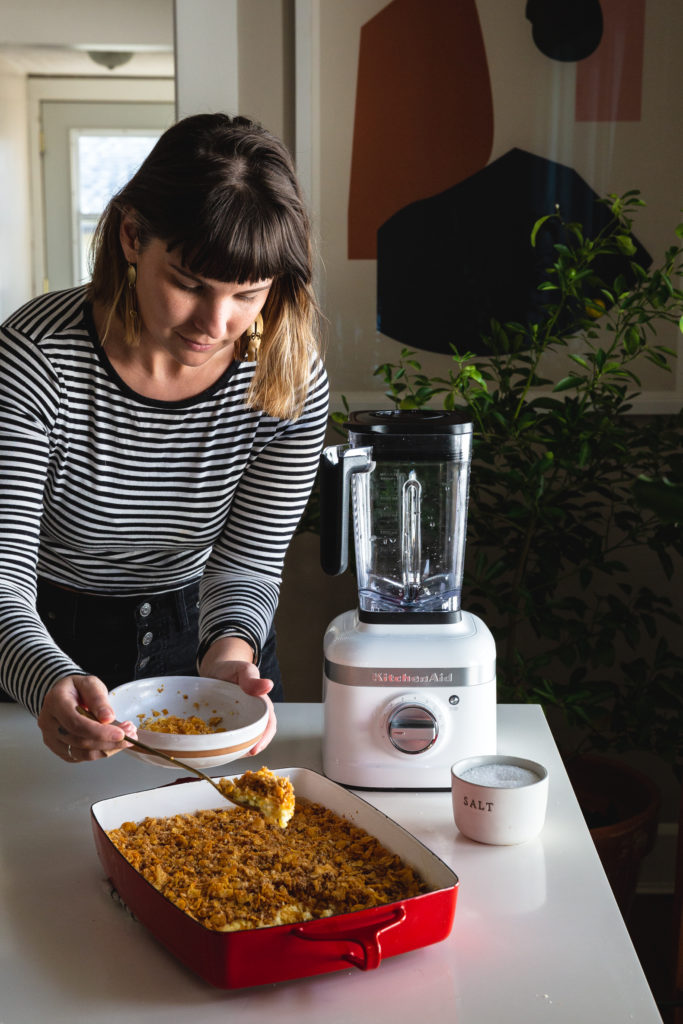
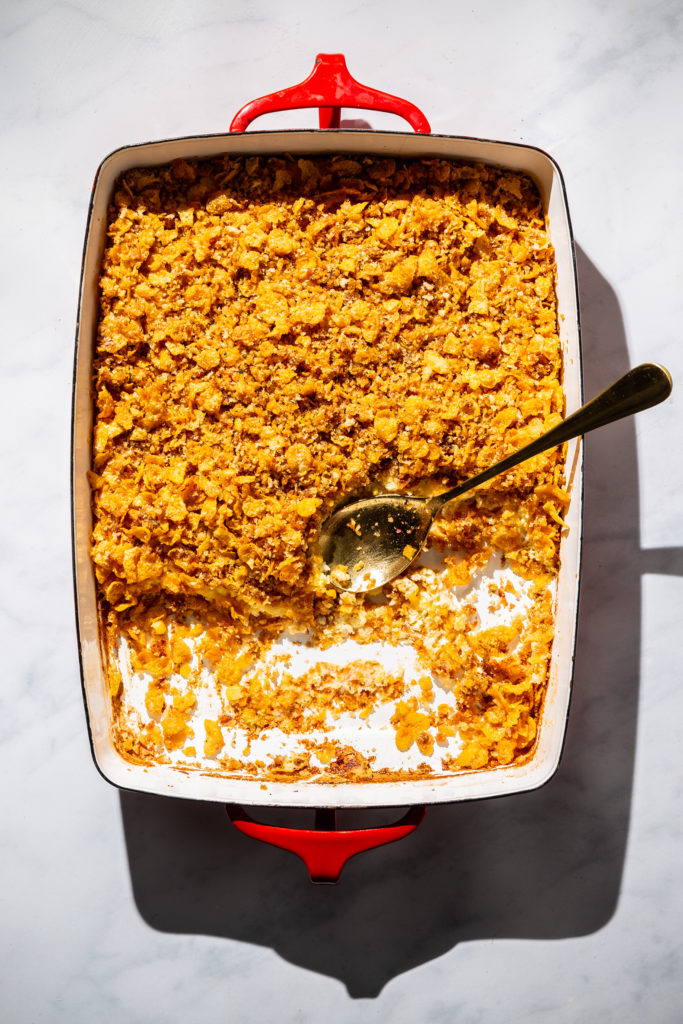
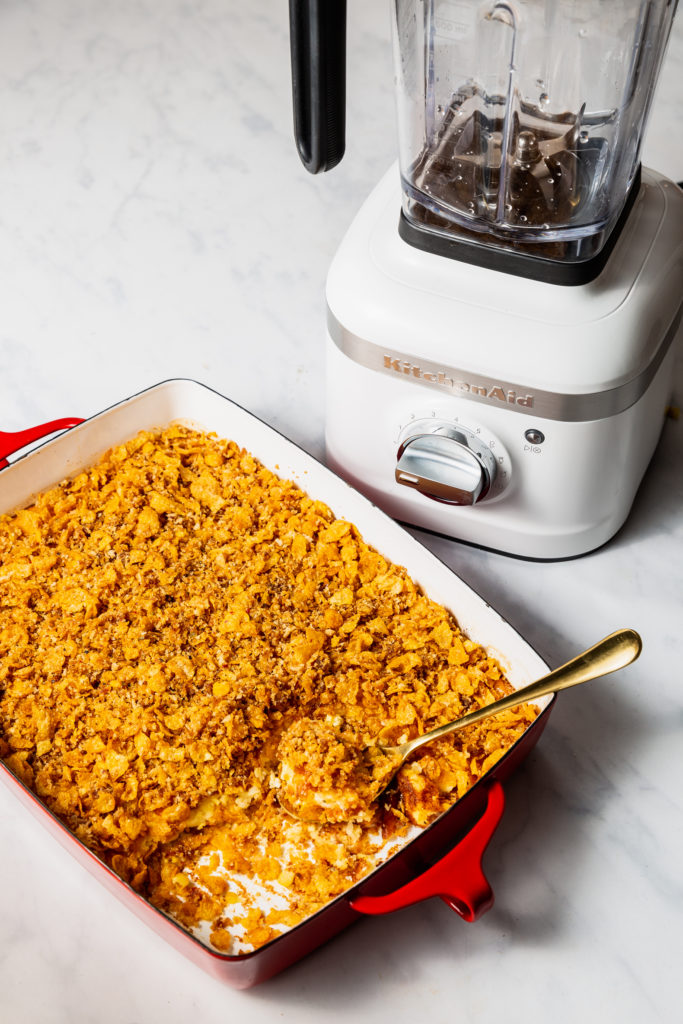
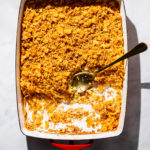
This Cheddar Corn Pudding with Crispy Spicy Sweet Topping is a creative and delicious Thanksgiving side. The inside is similar enough to traditional corn pudding to please the traditionalist while the crunchy topping brings a whole new level to your Thanksgiving table.
Thanksgiving is less than two weeks away – can you believe it?! Do you have your menu planned? And your shopping list sorted? Truth be told, I’m still working on it but at least I’ve perfected this Cheddar Corn Pudding recipe to steal the spotlight. If nothing else, there will be corn pudding!

As a vegetarian, I find the sides to be way more important than the turkey because well, there isn’t turkey on my table. BUT if there was, it still would only be taking up 1/3 of your plate while the sides take up the other third. So why not put as much, if not more, effort into the sides? I always like to straddle the line between traditional and modern when it comes to my Thanksgiving side recipes because I crave the traditional recipes (cornbread casserole, sweet potato casserole, etc) but get so bored with cooking the same recipes every year. And this is exactly why I wanted to develop a corn pudding recipe that was similar enough to the traditional casserole that it’d please the purists while also bringing something new to the table.
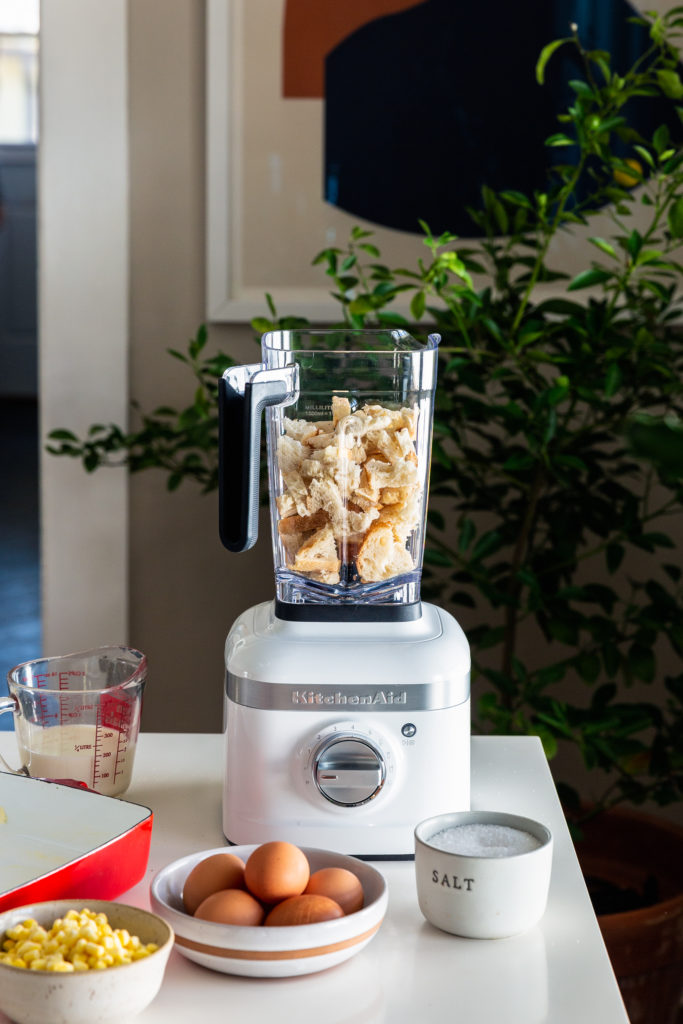
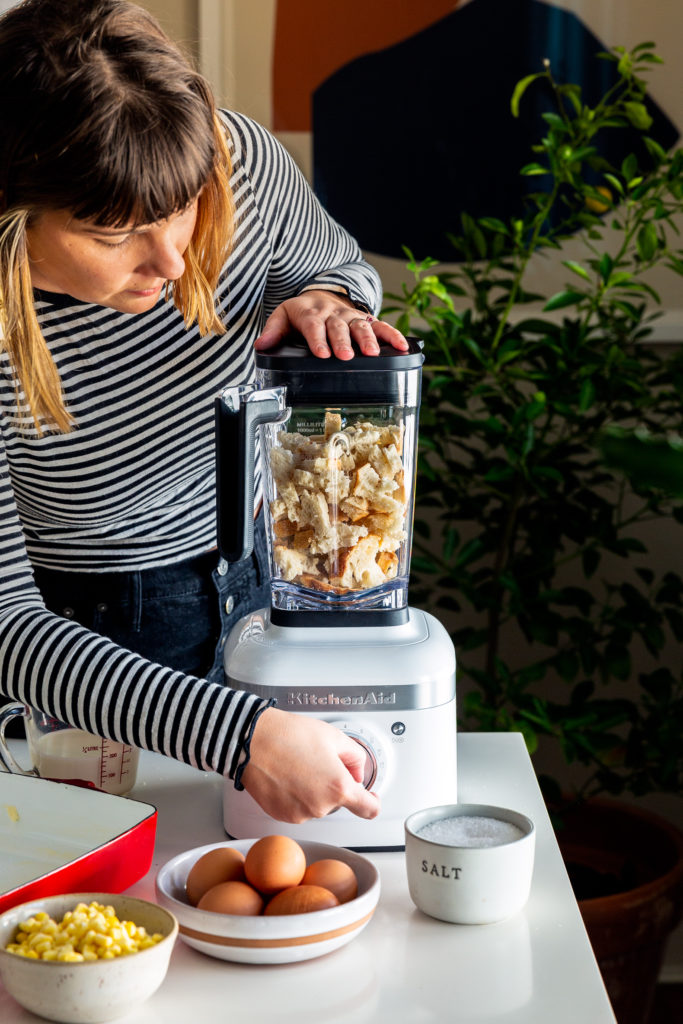
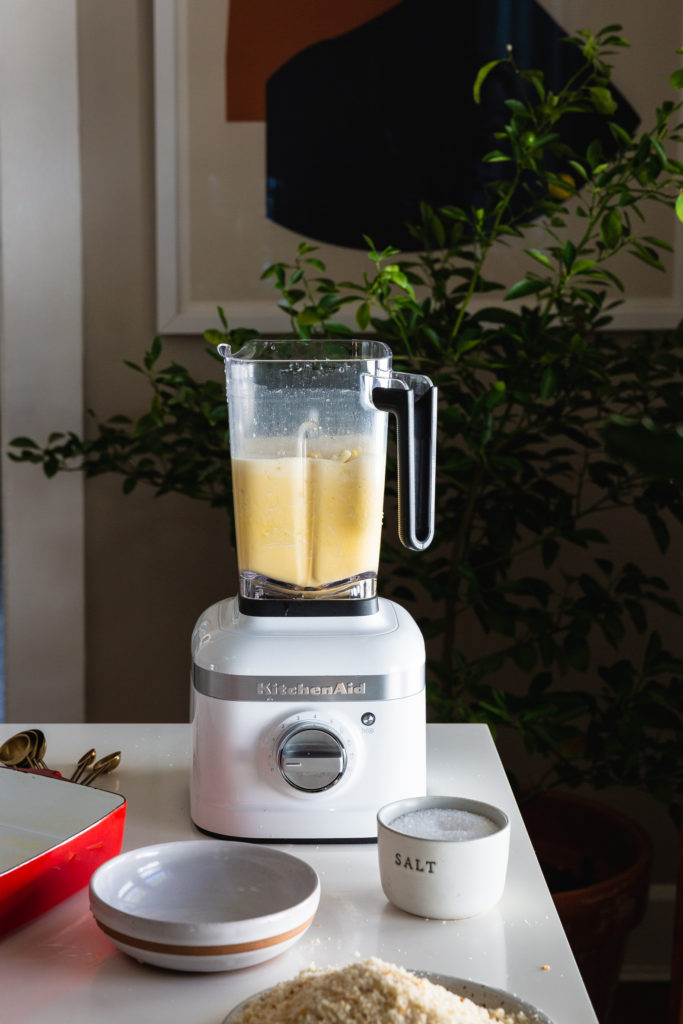
I pulled out my new KitchenAid K400 blender to help me whip this up quickly (which is essential when it comes to Thanksgiving cooking – we have too much to cook to spend too much time on any one recipe). It allowed me to evenly whiz up the breadcrumb topping and then cream all the ingredients together within minutes so I could pop it into the oven ASAP and move on to the next thing.
The KitchenAid K400 blender worked so perfectly for this – when it arrived, there was no assembling required and it was powerful enough to easily chop up my bread within seconds. It also comes in an array of colors and the white looks very stylish on my counter. Plus, it can hold a ton of liquid – I was pleasantly surprised at how much space there still was after I put all the liquid ingredients in for this recipe.
Now let’s get into the nitty gritty of this corn pudding. The inside is what you’d expect from a corn pudding but the real show stopper is the sweet and savory crunchy topping. It’s a mix of corn flakes and country bread that is then tossed in a brown butter, honey, and a chili garlic mixture to create a sweet and savory crunchy top.
- 3/4 cup whole milk
- 4 Tbsp unsalted butter melted and cooled
- 2 Tbsp cornstarch
- 6 large eggs
- 2 cups frozen corn
- 2 cups shredded cheddar cheese
- 2 15-oz can cream-style corn
- 1/2 loaf country bread torn into large pieces
- 4 Tbsp unsalted butter
- 1 1/2 tsp chili garlic sauce
- 1 Tbsp honey
- 2 cups corn flakes
-
Preheat oven to 350 degrees and grease a 9×13 inch baking pan with butter.
-
Tear large pieces of country bread into blender. Cover and pulse 3-4 times or until large breadcrumbs have formed. Transfer to a bowl and set aside.
-
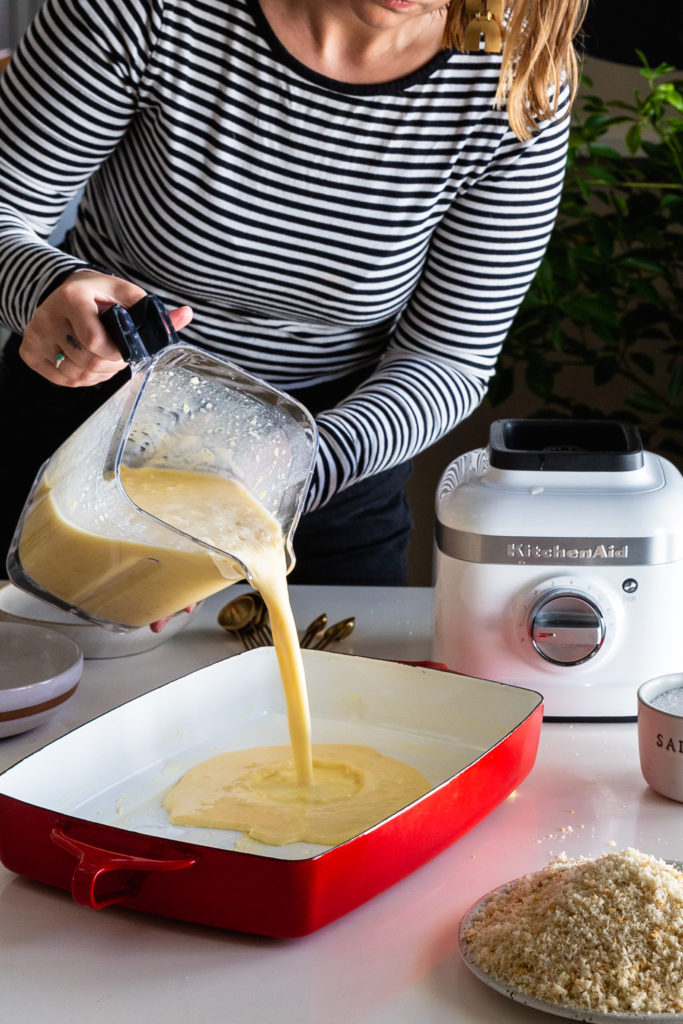
Rinse blender and then add milk, 4 Tbsp melted butter, cornstarch, and eggs into blender. Blend until completely incorporated, about 5 seconds. Add frozen corn, cheese, and cream-style corn and pulse twice to incorporate.
-
Pour mixture into prepared baking pan and bake for 45 minutes.
-
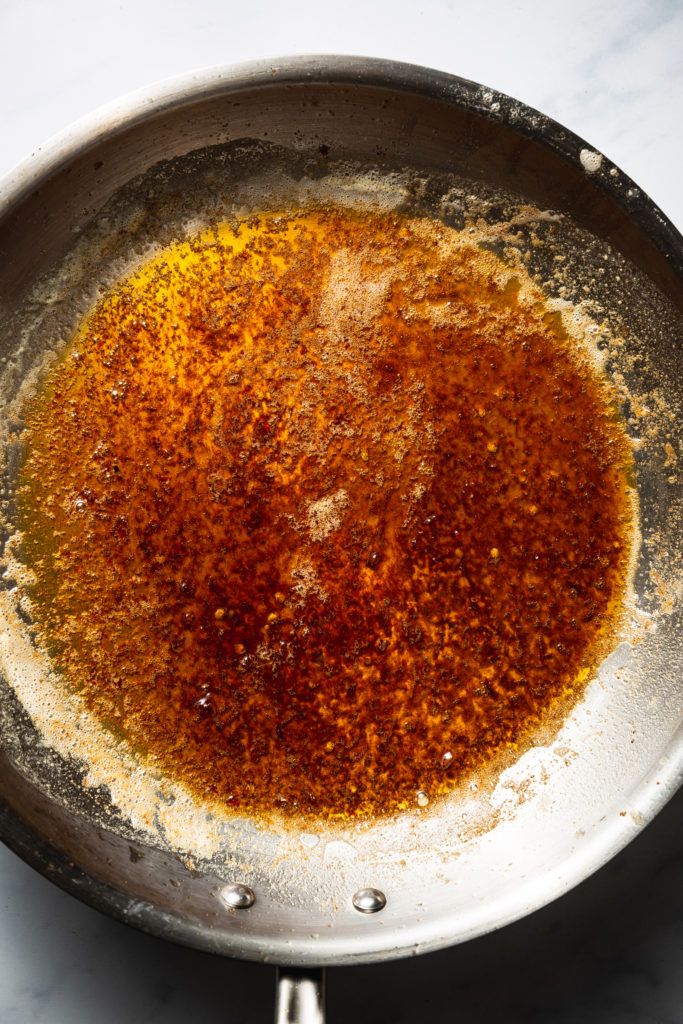
Meanwhile, heat 4 Tbsp butter in a large skillet over medium until the butter has turned down brown and smells nutty, about 4 minutes (watch closely as it will turn past once it starts!). Remove from heat and whisk in chili garlic sauce and honey. Pour corn flakes and breadcrumbs and toss to coat.
-
When the casserole has 10 minutes left, remove from oven, sprinkle crunchy topping over the casserole and put back in the oven for the remaining time.
-
Remove from oven and let cool slightly before serving. Enjoy!