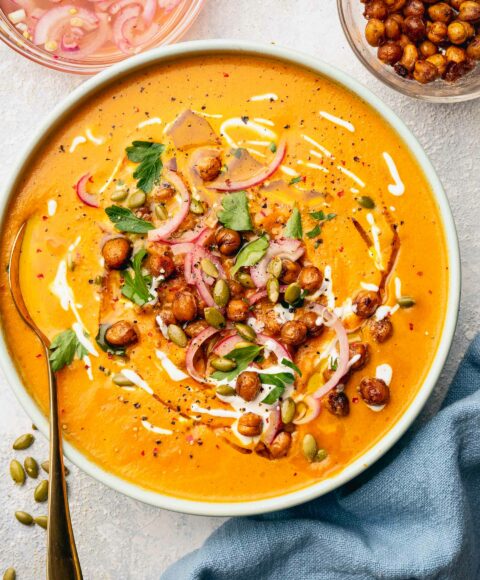
This Curried Carrot Soup with Maple Roasted Chickpeas soup is a vibrant winter vegetarian recipe. The base i[...]

This Curried Carrot Soup with Maple Roasted Chickpeas soup is a vibrant winter vegetarian recipe. The base i[...]
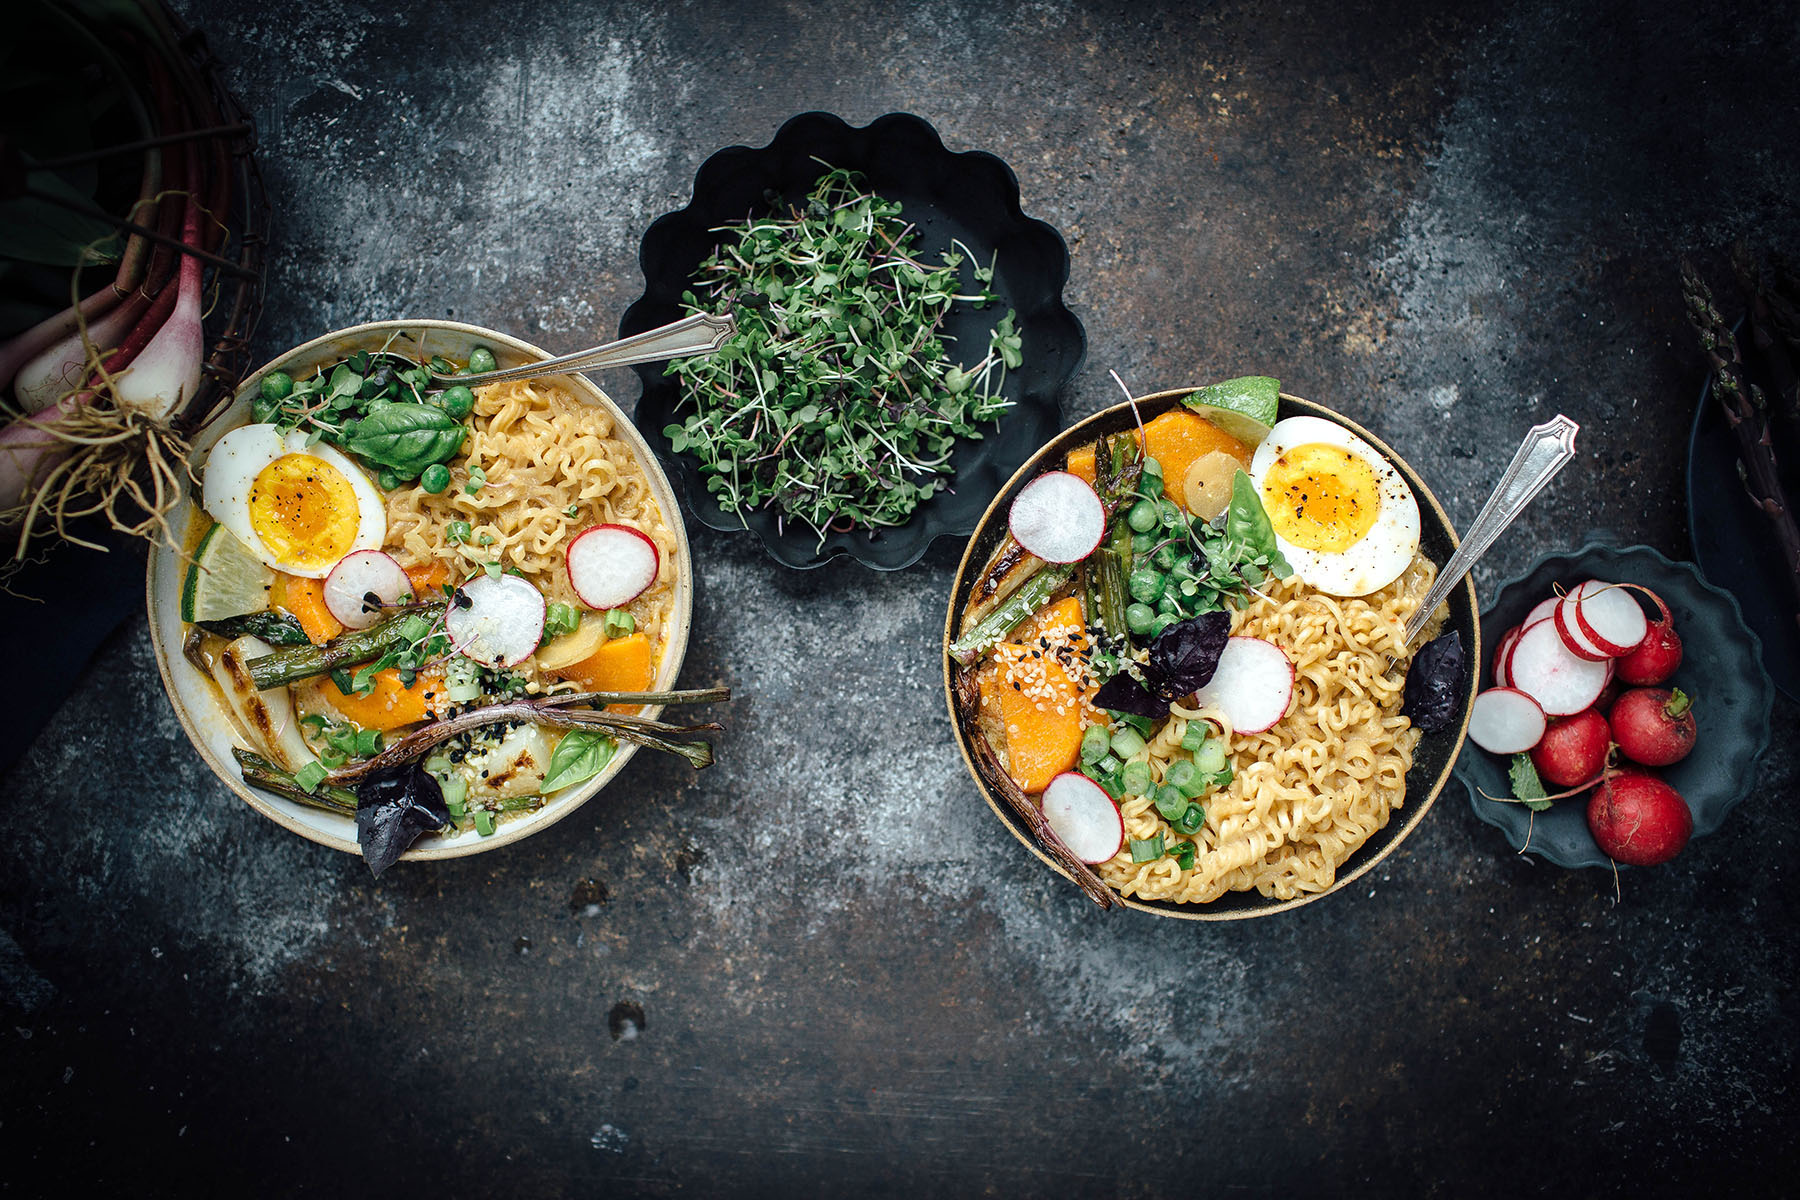
This recipe for Vegetarian Spring Curry Ramen is the perfect comfort food on a rainy spring day. A curry b[...]

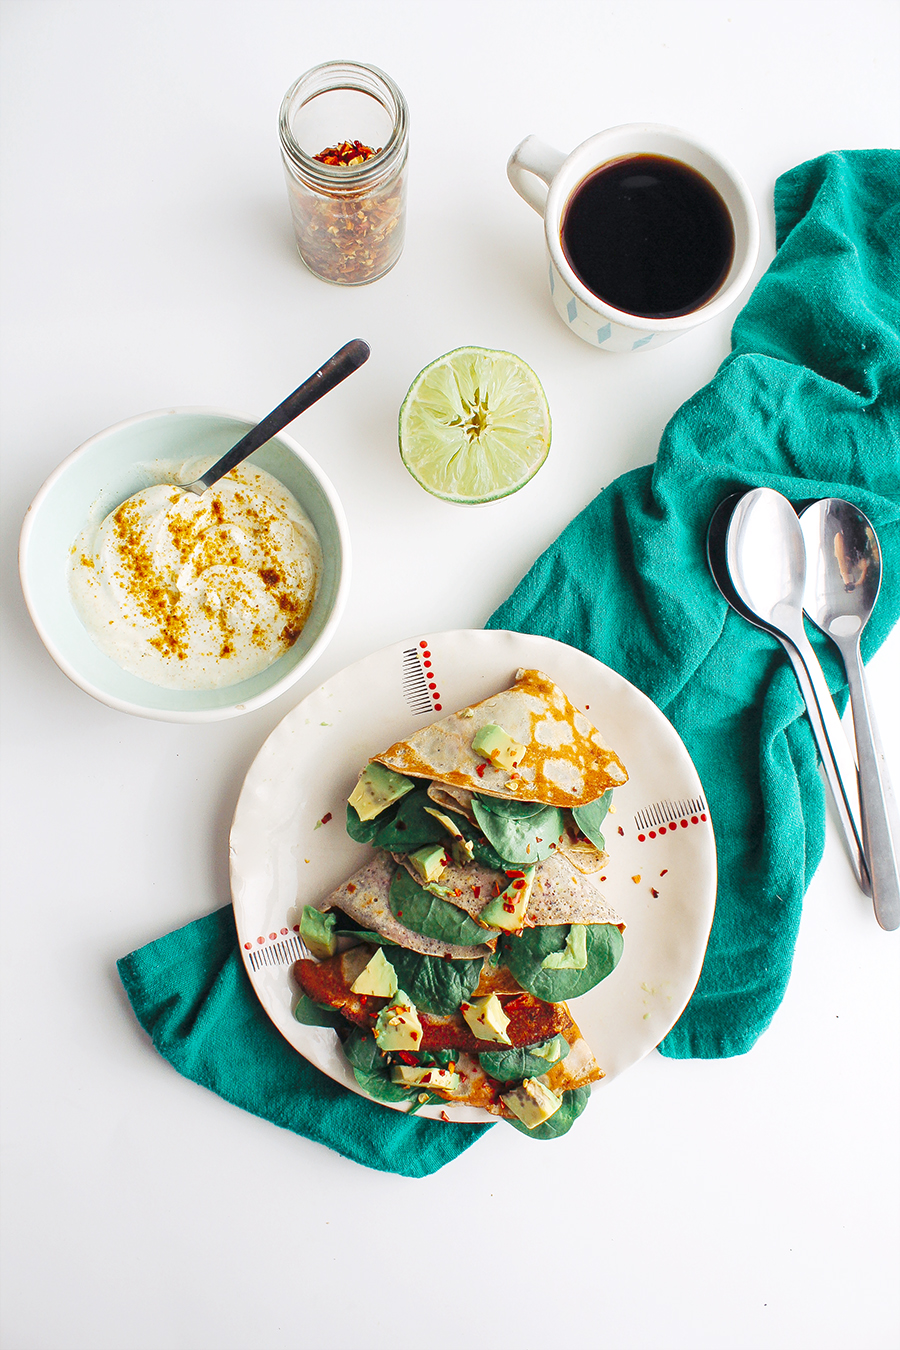
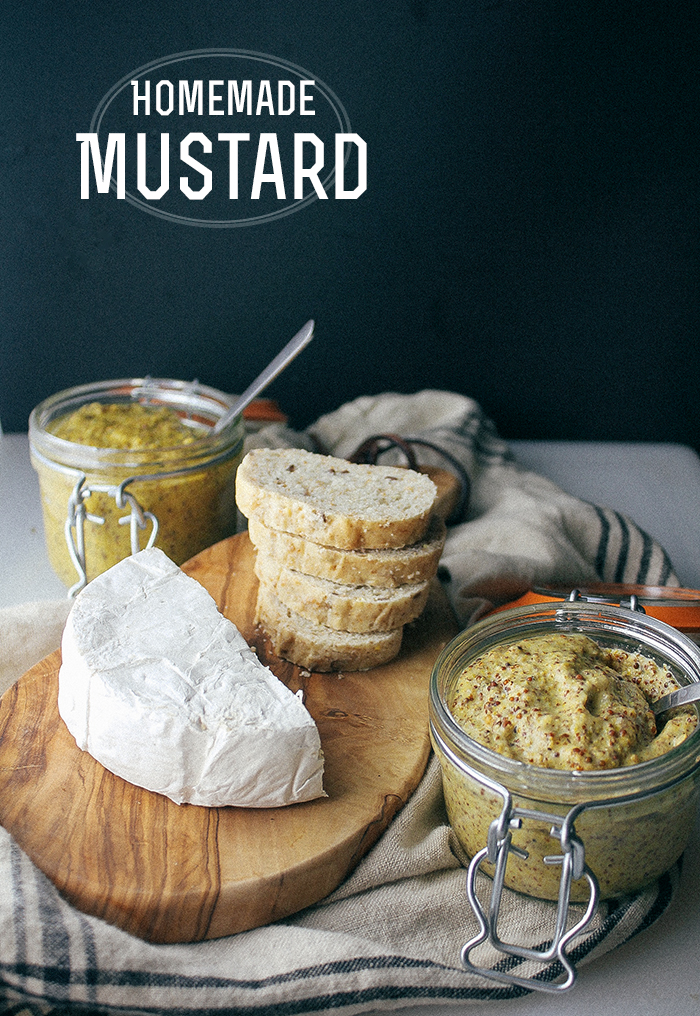
For today's post, I've paired up with the fine folks over at Kite Hill to bring you a simple and strai[...]
How is your 2014 so far? Are you finally feeling back to normal after a 3 day hangover from all that s[...]
I know you were starting to worry. You were starting to wonder if my diet really could consist of sugar [...]
As spring approaches, I get the "grilling craving". You know what I'm talking about - where not only the s[...]
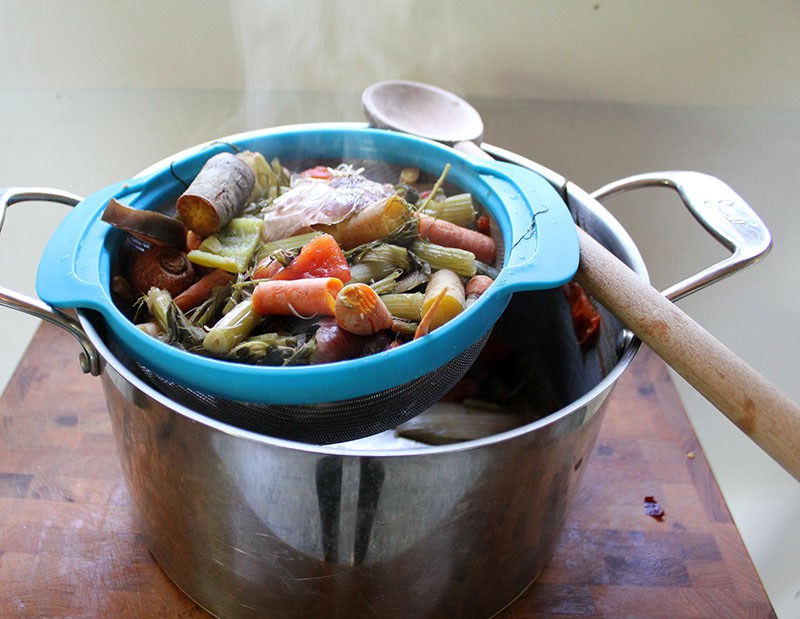
So I should start by letting you know that I'm a produce addict. Between our weekly CSA box, Farmer's market[...]

With the seasons changing and the weather being so gloomy, it has triggered a state of reflection within[...]
Yesterday morning, after much anticipation, I went to the first outdoor Farmer's Market of the season!! It[...]