I had all these plans to make tacos and ice cream and fizzy floats over the weekend but then it rained; it[...]

I had all these plans to make tacos and ice cream and fizzy floats over the weekend but then it rained; it[...]

We are mixing it up on VV today with a wonderful guest post from Will Frolic For Food's creator Renee. I a[...]
Currently Lusting is a bi-weekly series which features blogs that VV finds particularly inspiring / creative[...]
How is your 2014 so far? Are you finally feeling back to normal after a 3 day hangover from all that s[...]
The small gap between Christmas and New Years has always been a time of reflection. A time to[...]
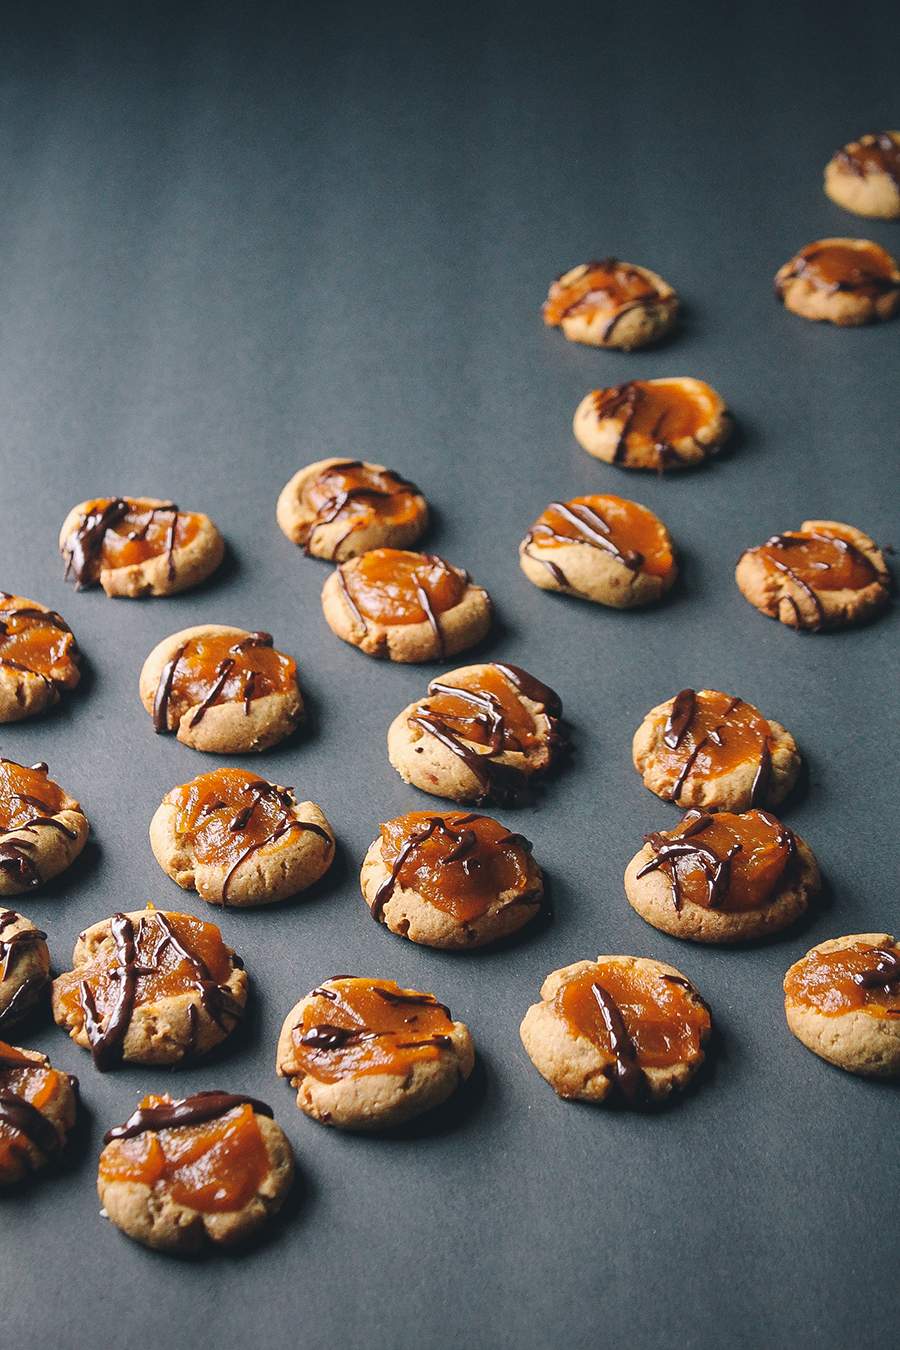
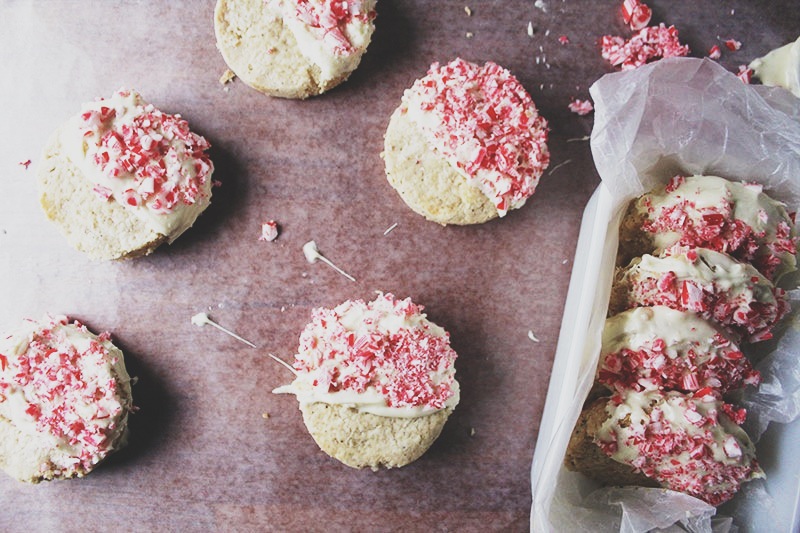
Cookies aren't really cookies without chocolate, so the dark chocolate drizzle on these maple-infused pump[...]
I'd like to think I'm not a preachy vegetarian. Perhaps it's because I grew up in a very meat-centric fa[...]
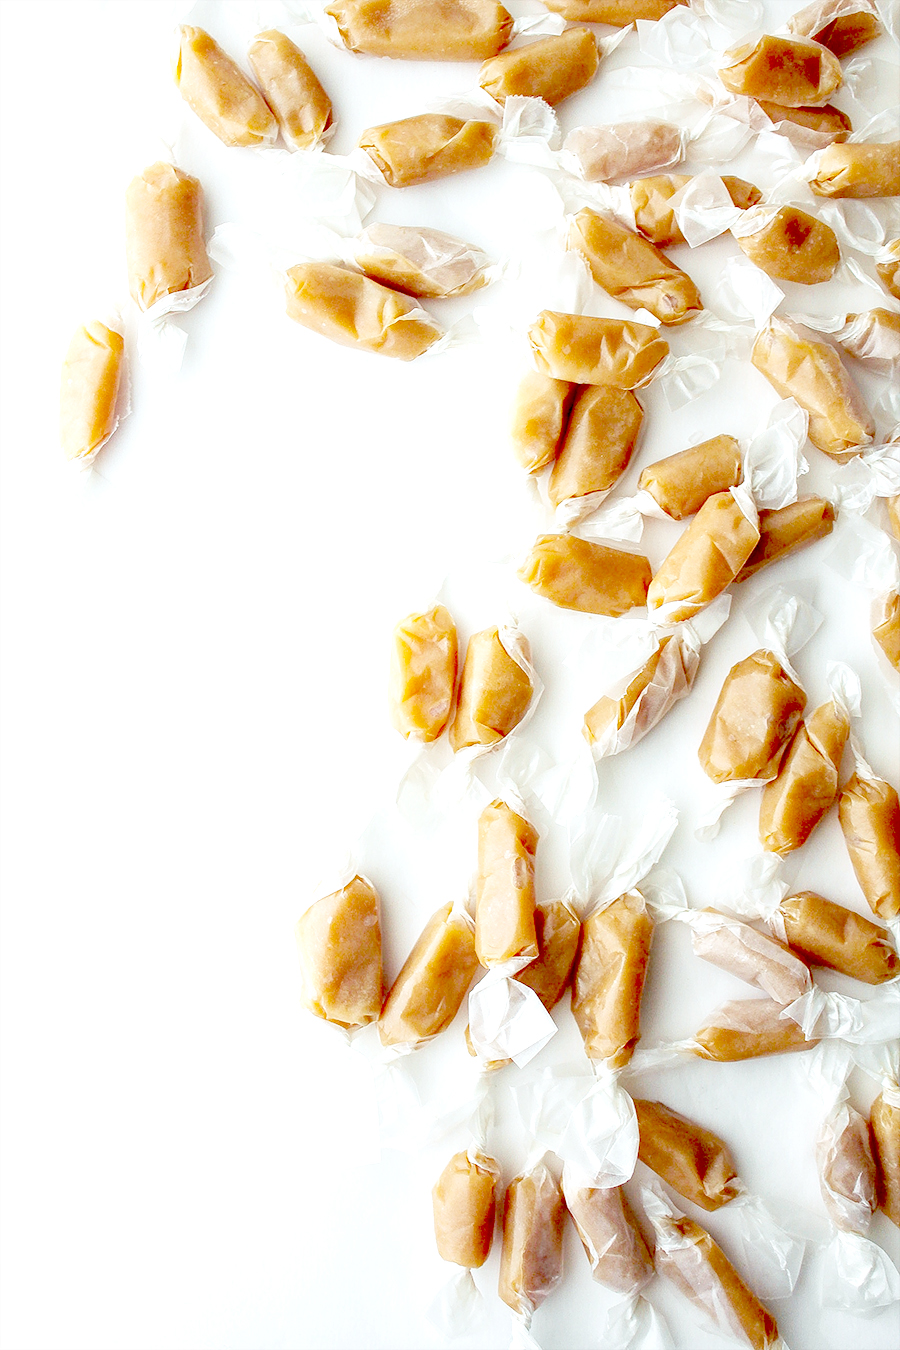
These beer-infused Milk Stout & Sea Salt Caramels are the right sweet for all your holiday gatherings.[...]
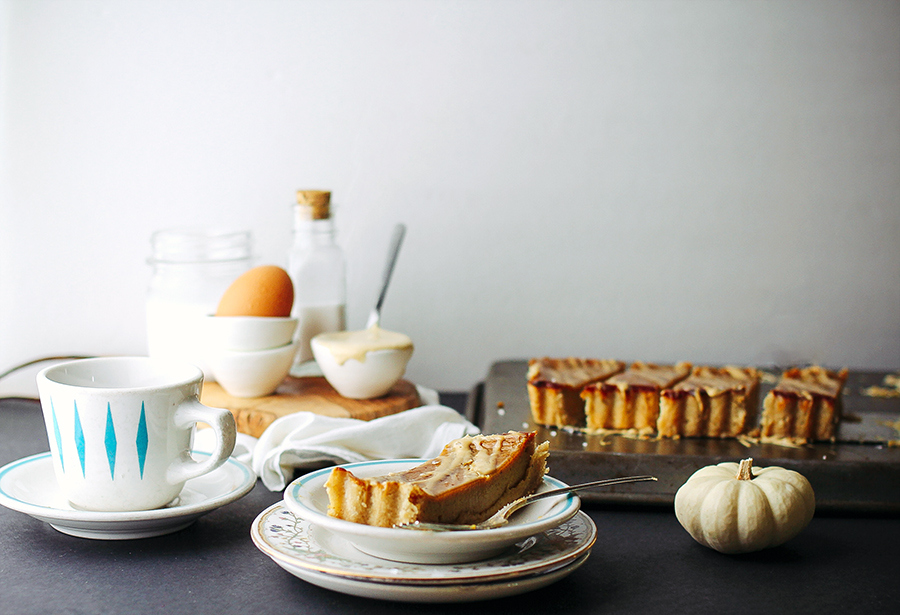
You know, I was so proud of myself for thinking about using that can of pumpkin before October rolled ar[...]
Wyatt is off at a Black Sabbath concert tonight . No, I'm not sure why - he's not a 60 year old fan or a[...]
Yay - today Vegetarian Ventures has officially been around (and active!) for two years! It seems both un[...]
In an attempt to not completely fall off the grid during the 'dog days of summer', I thought I'd fill you[...]
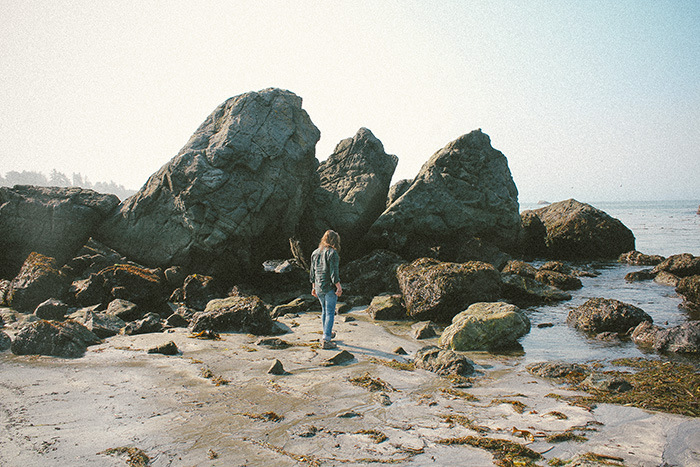
I apologize for the lack of 'food' posts this week but I have a good excuse. I've been 2,000 miles away from[...]
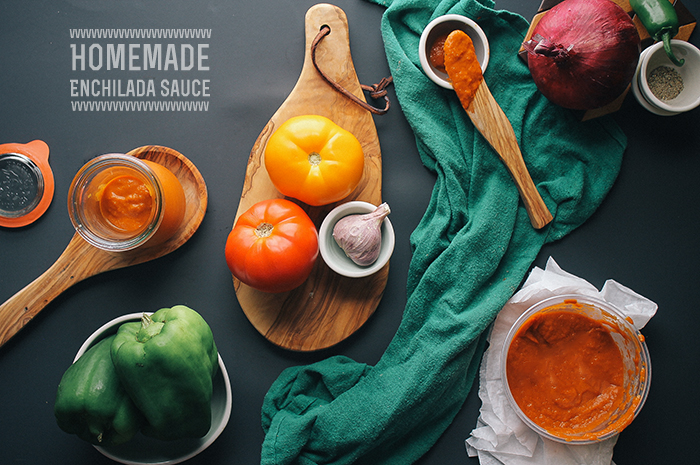
This is how enchilada sauce is supposed to taste! Fresh and spicy. A little tomatoey, peppery, and full of[...]
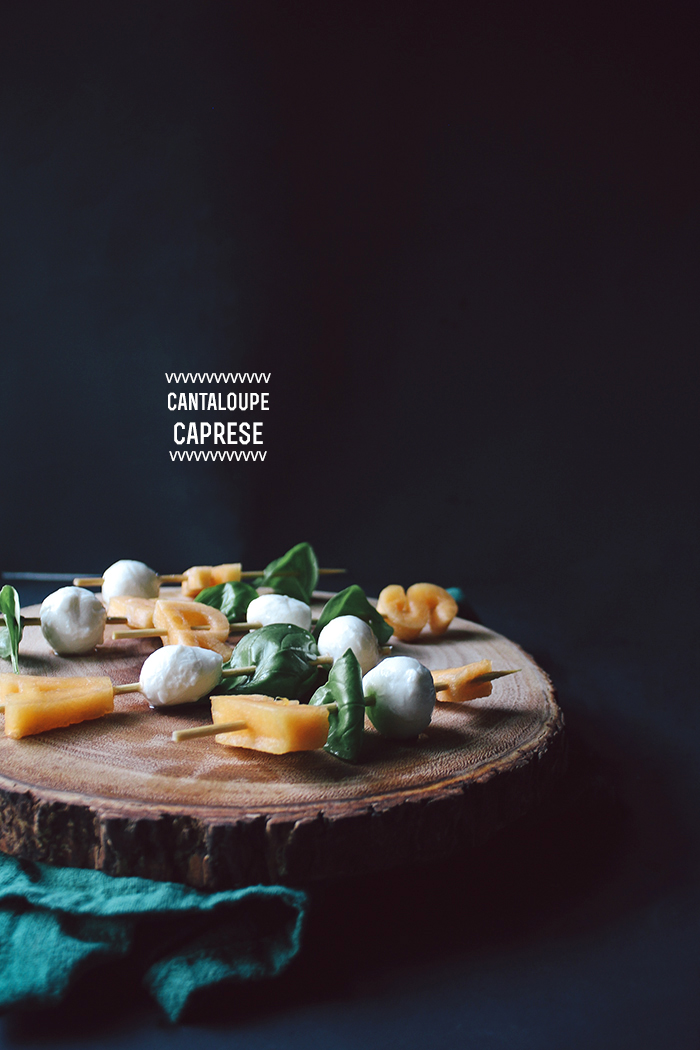
It's July...just barely but still July. July means I'm entitled to consuming copious amounts of juicy, flavo[...]
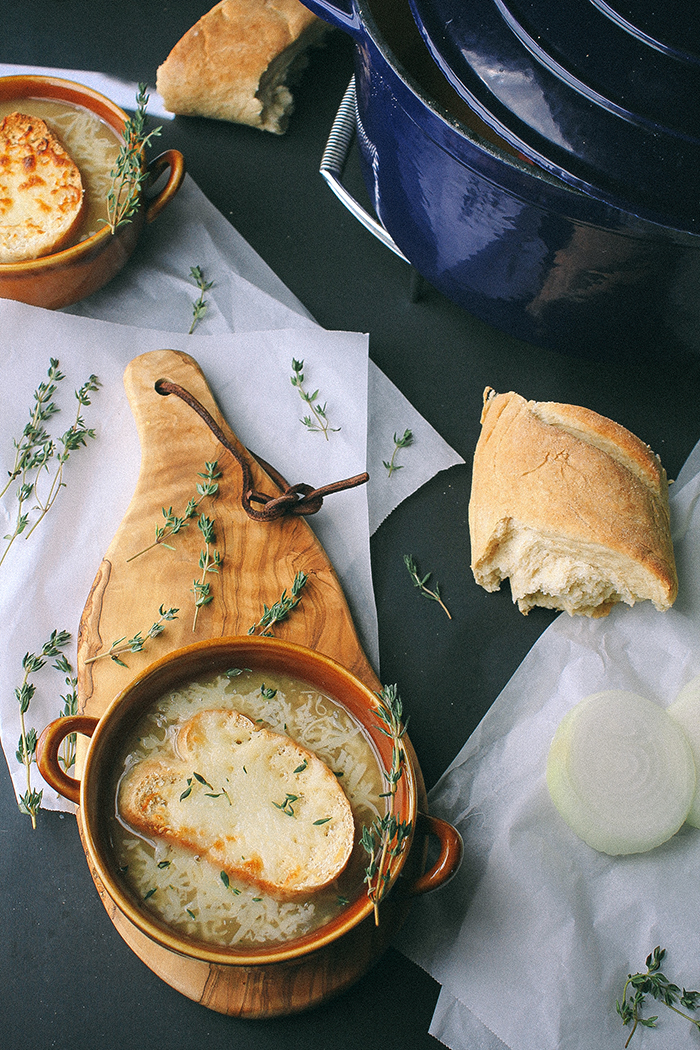
Soup?! Really? But it's SPRING. Soup season is over. Or so I thought. This past rainy and chilly Saturday[...]
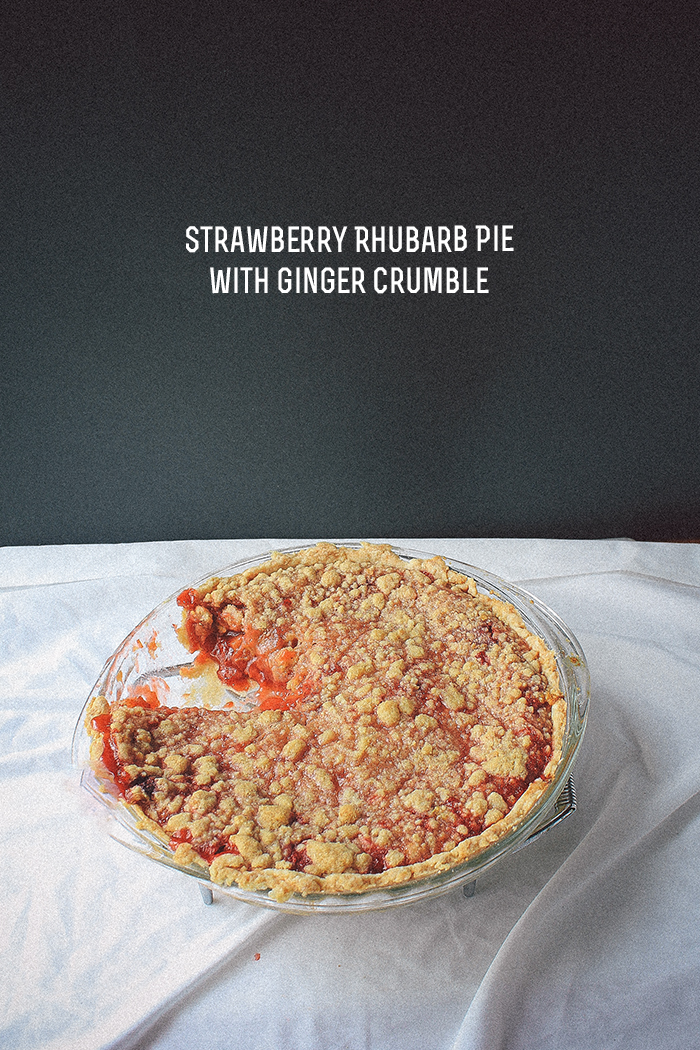
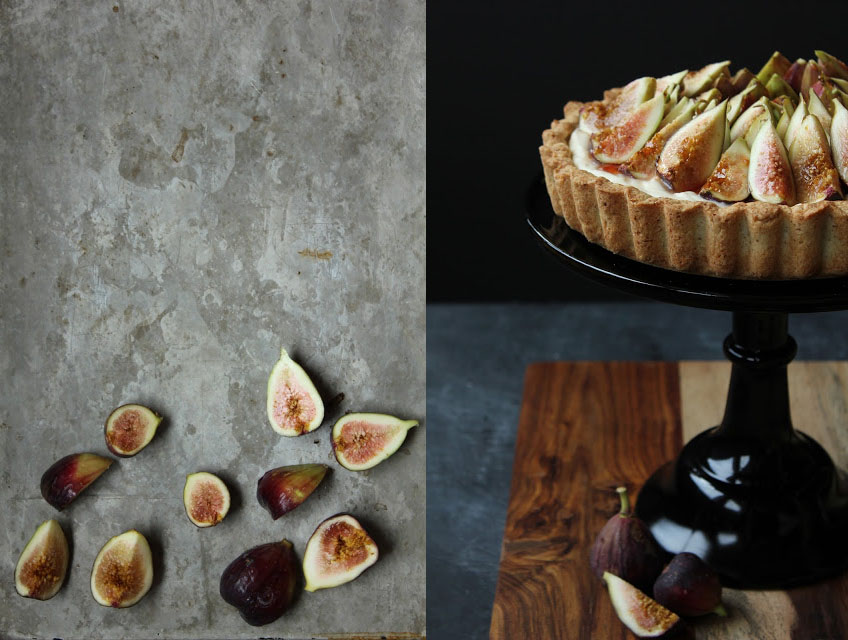
I had making a pie on the mind all week. I don't get this urge very often (mostly because making a pie for[...]
I came across ramps for the first time at the farmer's market two weeks ago. The nice ma[...]
As spring approaches, I get the "grilling craving". You know what I'm talking about - where not only the s[...]
We put our tree up the Saturday after Thanksgiving but my Christmas spirit didn't really kick in until I[...]

Heyyya! Hope everyone has a wonderful weekend planned! After this post, I am planning on taking a walk down[...]
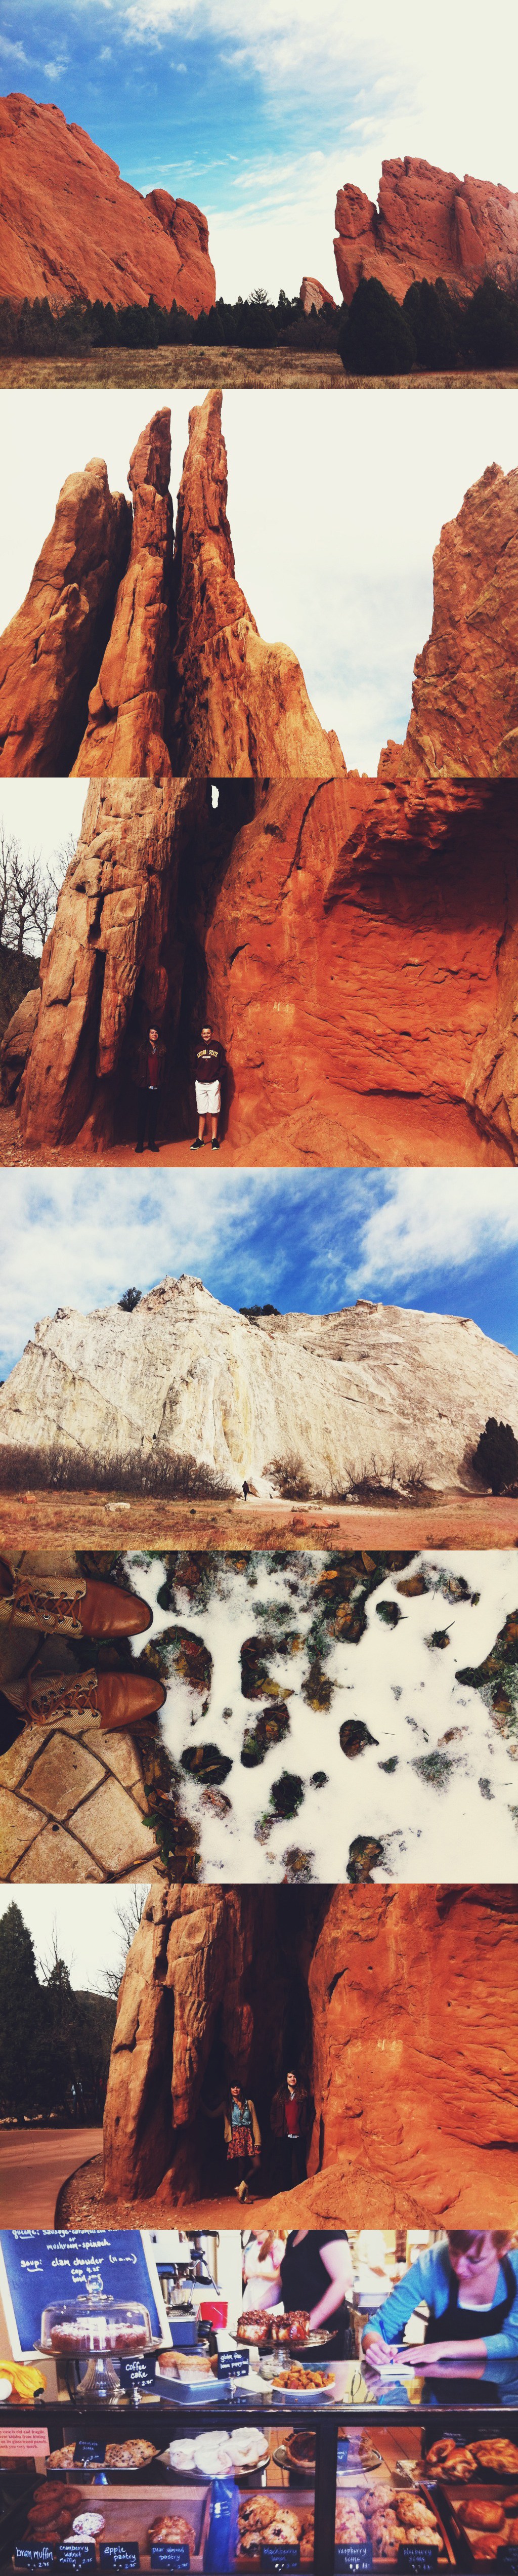
Heyya! No recipe today. Just a few snapshots from our Denver trip last weekend. Hope everyone is gearing up[...]

When I was in middle school, I would sometimes go to work with my Ma in the mornings and then walk to sc[...]

I know we are all super excited for Fall but it was still quite the slap in the face this morning when we wo[...]